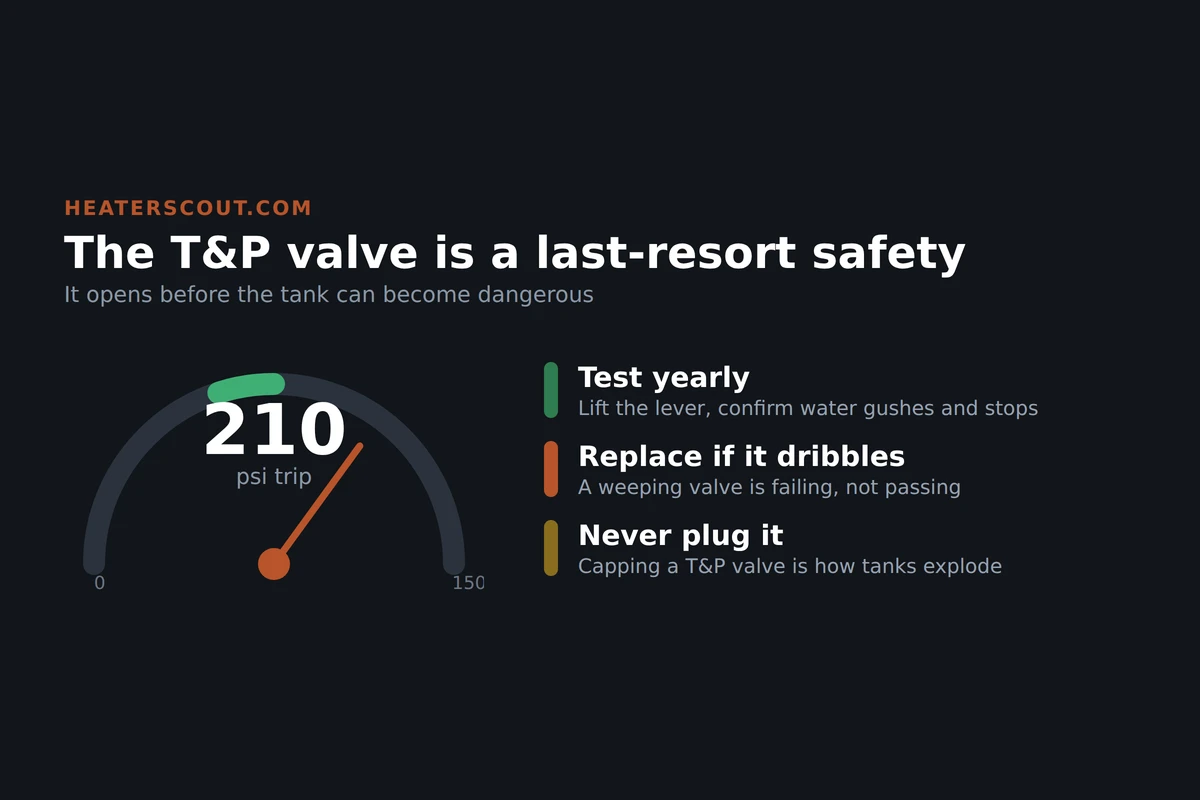
The temperature and pressure relief valve — the T&P or TPR valve — is the one part on a water heater that exists purely to stop the tank from becoming a bomb. If the thermostat sticks and the water keeps heating, pressure and temperature climb until something has to give. The T&P valve is designed to give first, opening at about 150 psi or 210 degrees and dumping water before the tank ruptures. A stuck-shut T&P valve is one of the few water-heater faults that is genuinely dangerous, which is why testing it once a year takes precedence over almost any other maintenance.
What the valve does and why it matters
Every tank water heater has one, threaded into the top or upper side, with a discharge pipe running down toward the floor. Inside is a spring holding a seat closed. If water temperature reaches roughly 210 degrees or pressure reaches about 150 psi, the spring gives and the valve opens, releasing water and relieving the buildup. In normal life it never opens. It sits there for years as insurance. The problem is that a valve that never moves can corrode or mineral-lock in place, so when the day comes that it actually needs to open, it cannot. Testing is simply proving it still works before you need it.
People confuse two different things the valve does. A T&P valve that occasionally drips is not necessarily failing — it may be doing its job because your system pressure is too high, usually from thermal expansion with no expansion tank. But a valve that weeps constantly, or that will not reseat after a test, has failed and must be replaced. Testing tells you which situation you have.
Before you touch it
The discharge is scalding water. It runs down the discharge pipe to within a few inches of the floor, and when you open the valve it comes out fast and hot. Have a bucket ready or make sure the discharge pipe ends over a drain. Do not stand with your hand or face near the outlet. If your heater is old and you suspect the valve has never been tested, know going in that testing an ancient valve sometimes makes it fail to reseat — meaning it will not stop dripping afterward and you will need to replace it. That is not the test breaking a good valve; it is the test exposing one that was already gone.
The test, step by step
Reading a valve that drips
A dripping T&P valve sends people two directions, and only one is right. If the drip happens right after the burner or elements have run — the heater cycles, then the valve seeps — the valve is reacting to a pressure spike from thermal expansion. On a closed plumbing system that spike has nowhere to go, and the relief valve is the pressure release of last resort. The fix there is an expansion tank, not a new valve. But if the valve drips continuously, unrelated to heating cycles, or if it dribbles forever after a test, the seat is shot and the valve itself needs replacing. Confirm your static pressure with a gauge on a hose bib; over 80 psi points to a pressure problem, normal pressure points to the valve.
Replacing a failed valve
If the test says replace, it is a modest job. Shut off the cold supply, kill the power or gas, and drain a few gallons from the tank so the water level drops below the valve. Unscrew the discharge pipe, then unthread the old valve with a pipe wrench. Wrap the new valve's threads with PTFE tape, thread it in snug and oriented so the discharge points down, reattach the pipe, refill, and check for leaks. Use a valve rated for your heater; they are not universal in temperature and pressure rating. If draining and rethreading a tank fitting is beyond where you want to go, this is an easy call for a plumber, but it is well within reach for most DIYers.
How often, and why yearly is not arbitrary
Once a year is the standard interval, and there is logic to it. A valve that is exercised annually stays free and is far less likely to seize. A valve left untouched for a decade is the one that will not open in an emergency. Tie the test to another yearly task — flushing the tank, checking the anode — so it actually happens. Two minutes a year buys you the assurance that the single most important safety part on the appliance still functions. That is one of the best maintenance returns in the whole house.
Frequently asked
How do I test a water heater T&P valve?
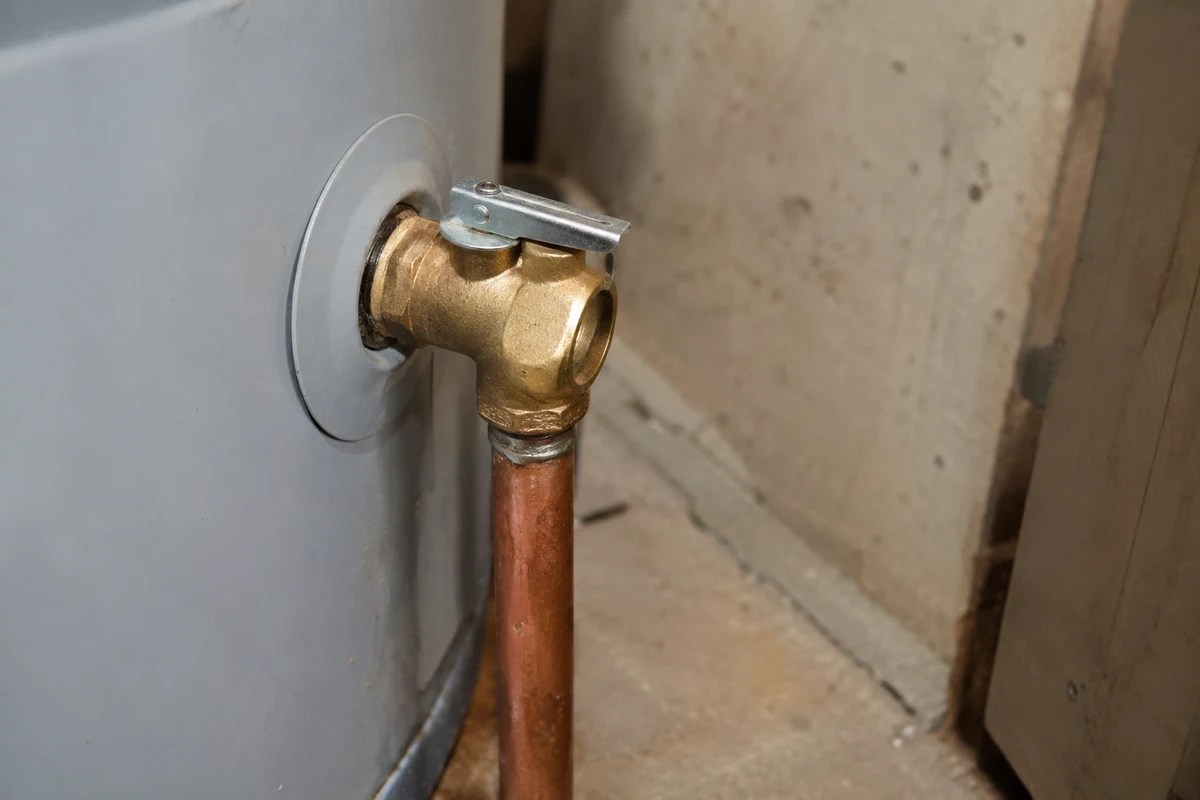
With a bucket or floor drain ready to catch hot water, gently lift the test lever on top of the valve about halfway. A working valve releases a strong rush of water down the discharge pipe. Let the lever snap back and confirm the flow stops cleanly within a second or two and the valve does not keep dribbling.
How often should I test a TPR valve?
Once a year. Exercising the valve annually keeps it from seizing, so it can still open in an emergency. A valve left untouched for years is the one that fails to open when it is actually needed. Tie the test to another yearly task like flushing the tank so it gets done.
What happens if nothing comes out when I lift the T&P lever?
That means the valve is stuck shut, which is the most dangerous outcome. It cannot relieve pressure or temperature if the tank overheats, so it must be replaced immediately. A stuck-shut relief valve is one of the few water-heater faults that is genuinely a safety hazard.
Why does my T&P valve drip after the heater runs?
That is usually thermal expansion, not a bad valve. When the heater warms the water it expands, and on a closed plumbing system the pressure has nowhere to go, so the relief valve seeps. The fix is an expansion tank. Check your static pressure with a gauge; over 80 psi confirms a pressure problem rather than a valve fault.
Can I cap or plug a leaking T&P valve?
Never. Capping the valve or plugging its discharge pipe removes the only safety keeping the tank from rupturing under pressure. If the valve drips, fix the underlying pressure problem or replace the valve, but the outlet must always remain open and the discharge pipe must run to a drain or pan.
Should I replace a T&P valve that won't stop dripping after testing?
Yes. If the valve keeps weeping after a test and does not reseat, its seat has failed and it needs replacing. Testing an old valve sometimes exposes one that was already gone rather than damaging a good one. Use a replacement valve rated for your heater's temperature and pressure.
Where is the T&P valve located on a water heater?
It is threaded into the top or upper side of the tank, a brass valve body with a test lever on top and a discharge pipe running down toward the floor. The discharge pipe should terminate a few inches above a drain or drip pan so released water goes somewhere safe.