Water expands when it heats. A 40-gallon tank warming from 50 to 120 degrees adds roughly half a gallon of volume with nowhere to go, and in a home with a closed plumbing system that extra volume has only one place to push: against the pipes, the fittings, and the tank itself. A thermal expansion tank gives it somewhere to go. Installing one is a couple of hours of straightforward plumbing, and on many systems code now requires it.
Why a closed system needs one
Older homes had open plumbing — expanding water could push back through the meter into the city main. Modern systems are closed. A backflow preventer, a check valve, or a pressure-reducing valve at the meter stops water from flowing backward. That is good for the water supply and bad for your plumbing, because now the extra half-gallon from every heating cycle has nowhere to escape. Pressure spikes. You see it as the T&P valve on the heater dribbling, as a banging or ticking in the pipes, as faucets that spit when first opened, and over years as stressed fittings and a shortened heater life.
An expansion tank is a small steel vessel split by a rubber diaphragm. One side holds air at a set pressure; the other connects to your cold water line. When the heater warms and water expands, it pushes gently into the tank, compressing the air cushion instead of spiking the whole system. When you draw hot water and the pressure drops, the cushion pushes the water back out. It is a shock absorber for thermal expansion, and it is why a properly equipped system never trips its relief valve just from normal heating.
Sizing and setting the pre-charge
Two numbers decide whether the tank works. The first is size: for a typical residential heater up to 50 gallons on normal pressure, a 2-gallon expansion tank is standard. Larger heaters or higher pressure call for a bigger one, and the tank's box lists the range it covers. Undersizing is the usual mistake; when in doubt, go one size up.
The second number is the pre-charge, the air pressure on the diaphragm's air side. It must match your home's static water pressure, not some factory default. Tanks ship pre-set around 40 psi, but if your street pressure is 60, the tank has to be pumped up to 60 before it will do anything. Put a gauge on an outside hose bib to read your pressure, then set the tank's air valve (it looks exactly like a tire valve) to that number with a bicycle pump before you install it. Get this wrong and the tank either sits useless or stays permanently waterlogged.
Where it goes
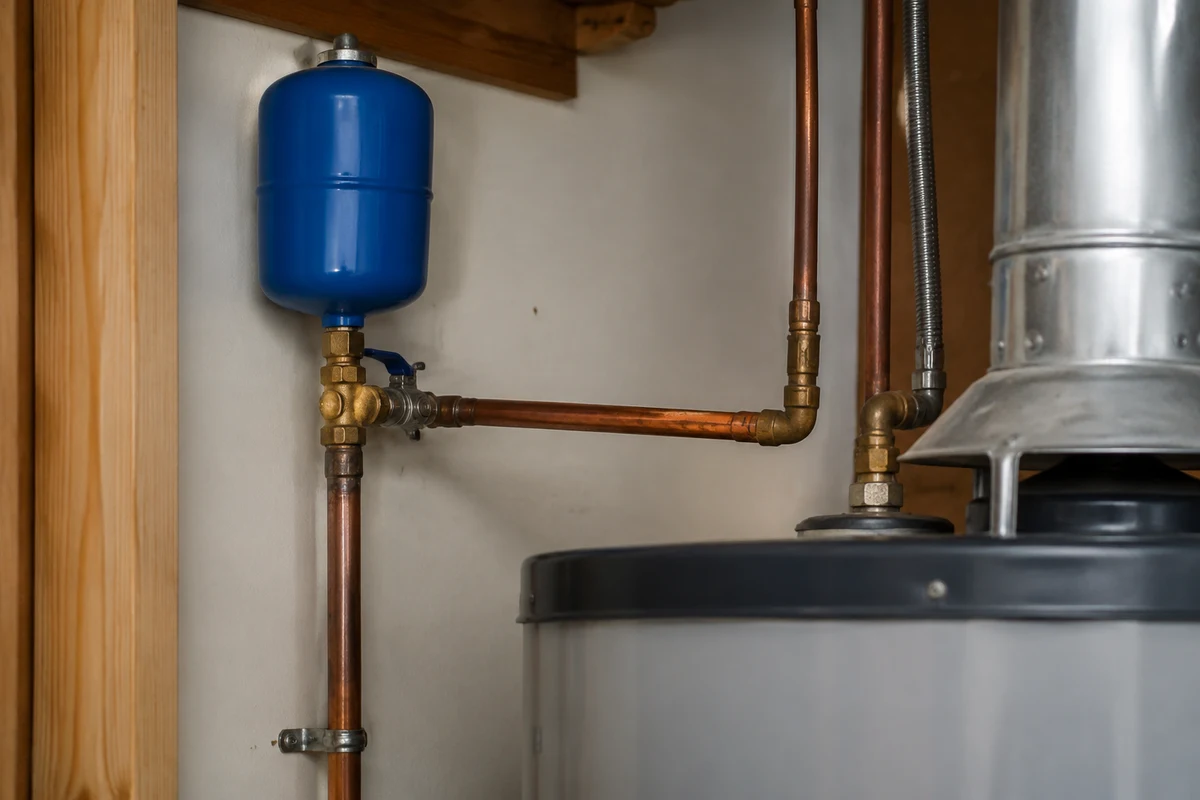
The expansion tank belongs on the cold-water supply line, between the heater's cold inlet and the point where the system becomes closed — that is, downstream of the pressure-reducing valve or check valve, on the house side. Most installers tee it in on the horizontal or vertical cold line just above the water heater, which puts it close to the source of the expansion and easy to service. It can hang below the tee or sit above it; modern diaphragm tanks work in any orientation, though supporting the weight of a full tank with a strap or bracket is smart on anything larger than 2 gallons.
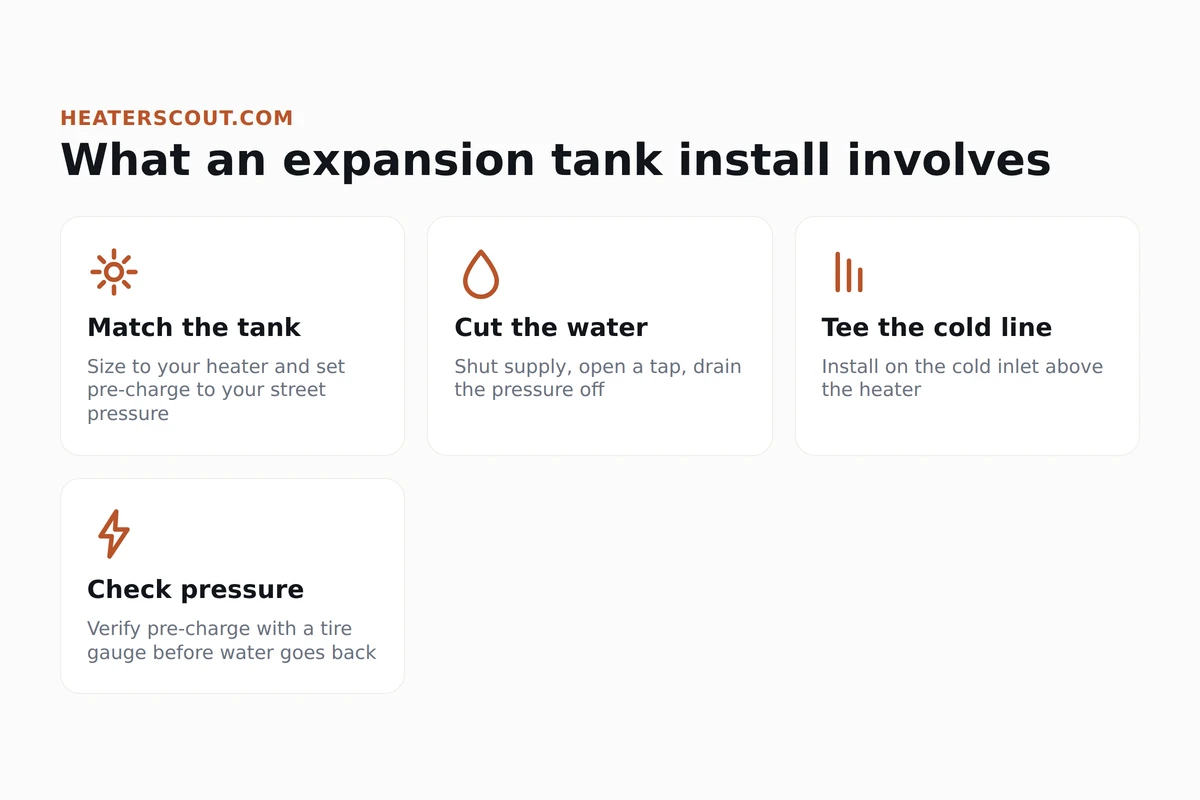
The install, step by step
How to tell if the tank later fails
Expansion tanks do not last forever; the diaphragm eventually tires or the air side loses its charge. There is a two-second field test. Tap the tank with a knuckle. The top (air) half should sound hollow and the bottom (water) half should sound solid and dull. If the whole tank rings solid, it is waterlogged and needs recharging or replacing. You can also press the air valve on top with a small screwdriver: air should hiss out. If water comes out instead, the diaphragm has failed and the tank is done. A tank that fails brings back every symptom it was installed to cure, so when the old symptoms return, test the tank before blaming the heater.
When to call a plumber instead
This is a reasonable DIY job if you are comfortable cutting into and rejoining your water line, whether copper, CPVC, or PEX. If soldering copper or making a clean, leak-free joint is not in your toolkit, this is a short and cheap visit for a plumber, and in many jurisdictions the work is supposed to be permitted and inspected anyway. It is also worth a pro if your static pressure reads above 80 psi, because then the expansion tank is only half the fix and a pressure-reducing valve has to go in with it. Getting the pressure side wrong is what sends people back to square one, tripping the same relief valve they were trying to quiet.
Frequently asked
Do I need an expansion tank on my water heater?
If your home has a closed plumbing system, meaning a pressure-reducing valve, check valve, or backflow preventer at the meter, then yes, and code usually requires it. The telltale signs you need one are a T&P valve that drips only after the heater runs, banging pipes during heating, or pressure spikes above 80 psi.
What size expansion tank do I need?
For a typical residential heater up to 50 gallons on normal pressure, a 2-gallon expansion tank is standard. Larger heaters or higher supply pressure need a bigger tank, and the box lists the range each model covers. If you are between sizes, go one size up rather than down.
How do I set the pre-charge on an expansion tank?
Measure your home's static water pressure at an outside hose bib with a gauge, then, with no water in the tank, pump the air valve on top up to that same pressure using a bicycle pump. The pre-charge must match your house pressure or the tank will waterlog and do nothing. Do this before you install it.
Where should an expansion tank be installed?
On the cold-water supply line, above the water heater, on the house side of any pressure-reducing valve or check valve. Most installers tee it into the cold inlet line just above the heater, which keeps it close to the source of expansion and easy to service.
How do I know if my expansion tank has failed?
Tap it: the top air half should sound hollow and the bottom solid. If the whole tank rings solid it is waterlogged. Press the air valve on top with a small tool; air should hiss out, but if water comes out the diaphragm has failed and the tank needs replacing. When the old symptoms like a dripping T&P valve return, test the tank first.
Can I install an expansion tank myself?
Yes, if you are comfortable cutting into and rejoining your water line and matching the pre-charge to your house pressure. It is a couple of hours of work. If soldering copper or making a leak-free joint is not your skill, or if your street pressure is over 80 psi, call a plumber, as the work often needs a permit and may require a pressure-reducing valve too.
Why does my T&P valve drip only after the heater runs?
That is the classic sign of thermal expansion with no expansion tank. As the heater warms the water it expands, and on a closed system the pressure has nowhere to go, so it pushes the relief valve open. Installing a correctly pre-charged expansion tank absorbs the expansion and stops the dripping.