Quick answer
A water heater leaking from the bottom is one of two things: a cheap part you can fix, or a dead tank you replace. A loose drain valve, a T&P discharge tube dumping water, or plain condensation are all fixable and cost little. Water weeping from the tank body itself means the inner steel corroded through, and that is not repairable at any price. The whole job is figuring out which one you have before you spend a dollar.
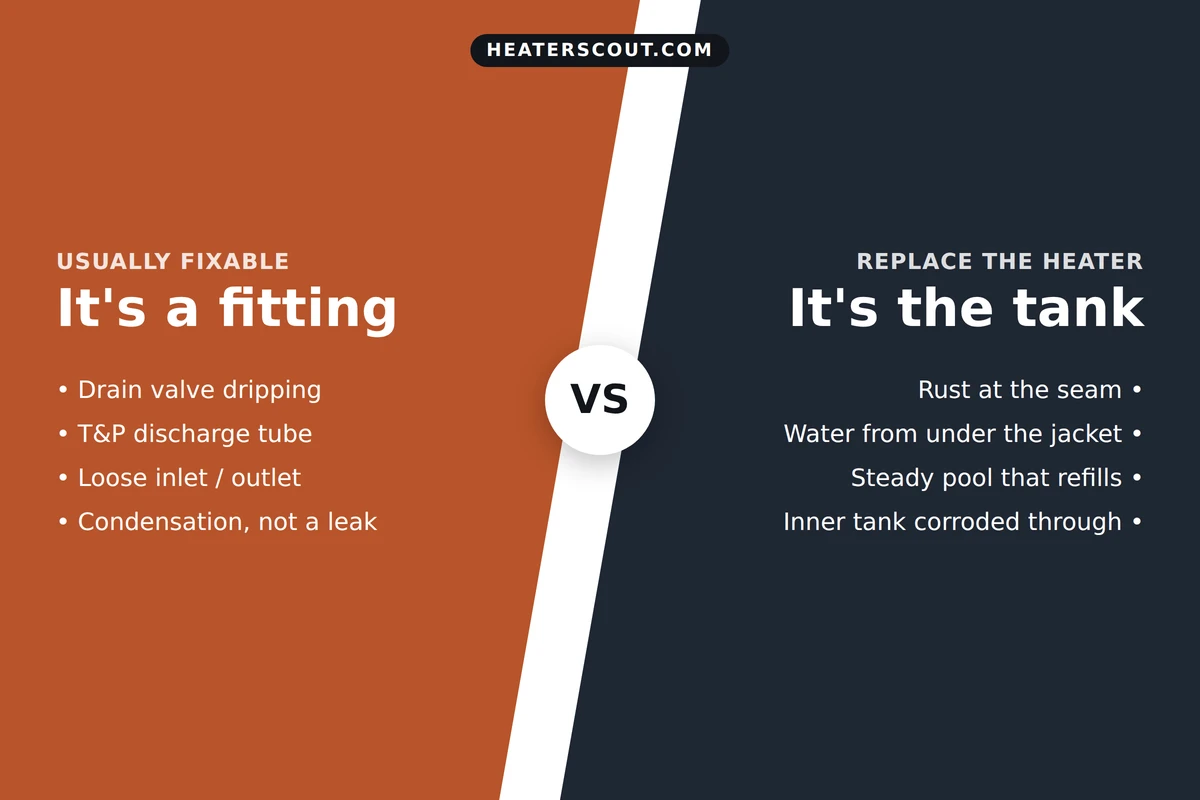
Eight to twelve years is the working life of most tank water heaters, and a bottom leak is often how they announce the end. But not always. Roughly half the bottom leaks a plumber sees are the drain valve, the relief tube, or condensation, none of which mean the tank is finished. So before you shop for a new heater, find out whether you are looking at a $20 part or a failed shell.
Bottom-leak source anatomy
Where the water starts at the base of the tank, and whether each point is a fix or a replacement.
The four things that leak at the base
Water shows up at the bottom, but it does not always originate there. Two of the four sources are gravity carrying water down from somewhere else. Here is the full list, in order of how often they turn up and how serious each is.
Find the source before you spend
The single decision that matters is fitting versus tank. Pick the source and how fast the water is coming, and the gauge below sets the severity, tells you whether it is fixable, and flags when to shut the heater down first.
Severity triage: source plus rate
Dry the base, lay a paper towel down, and watch for a few minutes to see where the water starts and how fast it builds.
1. Where is the water coming from?
2. How fast is it leaking?
Choose both
Pick a source and a rate
Select where the water is coming from and how fast it is pooling to get a severity read and the fix-or-replace call.
The drain valve: the leak you want
Near the floor on the front of the tank sits the drain valve, a spigot for draining the tank during maintenance. It is also the leak you hope for, because it is the cheapest to fix. The valve loosens over years of thermal cycling, or the internal washer wears and lets water past. Start by drying the valve and watching. If the drip comes from the valve outlet or its handle, try hand-tightening it, then a careful quarter-turn with a wrench, no harder. Plastic drain valves crack if you force them.
If tightening does not stop it, you have two cheap options. Thread a brass hose cap onto the valve outlet to stop a slow weep instantly, which buys time. Or replace the valve, ideally swapping a plastic one for a brass ball-valve type. A cap costs a couple of dollars; a new valve is under $20; having a plumber do the full replacement runs $100 to $250. None of that touches the tank.
T&P discharge: water at the bottom, cause at the top
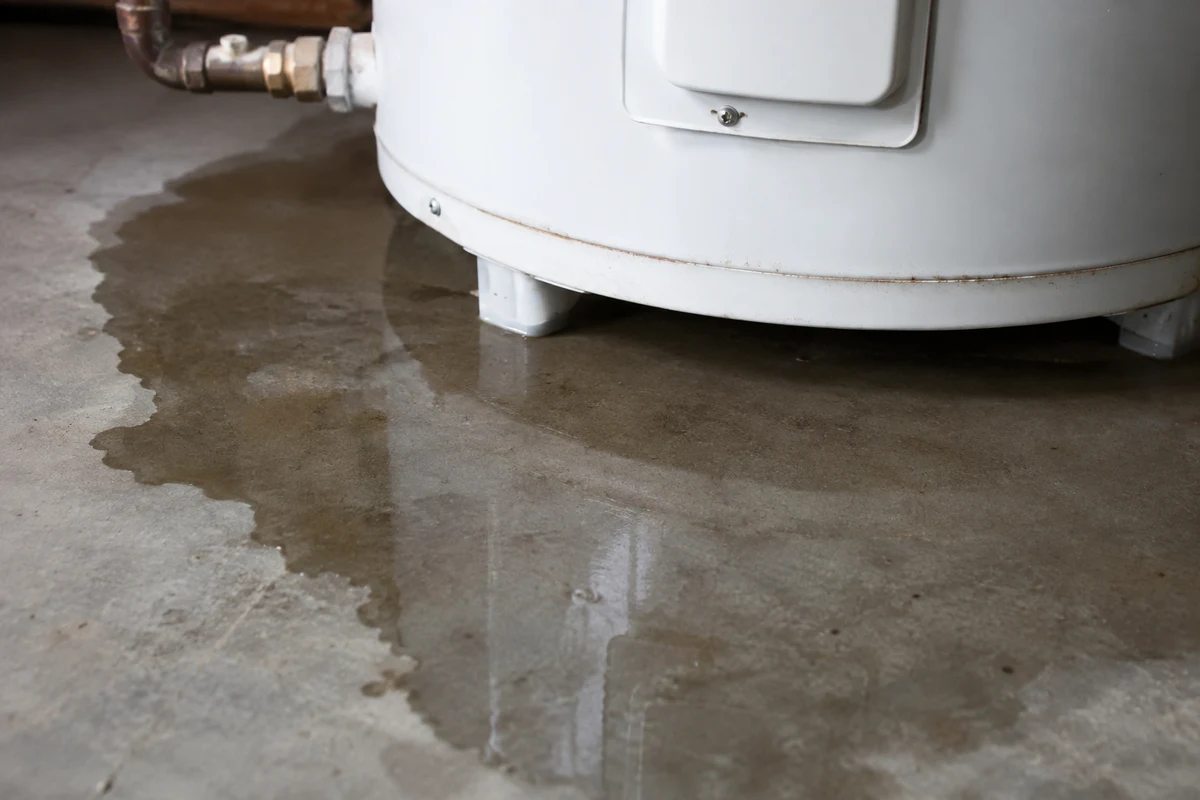
The temperature and pressure relief valve threads into the top or upper side of the tank, and a tube runs from it down to within a few inches of the floor. When that tube drips or streams, the water lands at the base and looks like a bottom leak, but the tank is fine. The valve opened because pressure or temperature hit its limit, typically 150 psi or 210 deg F, and vented to protect the tank. That is the valve doing exactly what it is built to do.
So the fix is not at the bottom. If the discharge is occasional, a single vent after a hot, high-demand stretch, it may be nothing. If it drips steadily, your plumbing is likely a closed system: a check valve or pressure-reducing valve at the meter stops heated water from expanding backward, so pressure climbs until the T&P valve relieves it. The correct answer is a thermal expansion tank, which gives that expanding water somewhere to go. Whatever you do, never cap or plug the discharge tube. That tube is the one path standing between an overheating tank and a rupture.
The tank body: the leak that ends the heater
Here is the verdict nobody wants. If the water is seeping from the tank shell itself or welling up from the bottom seam, and especially if it carries a rust-brown tint, the inner steel tank has corroded through. Water heaters rust from the inside out; the glass lining cracks, the anode rod eventually depletes, and corrosion eats a pinhole or a seam open. There is no repair. You cannot weld it, seal it, or patch it in any way that safely holds, and a slow weep today reliably becomes a flood.
The tells are consistent: rust-colored water at the base, a steady pool that comes back no matter how many times you dry it, and often a unit on the older end of that 8-to-12-year window. If you drain, dry, and refill the area and clear water returns from under the tank rather than from a fitting, stop diagnosing. That heater is done, and the money goes toward a replacement, not parts.
Condensation: the leak that is not a leak
Sometimes the base is wet and nothing is wrong. Cold inlet water fills the tank, the steel drops below the dew point, and moisture beads on the outside and drips to the floor, exactly like a leak. It is most common on a brand-new heater and any time very cold water is coming in, such as winter. The signature is timing and volume: condensation shows up while the heater is working hard to heat a cold fill, and it dries once the water inside is hot. It never pools fast.
Confirm it by drying the whole tank and base, running a normal hot-water cycle, and watching. If the dampness only returns during heavy use and disappears once things are hot, it is condensation and you can leave it alone. On a gas unit, heavy, persistent condensation can also hint at a burner running too cool or a tank oversized for the household, but even then the tank is not leaking.
When water pools fast: shut it down first
Rate changes everything. A slow drip you can diagnose at your leisure. Water pooling fast is an emergency no matter the source, because the volume damages floors and subfloors and, on electric or gas units, can reach live electrical connections or a burner. Diagnosis comes second. First, stop the water and the energy:
Close the cold water inlet valve at the top of the tank, turning it fully clockwise. Kill the energy: switch off the heater breaker on an electric unit, or turn the gas control knob to OFF on a gas unit. Open a hot tap to relieve pressure, then clear the standing water off the floor. Only once the flow is stopped should you work out whether it was the valve or the tank.
If you smell gas at any point near a gas unit, leave and call the gas utility from outside. That overrides every other step here.
The decision, made simple
Every bottom leak lands on one side of a line. Drain valve, T&P discharge, and condensation are on the fixable side: a hose cap, a new valve, an expansion tank, or nothing at all. The tank body is on the other side, and there is only one move, a replacement. Age tips the odds. Under 8 years, lean toward hunting a fitting or a valve. Past 10 years with rust-tinted water at the base, assume the tank and price a new heater rather than pouring money into a shell that will fail again within months.
Frequently asked
Why is my water heater leaking from the bottom?
Four sources cover almost every case: a loose or worn drain valve at the base, the T&P relief valve discharging water down its tube to the floor, condensation on the cold tank, or the tank body itself corroding through. The first three are fixable and cheap. The last one, a leaking tank shell, is not repairable and means replacement. Finding which one you have is the whole job.
Can a water heater leaking from the bottom be repaired?
It depends entirely on the source. If it is the drain valve, you tighten, cap, or replace it for under $20 in parts. If it is the T&P discharge, you fix the underlying pressure, often with an expansion tank. Condensation needs no repair at all. But if the water is seeping from the tank body because the inner steel corroded through, there is no safe repair and the heater must be replaced.
How do I know if my water heater tank has failed?
Look for rust-colored water at the base, a steady pool that returns every time you dry it, and water welling up from the tank shell or bottom seam rather than from a fitting or valve. A unit older than 8 to 12 years with these signs has almost certainly corroded through. Once the tank body itself leaks, it cannot be patched and only gets worse.
Is water pooling under my heater an emergency?
If it is pooling fast, yes. Close the cold water inlet valve at the top of the tank, turn off the breaker on an electric unit or the gas control knob on a gas unit, open a hot tap to relieve pressure, and clear the water. Fast pooling can damage floors and reach live electrical or gas components. Stop the water and energy first, then diagnose the source.
My water heater is dripping but the tank seems fine, could it be condensation?
Very possibly, especially on a new tank or when very cold water is filling it. Condensation forms on the cold steel, drips to the base, and looks like a leak, but it appears while the heater works hard and dries once the water is hot, and it never pools fast. Dry the tank, run a hot-water cycle, and watch. If it stays dry when hot, it was condensation, not a leak.
How long does a water heater last before it leaks?
Most tank water heaters last 8 to 12 years. Toward the end of that range, internal corrosion works through the tank and a bottom leak is the common failure sign. Regular flushing and replacing the anode rod extend that life, but once the shell corrodes through, replacement is the only fix. If yours is past 10 years and leaking from the tank body, plan for a new one.