Quick answer
A water heater dripping at the drain valve (the hose-thread spigot near the floor) is usually the valve itself, not the tank. For a slow seep from a threaded valve, thread a brass garden-hose cap with a rubber washer onto the outlet — a $2 to $5 part that seals it in seconds. A steady stream, or a plastic valve that won’t stop, means draining the tank and swapping the valve, ideally for a quarter-turn brass ball valve.
You bent down to check a puddle and traced it to the little spigot at the bottom of the tank, the one you’d hook a garden hose to. That is the drain valve, and a leak there is one of the more forgiving water heater problems: the tank is almost certainly fine, and the cheapest fix costs less than a coffee.
Fix-escalation cost ladder
Cheapest to priciest for a weeping drain valve. Start at the left; move right only if the last step didn’t hold.
Step 1
$0
Seat & hand-tighten
Close the handle firmly. A valve left a hair open just needs seating.
Step 2
$3
Brass hose cap
Seeps through the spout. Thread a capped washer on; no draining.
Step 3
$12
Brass ball valve
Plastic valve streaming. Drain the tank and swap it out.
Step 4
$150
Call a pro
Valve seized, or the leak is the tank body, not the valve.
Most drain-valve drips stop at step 1 or 2. Only a streaming or seized valve climbs the ladder.
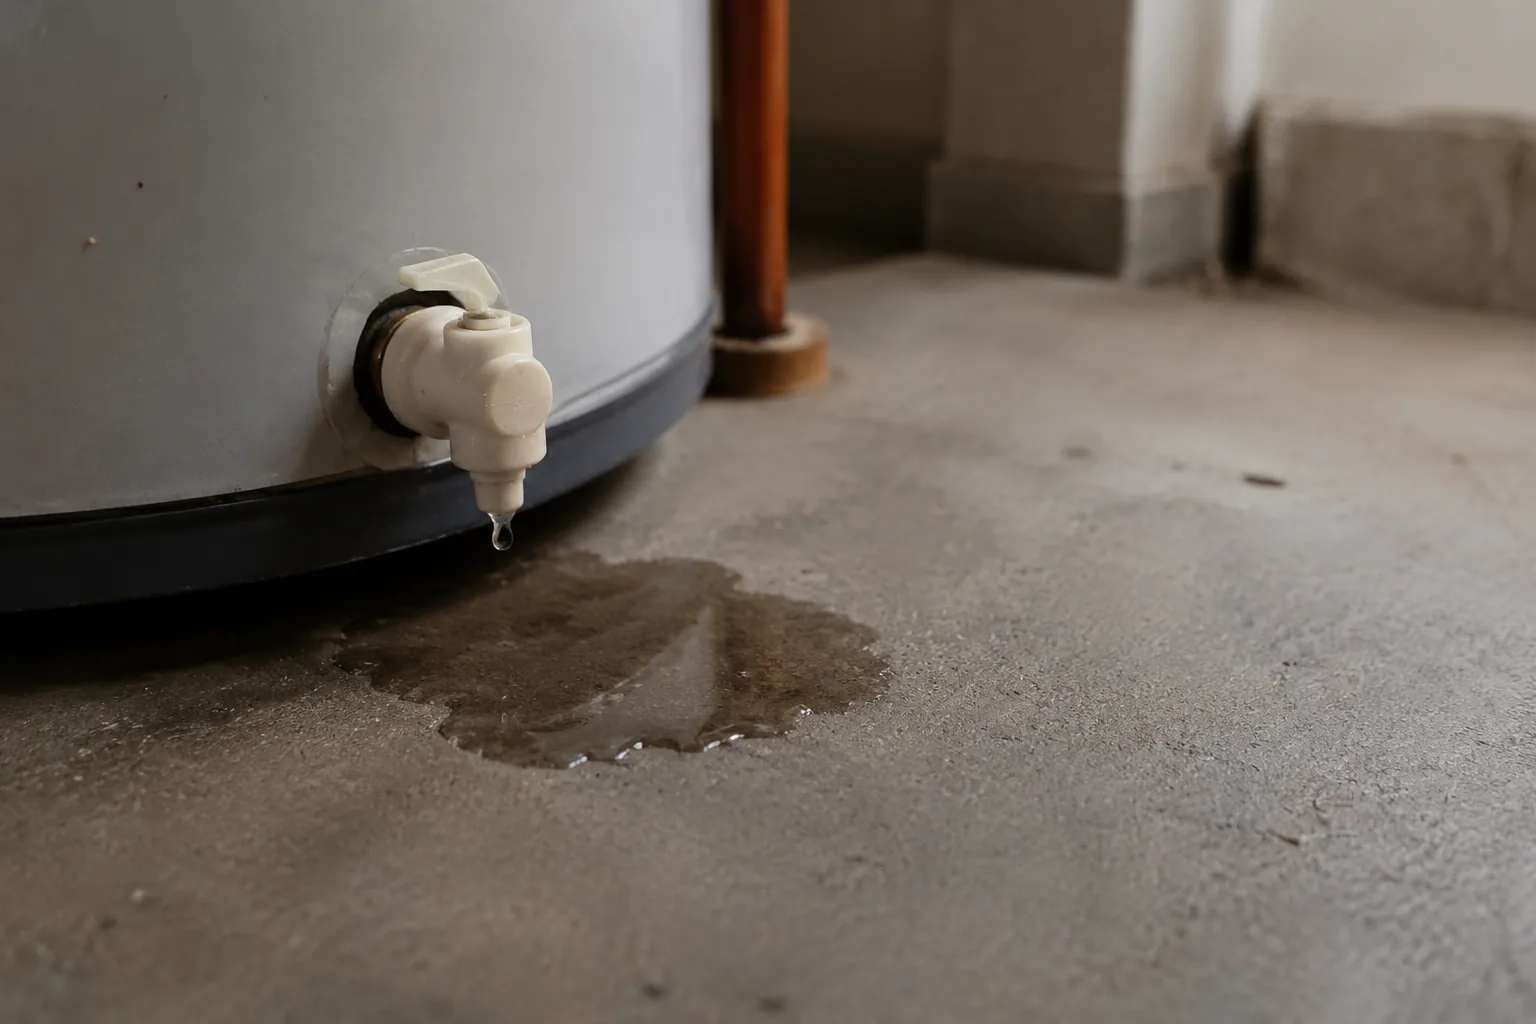
First, confirm the leak is the valve and not the tank
Before you buy anything, make sure the water is coming from the valve itself. Wipe the whole valve and the area around it bone dry with a paper towel, then watch for a minute. If new water appears at the spout (the threaded hose outlet) or at the stem where the handle enters the body, the valve is your culprit. If instead the water is welling up from the seam where the valve threads into the tank, or from higher on the shell, that is a different problem. A leak from the tank body itself usually means the steel is corroded through, which no cap or new valve will fix. That case is covered in our guide to a water heater leaking from the bottom. This article is specifically about water escaping at the valve.
Why plastic drain valves are the usual culprit
Most builder-grade tanks ship with a plastic drain valve to save a few dollars. It works, but it is the weakest link on the whole heater. The plastic seat warps slightly with years of hot water against it, the little washer inside hardens, and a light bump from a garden hose or a foot can crack the spout. Brass valves hold up far longer — think 10-plus years versus 3 to 5 for the cheap plastic ones — because metal doesn’t creep and the seat stays true. If your valve is plastic and it’s weeping, the odds are high the valve is simply worn, not misadjusted. And there’s a trap here: over-tightening a plastic valve to stop a drip tends to crack it and make the leak worse, so resist the urge to crank on it.
The $2 fix: a brass hose cap
Here is the move most homeowners never hear about. Water heater drain valves have standard garden-hose threads on the outlet. A brass hose cap with a rubber washer — the same kind you’d cap an outdoor spigot with — threads right onto that outlet and seals the end of the valve. If the valve is seeping past its own internal seat but the threads are intact, the cap stops the drip cold. Hand-tight plus a light nudge with pliers is enough; the rubber washer does the sealing. It costs a couple of dollars, installs in under a minute, and needs no draining, no shutoff, no tools beyond your hand. The one limit: the cap seals the spout, so it fixes a leak coming through the valve, not one weeping around the stem or from the tank threads.
Find your fix path
Two things decide what you do next: what the valve is made of, and how badly it’s leaking. Answer both below and the tool points you to the right repair.
Drip-vs-stream decision tree
Pick the valve material, then how fast it’s leaking. One step at a time.
Step 1. What is the drain valve made of?
Step 2. How is it leaking?
Cap it. A brass hose cap ends this today.
A slow seep through the valve is the textbook case for a $2 to $5 brass garden-hose cap with a rubber washer. Thread it onto the outlet, snug it hand-tight plus a light turn, and the drip stops. No draining, no shutoff.
If the valve is plastic, plan to swap it for brass eventually — the cap is a real fix, but a worn plastic valve tends to get worse. If water weeps around the stem rather than the spout, the cap won’t reach it; go to the swap path instead.
Drain and replace the valve.
A steady stream from a plastic valve is past capping. Shut off power or gas and the cold-water inlet, drain the tank below the valve, unthread the old valve, and install a new one — ideally a quarter-turn brass ball valve with a hose adapter. Wrap the threads with PTFE tape and open the new valve before installing so you know it moves freely.
A full-port ball valve drains faster on future flushes and seals far more reliably than plastic. Budget an hour and a helper for the first time.
Try snugging it first, then cap or replace.
Brass tolerates a gentle turn that plastic does not. If a brass valve streams, close it fully and check that the handle seated; sometimes it was left a hair open. If it still runs, thread on a $2 to $5 brass hose cap to buy time.
A brass valve that streams even capped and closed has a failed internal seat — drain the tank and rebuild or replace it. Do not force the handle hard; you can shear the stem.
Sediment under the seat. Flush it, then cap.
A valve that stays dry until you flush, then drips, almost always has a grain of sediment lodged under the seat holding it a hair open. Open the valve fully and let it run hard for several seconds to blast the debris out, then close it firmly. That clears most post-flush drips.
If it still weeps after that, thread on a brass hose cap. This is exactly why many people upgrade to a quarter-turn ball valve during a flush — a ball valve doesn’t trap grit under a seat the way the cheap gate-style valves do.
Why a valve drips right after you flush it
This one confuses people: the valve was bone dry for years, you flushed the tank to clear sediment, and now it won’t stop dripping. What happened is that the sediment you stirred up worked its way into the valve, and a particle lodged under the sealing seat, propping it open by a fraction of a millimeter. The cure is counterintuitive — open the valve wide and let a hard blast of water flush the grit back out, then close it firmly. Nine times out of ten the drip stops. If it doesn’t, that seat is likely scored, and it’s cap-or-replace time.
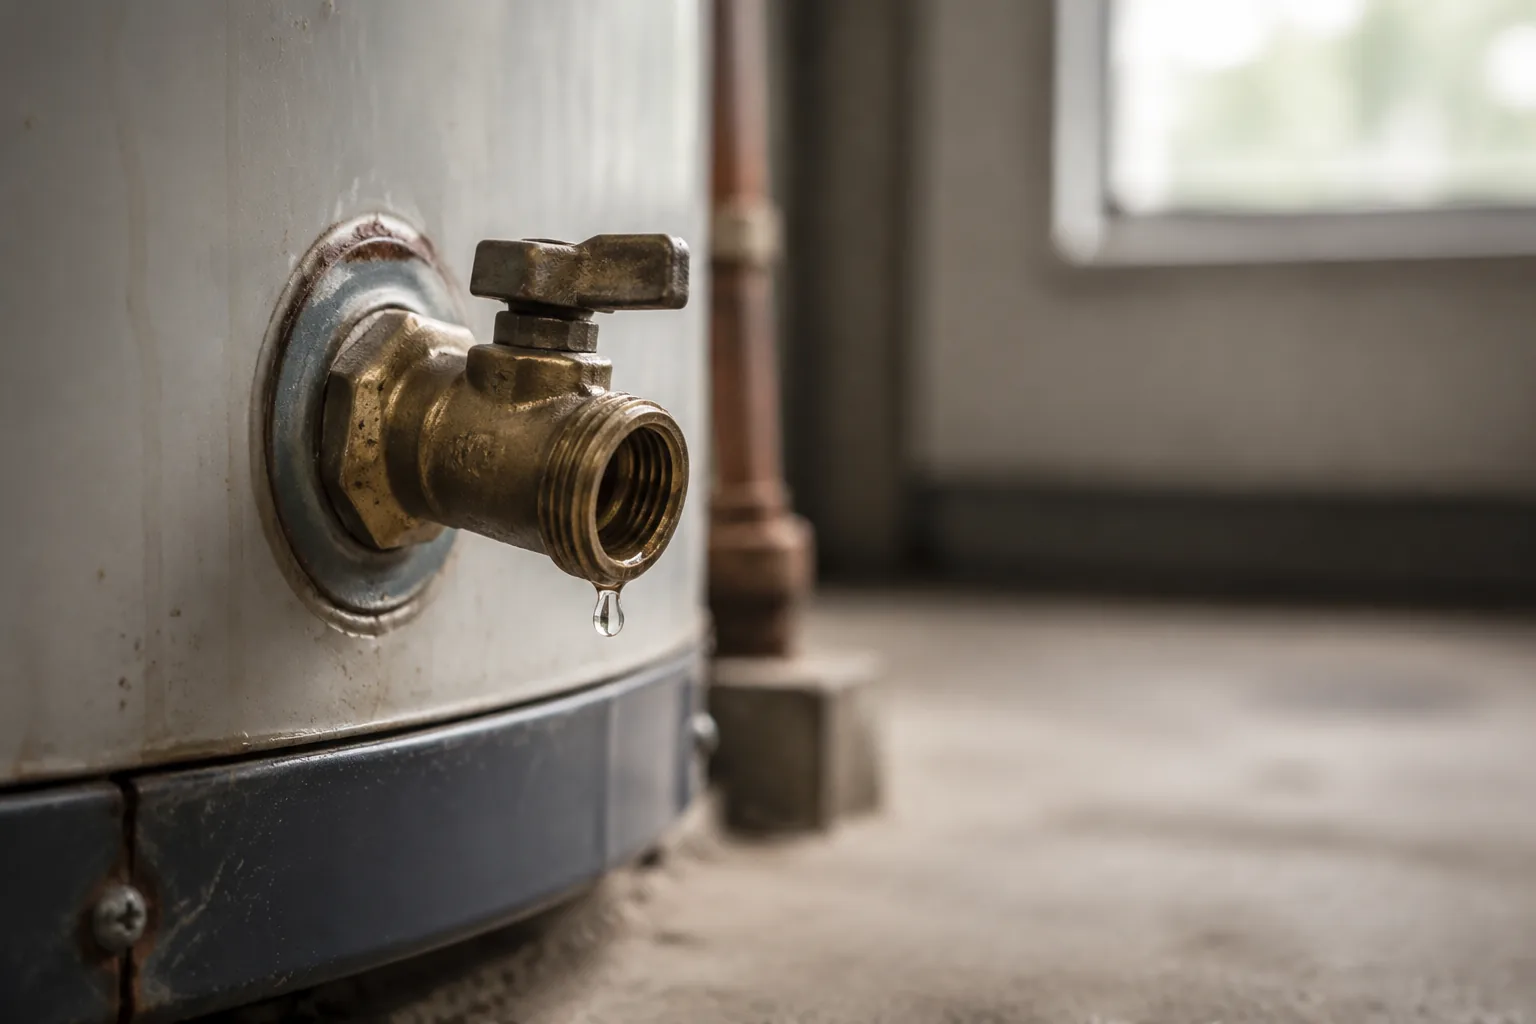
Replacing the valve, step by step
When capping isn’t enough, swapping the valve is a solid afternoon project. The key detail that trips people up: you don’t need to empty the whole tank, only to drain the water level below the valve, which is at the very bottom — so in practice you drain nearly all of it. Here’s the sequence: kill power at the breaker (electric) or set the gas control to pilot/off, close the cold-water inlet valve on top of the tank, then open a hot tap upstairs to break the vacuum and drain via a hose.
Once the water is below the valve, unthread the old valve counterclockwise. Wrap the new valve’s threads with a few turns of PTFE tape, thread it in snug, and point the outlet where you want it. Open the cold inlet, let the tank refill with a hot tap open until water runs steady and air-free, then restore power or gas. Check the new valve for weeps before you walk away. Choosing a full-port brass ball valve here is the upgrade worth making: it seals better, drains a future flush in a fraction of the time, and won’t crack from a bumped hose.
When to stop and call a plumber
Most drain-valve leaks are firmly DIY. Bring in a pro when the water is coming from the tank body rather than the valve, when the drain valve is seized and won’t open or unthread, or when the tank is old enough that a new valve is throwing good money after bad. A heater past 10 to 12 years with a leaking tank is usually a replacement conversation, not a repair one. But if the leak is at the valve and the valve turns, you can very likely handle it yourself with a cap or an hour of work.
Frequently asked
Why is my water heater leaking from the drain valve?
Usually the valve itself is worn, not the tank. Cheap plastic valves warp and their internal washer hardens over years of hot water, so the seat no longer seals and it seeps at the spout. A cracked plastic body or a bump from a garden hose can also start a leak. Wipe the valve dry and watch: if new water appears at the spout or the stem, the valve is the source, and a brass hose cap or a new valve fixes it.
Can I just cap a leaking water heater drain valve?
Yes, for a leak coming through the valve. Drain valves have standard garden-hose threads, so a brass hose cap with a rubber washer threads onto the outlet and seals it. It costs $2 to $5, installs by hand in under a minute, and needs no draining. The limit is that a cap only seals the spout, so it stops a leak passing through the valve, not one weeping around the stem or from the tank threads.
Why does my drain valve drip only after I flush the tank?
A grain of sediment stirred up during the flush lodged under the sealing seat and is holding the valve open a fraction. Open the valve wide and let a hard blast of water run for several seconds to flush the debris out, then close it firmly. That clears most post-flush drips. If it still weeps, the seat is likely scored, and it is time to cap the outlet or replace the valve.
Should I replace a plastic drain valve with brass?
If it is leaking, yes. Plastic valves last about 3 to 5 years before the seat warps; a brass valve lasts 10-plus and seals more reliably. The best upgrade is a full-port quarter-turn brass ball valve with a hose adapter: it drains a future flush far faster and will not crack from a bumped hose. Replacing means draining the tank below the valve and threading in the new one with PTFE tape on the threads.
Do I have to drain the whole tank to replace the drain valve?
You only need the water level below the valve, but since the valve sits at the very bottom, that means draining almost all of it. Shut off power or gas, close the cold-water inlet, open a hot tap upstairs to break the vacuum, and drain through a hose. Then unthread the old valve, wrap the new one with PTFE tape, thread it in, refill with a hot tap open until the flow is steady, and restore power or gas.
Is a leaking drain valve an emergency?
A slow drip is not an emergency, but do not ignore it. Slip a brass hose cap on to stop it and plan a proper fix. A steady stream that a cap and a closed handle cannot stop, or water coming from the tank body rather than the valve, needs faster attention because it can mean the tank is failing. If the valve is seized or the heater is past 10 to 12 years old with a leaking tank, call a plumber rather than keep patching.