A tankless water heater posts a code in the middle of a shower, the hot water goes lukewarm, and the owner is sure the thing just broke. It did not. Water inside the unit runs through a compact heat exchanger, a maze of narrow passages wrapped around the burner, and every gallon of hard water leaves a little calcium behind on those hot walls. Two winters of that and the passages are half the width they started at. Flow drops, heat transfer falls off, and the controller throws a scale or flow error that looks like a failure. The fix is a service that takes about an hour and should have happened once a year.
Below is the annual routine in the order most techs run it. Descaling is the spine of the job, the part the manufacturers actually require, but four other checks ride along while the covers are off. Run the whole list once a year and you catch the quiet problems, a plugged inlet screen or a sooting burner, before they turn into a no-hot-water call.
- Flush and descale the heat exchanger with white vinegar through the isolation service valves.
- Pull and rinse the cold-water inlet filter screen, the grit trap that starves flow when it clogs.
- Remove and rinse or replace the air intake filter so the burner draws clean, full air.
- Check the venting for blockage, and on a condensing unit clear the condensate trap and neutralizer.
- Read the flame and error history, then walk the unit for drips, corrosion, and water stains.
Why scale is the thing that kills a tankless
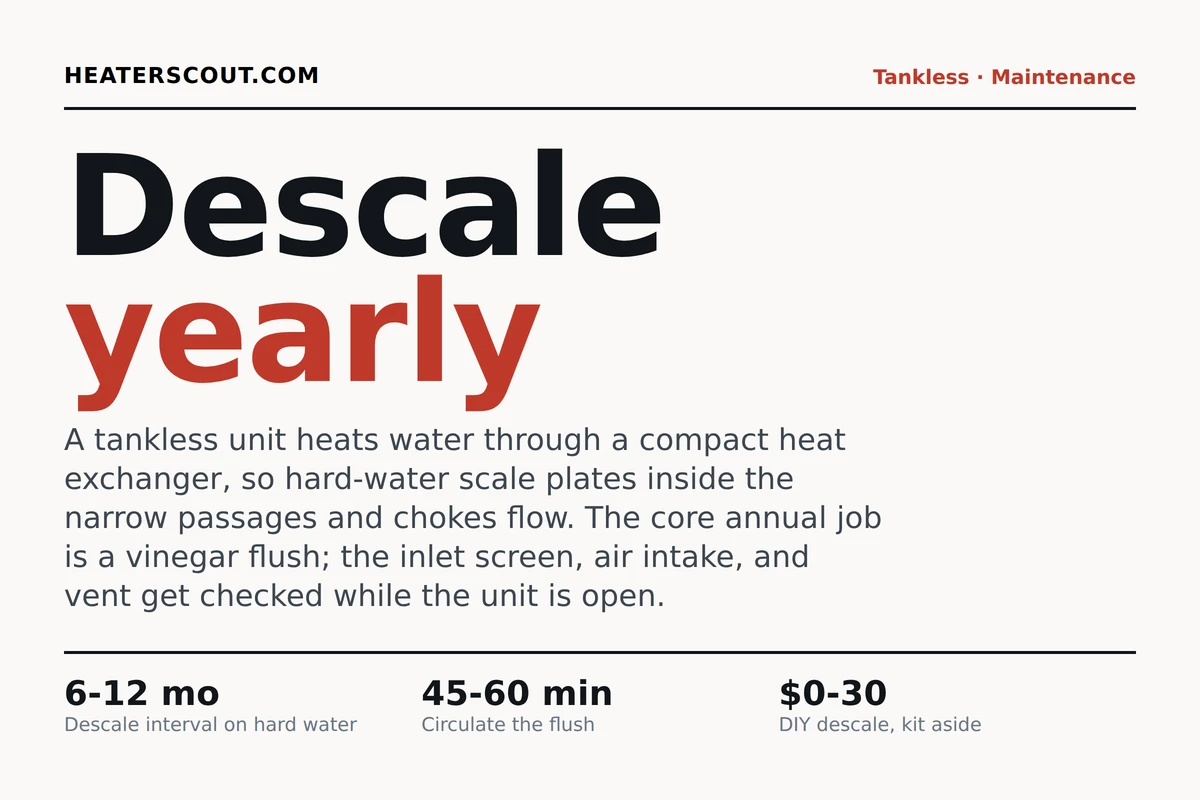
A tank heater holds forty or fifty gallons and heats them slowly with a burner underneath, so scale settles harmlessly to the bottom and the unit shrugs it off for years. A tankless works the opposite way. It fires only when you open a tap and drives a huge amount of heat through a small exchanger to warm the water on the fly. Those passages are narrow by design, because narrow means fast heat transfer, and narrow is exactly what scale ruins first. A layer of calcium a millimeter thick insulates the water from the flame, so the burner runs harder and hotter to hit the same setpoint, and the same layer squeezes the passage so less water gets through. You feel it as weaker flow and a temperature that wanders, and the unit eventually protects itself with a code.
Every major brand watches for this in its own way. Rinnai logs run hours and posts a maintenance reminder, and its combustion and airflow faults cluster in the 10 and 11 code range, the same faults a scaled exchanger and a dirty air intake help trigger. Noritz code 11 is an ignition failure that a fouled exchanger and starved airflow can cause. Navien and Takagi flag flow and exchanger problems the same way. The codes differ, but the root cause behind a slow decline is almost always the same mineral crust, and the flush is what removes it. Descaling with white vinegar dissolves the calcium and lime and hands you back the flow and efficiency the unit shipped with.
There is a tell that separates scale from a one-off glitch. Scale builds slowly, so its symptoms creep in over months rather than appearing overnight. The shower that used to run steaming now needs the handle cranked further, a second tap opening drops the first one from hot to warm, and the burner cycles more than it used to for the same draw. None of that is dramatic on any given day, which is exactly why it gets ignored until a code forces the issue. If you flush on a schedule you never let the crust get thick enough to matter, and the vinegar comes out barely cloudy because there was little to lift. Let it go three or four years on hard water and the same flush turns the vinegar milky and may need a second pass, because you are now dissolving a rind instead of a film.
How to flush and descale the exchanger
The flush is a closed loop. You circulate white vinegar in through one service port, through the heat exchanger, and back out the other port into a bucket, over and over, so the acid keeps eating at the scale until it is gone. Plain 5 percent white vinegar is the standard: cheap, food-safe, and nothing to neutralize afterward. A purpose-made descaler works faster on a badly neglected unit, but for a yearly flush vinegar is plenty. You need a small submersible pump, two washing-machine hoses, a five-gallon bucket, and three to four gallons of vinegar. If your unit has no isolation valves, add a set the next time a plumber is out, because they turn this from a drain-down chore into an hour you will actually keep up with.
The filters, vent, and drain nobody remembers
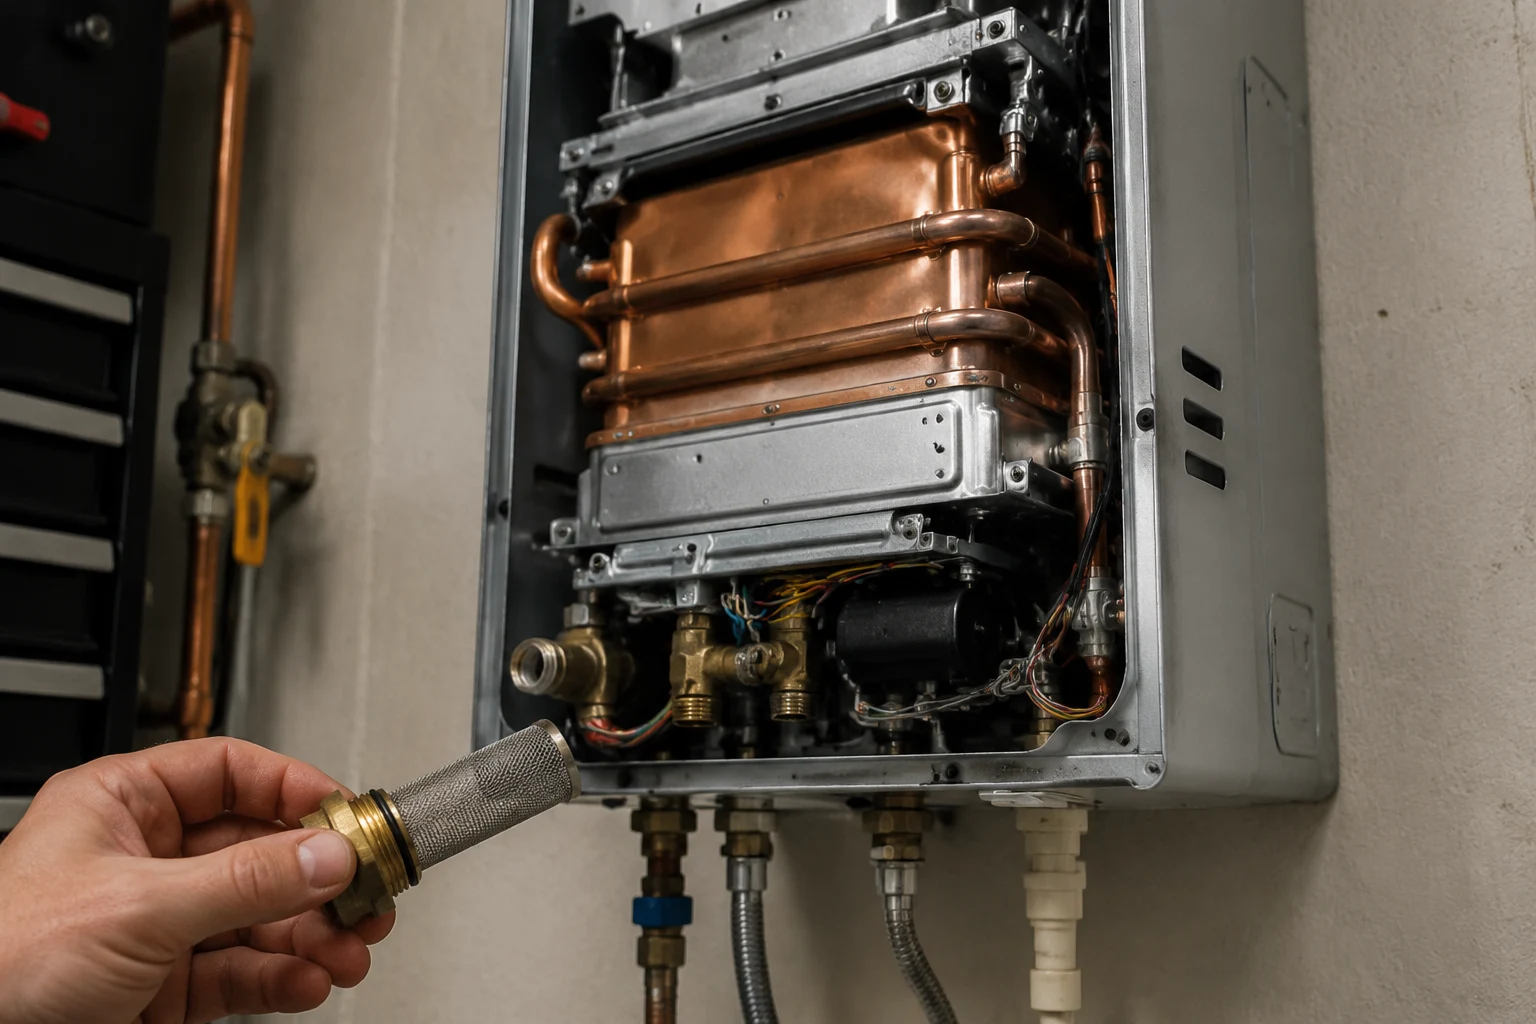
The flush gets the attention, but the cold-water inlet screen is the part that strands more units than scale does in a lot of homes. It is a small mesh filter sitting in the cold service port, and its job is to keep grit out of the exchanger. On well water or old galvanized pipe it can pack solid in a single year. When it does, the unit sees low flow, refuses to fire on a small hot-water draw, and posts a flow error that reads exactly like scale. Plenty of heaters have been condemned over a two-dollar screen a rinse would have fixed. Pull it, brush it under a tap, and drop it back in. Sixty seconds.
The air intake filter is the same idea on the combustion side. A tankless burner pulls a lot of air, and in a dusty garage or a lint-filled laundry room the intake loads up fast. Starve the burner and it runs rich, soots the exchanger, and can post an ignition or combustion fault. On most Rinnai and Navien units it pops out of the base or the intake elbow, gets a rinse or a vacuum, and clicks back. While you are there, look up the vent: a bird screen packed with debris, a sagging pipe holding condensate, or a terminal blocked by snow all choke the same airflow. On a condensing unit, clear the condensate trap and check the neutralizer cartridge, because acidic condensate that cannot drain backs up into the exchanger and corrodes it from the inside. The interval below is for the descale; these checks stay roughly annual no matter how hard your water is.
The last thing on the list is the least physical and the most useful: read what the unit has been telling itself. Rinnai and Navien controllers hold a history of the last several fault codes and, on the newer models, a maintenance and run-hour log you can page through from the front panel or a phone app. Before you close everything up, pull that history. A single flow code buried among clean cycles is probably the plugged inlet screen you just cleaned. A run of combustion or airflow faults points at the intake, the vent, or gas pressure and is worth a pro's manometer. Clearing the history after a service also gives you a clean slate, so next year's log actually means something instead of showing a code you already fixed. It takes two minutes and turns guesswork into a record.
One more habit pays off out of all proportion to the effort: write the date on a strip of tape stuck to the side of the unit every time you flush. That single line is your warranty paper trail, your reminder for next year, and the difference between a manufacturer honoring a heat-exchanger claim and denying it. If you pay a pro, keep the receipt with the same information on it. Either way, the record costs nothing and protects the most expensive part in the machine.
| Descale, soft water (under 3 gpg) | Every 18 to 24 months |
| Descale, moderate water (3 to 7 gpg) | Every 12 months |
| Descale, hard water (7 to 10 gpg) | Every 6 to 12 months |
| Descale, very hard (over 10 gpg) | Every 3 to 4 months, plus a softener |
| Cold-water inlet screen | Check twice a year, clean as needed |
| Air intake filter | Rinse or replace yearly |
| Vent and condensate trap | Inspect yearly, condensing units especially |
What skipping the descale really costs
Skipping the descale is how a tankless unit dies young. Scale keeps plating inside the narrow exchanger passages, so efficiency falls, the burner works harder and hotter to hold the setpoint, and the unit starts throwing flow and temperature codes that read like a controller fault. Left long enough the exchanger overheats, cracks, or corrodes. And here is the part that stings: if it fails caked in scale with no service record, Rinnai, Navien, Noritz, and Takagi can deny the warranty claim on the single most expensive part in the machine. A dated flush record is cheap insurance.
Do I need a water softener, or is flushing enough?
On soft to moderate water, a yearly or twice-yearly flush keeps up fine and a softener is overkill. Above 7 grains per gallon the math shifts: a whole-house softener or a scale-inhibiting inline filter ahead of the heater cuts how fast the exchanger scales, stretches the descale interval toward two years, and adds years to the exchanger's life. Above 10 grains you are fighting a losing battle with vinegar alone, and treating the water is the real fix. Running the unit at 140 degrees instead of 120 also drives minerals out of solution faster, so a hot setpoint scales the exchanger quicker than a moderate one.
Frequently asked
How often should you descale a tankless water heater?
On soft water, once every 18 to 24 months is enough. On hard water it moves up to every 6 to 12 months, and above 10 grains per gallon you may need it every 3 to 4 months. The harder your water, the faster calcium and lime plate onto the exchanger walls, so a $10 hardness strip or your utility's water report is the honest way to set the interval. A softener or a scale-inhibiting inline filter ahead of the heater stretches it out.
What does tankless water heater maintenance involve?
The spine of the job is descaling the heat exchanger: close the isolation valves, hook a pump and hoses to the service ports, and circulate white vinegar or a descaling solution for 45 to 60 minutes, then flush with fresh water. While the unit is open you also clean the cold-water inlet filter screen, rinse the air intake filter, check the vent for blockage, and on a condensing unit clear the condensate trap and neutralizer. Then you read the error and flame history to see what the unit has been complaining about.
Can I descale a tankless water heater myself?
Yes, if the unit has isolation and service valves already plumbed in. You need a small submersible pump, two washing-machine hoses, a bucket, and three to four gallons of white vinegar. The pump kit runs $30 to $70 once, and the vinegar is a few dollars a flush after that. What a homeowner usually cannot do is a gas-pressure and combustion check, which needs a manometer and a combustion analyzer, so some owners flush themselves and book a pro every second or third year for the burner side.
What scale or error code means my tankless needs descaling?
It depends on the brand, but scale usually shows up as a flow, temperature, or maintenance code. Rinnai posts codes in the 10/11 range for combustion and airflow faults that scale and a dirty intake can trigger, and a maintenance reminder when the heater logs enough run hours. Noritz code 11 is an ignition failure that a fouled exchanger and starved airflow can cause. Navien and Takagi flag flow and exchanger faults the same way. A slow drop in hot-water flow or a shower that swings hot to cool points at scale before any code appears.
Does skipping descaling void a tankless water heater warranty?
It can. Rinnai, Navien, Noritz, and Takagi all call for descaling on a schedule in hard water, and a heat-exchanger claim can be denied if the unit failed caked in scale with no service record. Keep dated notes of each flush, or a receipt from a pro, so a warranty claim on the most expensive part in the machine has something to stand on.
How long does a tankless flush take?
Plan on about an hour of circulation. A lightly scaled unit clears in 45 minutes; a neglected one on hard water wants a full 60, and there is no harm in running longer since vinegar will not damage the exchanger. Add 15 to 20 minutes on either side for hooking up the hoses, cleaning the inlet screen and air filter, and rinsing the loop clean afterward.
Should I use vinegar or a descaling solution?
Plain 5 percent white vinegar is the standard for a home unit: cheap, food-safe, and nothing to neutralize afterward. A purpose-made descaler works a little faster on heavy buildup and is worth it if you have skipped the flush for years or run very hard water. Never run bleach, CLR-strength acids, or anything not rated for potable systems through the exchanger.