A tankless water heater that locks out on ignition is often burning gas just fine. The burner lights, the flame is blue and steady, and the unit still throws a flame-failure code and shuts down. The reason is a thin film on one small rod. That rod is how the control board proves the burner is lit, and it does the job electrically, not by watching the flame. Coat it in soot and the board goes blind to a flame that is right in front of it.
Who this is for
The fix is the same across brands, but the code you are staring at depends on the badge and on whether the flame never registered or registered then dropped.
Code 11 or 12
Code 11 is no ignition: the burner tried to light and the flame rod never sensed a flame. Code 12 is flame failure: the rod saw flame, then lost it. A carboned rod reading near zero causes 11; a weak, drifting signal causes 12. Cleaning the rod is the first move on both.
Error E003
E003 is Navien's ignition-failure lockout. The unit sparks and opens the gas valve, then looks for flame current within a few seconds across three to five attempts. If the rod cannot make signal, it gives up and posts E003, even when the burner briefly lit.
Code 11 or 12
Noritz 11 is ignition failure or no flame detection; 12 is flame loss, a weak flame going out during the burn. Noritz's own guide flags the flame rod, the blue flame-rod wire, and the green ground wires as the things to check first.
The micro-amp signal, in plain terms
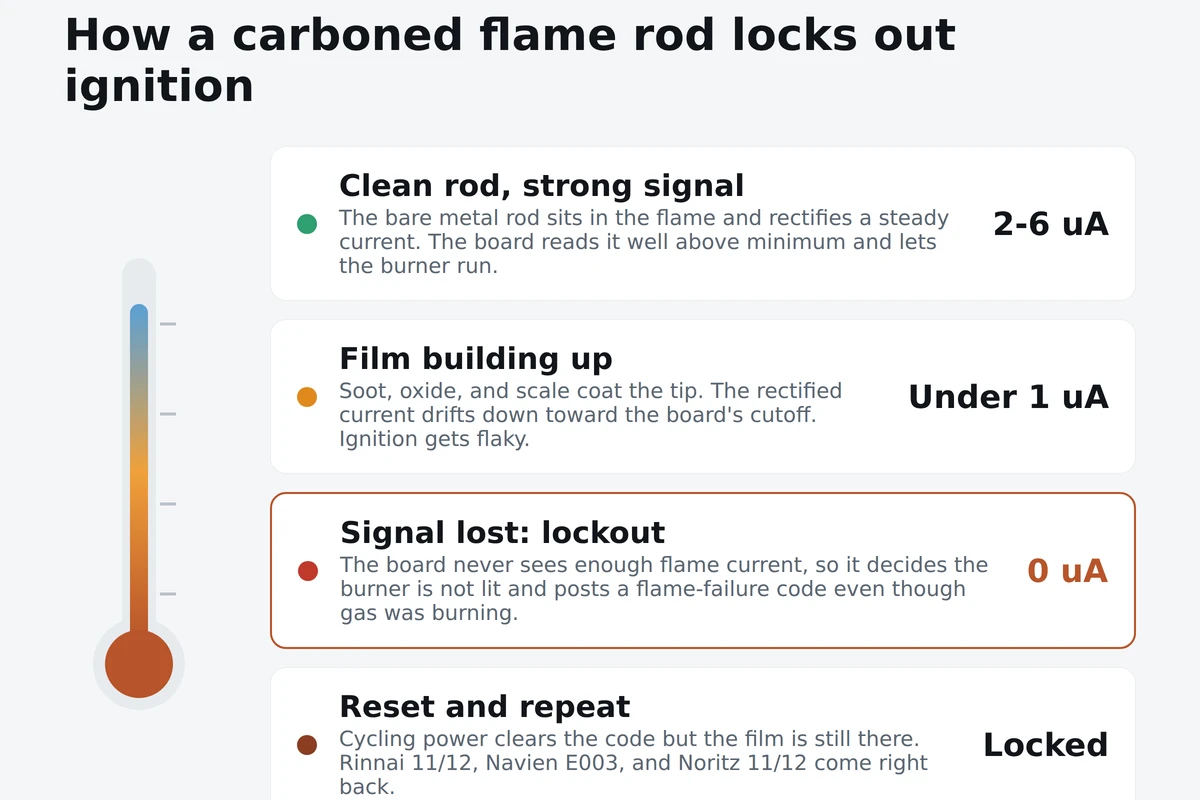
Here is what the rod actually does. The control board applies an alternating voltage to the flame rod. A flame is a weak conductor, and because the burner it grounds against is far larger than the thin rod, the flame passes current much more easily in one direction than the other. That lopsided conduction rectifies the AC into a small DC current that flows from the rod, through the flame, to the grounded burner. The board measures that direct current, and that is its proof the burner is lit. The numbers are tiny. A healthy rod makes a current that is almost always under 10 micro-amps, with a comfortable working window of roughly 2 to 6. Anything from about half a micro-amp up to 10 is generally alive, but the board has a minimum threshold, and when a film of soot or oxide drops the signal below it, the board declares no flame and locks out. That is the whole failure in one sentence: a real fire the board can no longer feel.
Before you open anything
The rod is the most common cause of these codes, but it is not the only one, so rule out the free checks and make the job safe first. If gas supply is the real problem, cleaning the rod wastes an hour.
- Confirm the gas is fully on: the shutoff at the unit and any upstream valve, plus tank level on propane.
- Check whether an earthquake or excess-flow valve tripped, or the utility recently worked on the line.
- Turn the unit off at the controller, close the gas, and shut the electrical power at the breaker or plug.
- Let the burner and heat exchanger cool fully before you reach inside.
- Have the right emery cloth or fine abrasive pad ready, and the exact replacement rod part number on hand.
- Note the flame-rod wire routing and color, often blue, so you reconnect it exactly.
Cleaning the flame rod, step by step
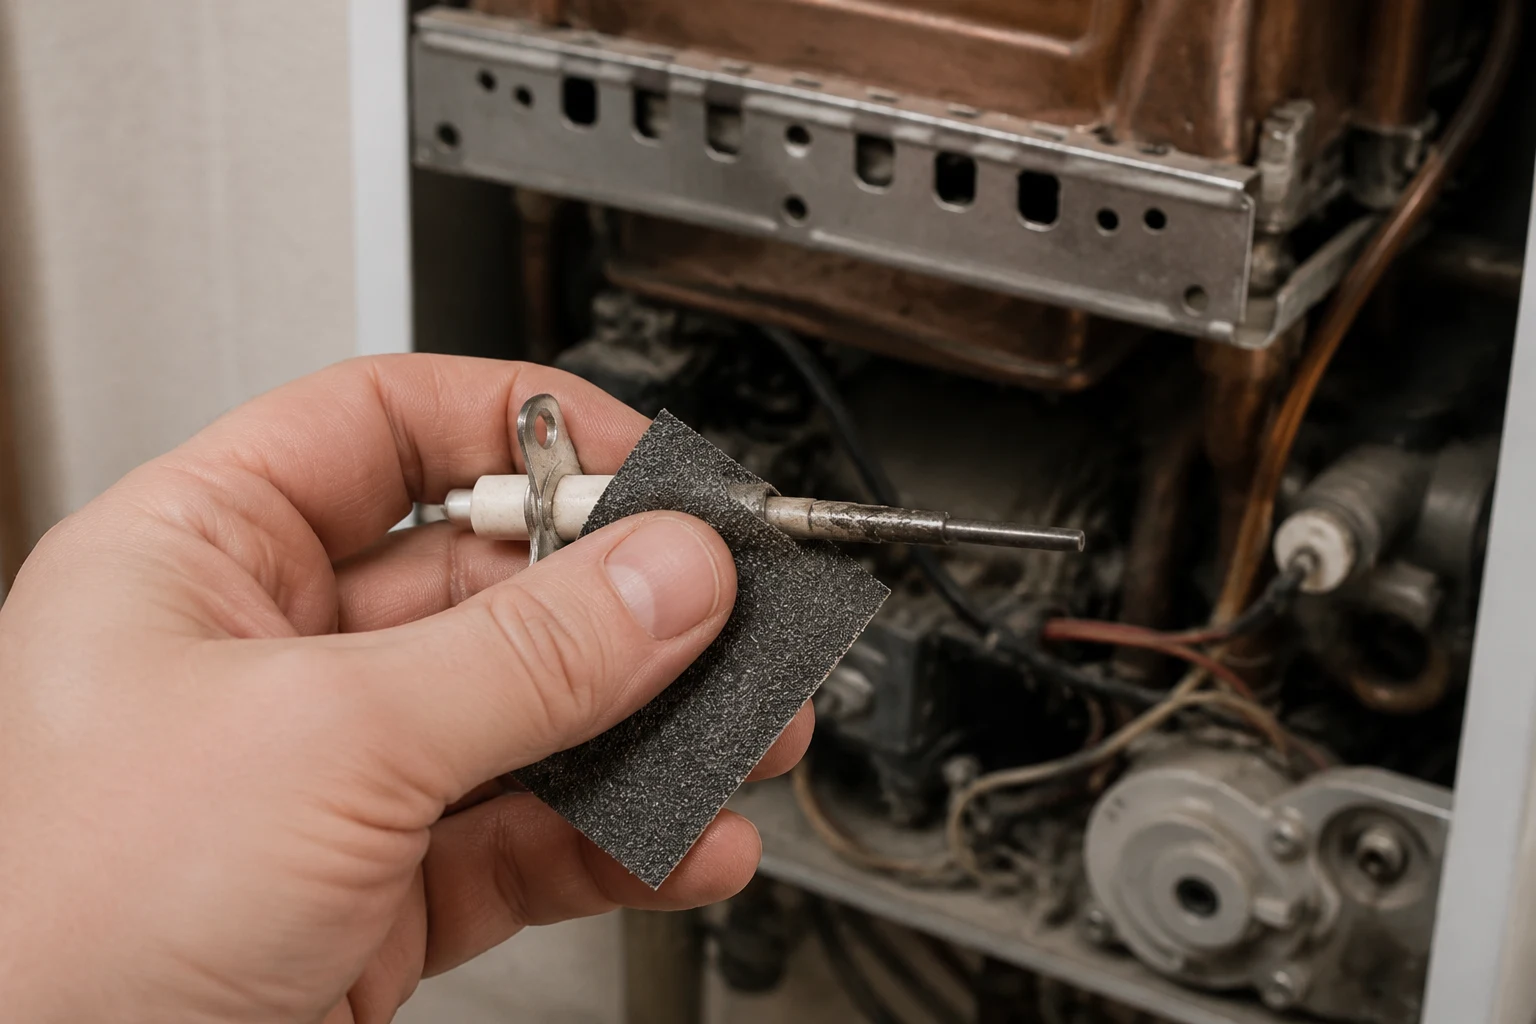
Work slowly and keep track of fasteners. The rod is fragile at the ceramic base, and the goal is bright metal without gouging it.
When cleaning is not the answer
If the code comes back right after a careful cleaning, stop cleaning and start measuring. A rod that polishes bright but still will not make signal has lost its ability to rectify and needs replacing. A cracked ceramic insulator is an automatic replacement because it dumps the signal to ground. And if a new, properly grounded rod still throws the code, the flame really is failing, which pulls you back to gas: supply pressure that sags under load, a partially closed valve, a fouled gas orifice, or an igniter that does not spark reliably. Those are the point where a tech with a manometer and the model service sheet earns the call, because gas pressure work is not a homeowner job. The flame rod is the cheap, common, do-it-first cause. It is just not the only one, and chasing it past the point where the evidence says otherwise is how people end up replacing good parts.
Frequently asked
Why does a dirty flame sensor cause an ignition or flame-failure code?
Because the board proves the burner is lit by measuring a tiny electrical current the flame itself carries, not by seeing the flame. The control applies an AC voltage to a metal rod sitting in the burner flame. The flame conducts unevenly, so it rectifies that AC into a small DC current, on the order of a few micro-amps, that flows from the rod to the grounded burner. The board reads that current as proof of a real flame. When soot, oxide, or scale coats the rod, the film insulates it and the current drops. Once it falls below the board's minimum, the control decides there is no flame even though gas is burning, so it shuts the gas valve and posts a flame-failure lockout. Rinnai calls it code 11 or 12, Navien posts E003, Noritz shows 11 or 12. Same physics behind all of them: a good burn the board can no longer see.
What is a normal flame sensor micro-amp reading?
A healthy flame rod on a gas appliance rectifies a current that is almost always under 10 micro-amps, and the sweet spot most techs look for is roughly 2 to 6 micro-amps of steady DC. A reading in the 0.5 to 10 range is generally considered alive but should be judged against what the burner ran at when it was new. What matters more than the exact number is the trend and the stability. A rod that used to read 5 and now reads 1.2 is on its way out even though 1.2 is not zero, because the board has a minimum threshold and a drifting signal crosses it on a cold morning when everything is least forgiving. You measure it by putting a meter set to DC micro-amps in series with the flame-rod wire while the burner fires. If cleaning the rod does not bring the number back up near where it started, the rod or its ground is the problem.
How do I clean the flame rod on my tankless water heater?
Shut the unit off, close the gas, kill the electrical power, and let it cool. Open the front cover and find the flame rod at the burner: it is a thin metal rod, often ceramic-based, with a single wire, sitting in the path of the flame, distinct from the two-legged igniter. Note how the wire routes, then unplug it and unbolt the rod. Clean the metal with an emery cloth, a fine abrasive pad, fine steel wool, or even a folded dollar bill for light film. You want to knock off the dull soot and oxide and get back to shiny metal. Do not use coarse sandpaper: deep scratches give soot more surface to grab and the rod fouls faster next time. Wipe it clean, reinstall it, reconnect the wire, close up, and restore gas and power. Then fire the unit and confirm the code is gone and the burner holds.
Will cleaning the flame sensor fix a Rinnai 11, Navien E003, or Noritz 11 for good?
Often, but not always, and the code number tells you how hopeful to be. Rinnai 11 and Noritz 11 mean the burner tried to light and the rod never sensed flame, so a rod caked to the point of reading zero is a prime suspect and a cleaning frequently clears it. Rinnai 12 and Noritz 12 mean flame was sensed then lost, which points at a weak or intermittent signal, and again cleaning helps. Navien E003 is the same family: ignition failure after three to five tries. But these codes have other causes too, chiefly gas supply. If the gas valve is half closed, a propane tank is low, an earthquake valve tripped, or supply pressure sags when the burner fires, no amount of cleaning helps because the flame really is failing. Clean the rod first since it is free and common, but if the code returns right after a good cleaning, move on to gas pressure, the ground, and the igniter.
How often should I clean a tankless flame sensor?
Once a year is the sensible cadence, and it lines up with the annual descaling most tankless units want anyway, so do both at the same service. If your water heater sits in a dusty garage, a laundry area full of lint, or runs on propane that burns a little dirtier, lean toward yearly without exception. Units in clean indoor spaces on natural gas can sometimes stretch it, but the rod is cheap to check while the cover is off. The tell that you are overdue is intermittent ignition trouble on cold mornings or after a long idle period, or a code that clears on a reset and comes back a few days later. That pattern is a signal drifting toward the board's cutoff, and a five-minute cleaning usually buys back another year.
Do I need to replace the flame rod instead of cleaning it?
Replace it when cleaning stops working or the rod is physically damaged. If you polish the metal back to shiny and the micro-amp reading still will not climb near its original value, the rod has lost its ability to rectify and a new one is the fix. Inspect the ceramic insulator at the base: a crack there leaks the signal to ground and no cleaning helps, so that rod is done. A rod that is heavily pitted, warped, or eaten thin from years in the flame should be replaced rather than nursed. A tankless flame rod is an inexpensive part, commonly in the twenty to eighty dollar range depending on brand and model, so once you have proven the rod is the problem there is little reason to keep fighting a marginal one. Order the exact part for your model number rather than a generic look-alike, since rod length and mounting differ.
Could a bad ground cause the same flame-failure code as a dirty sensor?
Yes, and it is the mistake that sends people replacing good rods. Flame rectification only works because the burner or a hood acts as a large ground surface, at least about four times the area of the rod, so the current flows strongly one direction. If the burner ground is corroded, a green ground wire has fallen off a lug, or the whole unit is poorly grounded, the rectified current collapses and the board reads it as no flame, exactly like a dirty rod. Noritz spells this out in its own troubleshooting: check that the green ground wires are secure and that the flame-rod wire, often blue, is connected and undamaged. So if a cleaned rod still will not make signal, put the meter on the ground path before you spend money on parts. A loose ground is free to fix and mimics an expensive failure.