A Takagi that locks out on 331 is not complaining about its burner or its gas. It is telling you it has lost a trustworthy reading from the heat-exchanger temperature sensor, so it will not fire until that sensor talks straight again. The board treats a temperature it cannot verify as a hard stop, on purpose. The good news is that the culprit is almost always a loose connector, a film of scale, or a small sensor that costs less than lunch, not the expensive control board the code number might scare you into buying.
What the code is actually reporting
A thermistor is a temperature sensor whose electrical resistance changes as it heats and cools. Takagi wires several of them around the water and flue path, and the control board reads each one hundreds of times a run to manage the burn and protect the unit. Code 331 is the heat exchanger thermistor reading open or shorted. Open means the circuit is broken, a cut wire or a dead sensor, so the board sees infinite resistance. Shorted means the resistance collapsed toward zero. Either way the number is nonsense, and the board refuses to guess at a heat-exchanger temperature it cannot trust. Takagi puts 331 in the same family as the other thermistor faults, and the fix path is shared across all of them.
| Code | Sensor | Watches | First check |
|---|---|---|---|
| 311 | Outlet thermistor | Hot water leaving the unit | Wiring, then ohm-test |
| 321 | Inlet thermistor | Cold water coming in | Wiring, then ohm-test |
| 331 | Heat exchanger thermistor | The exchanger temperature itself | Wiring and scale, then ohm-test |
| 341 | Exhaust thermistor | Flue gas on indoor T-H3 / 540 | Wiring, then ohm-test |
Reading that table, the pattern is obvious. Every one of these codes is a bad sensor circuit, and the difference is only which sensor and where it sits. So the diagnosis below applies to 311, 321, and 341 just as well as 331. Only the location of the sensor you are chasing changes.
Does 331 mean my heat exchanger is bad?
No. The code is about the sensor reading the exchanger, not the exchanger itself. A cracked or failed heat exchanger throws different faults tied to overheating, leaks, or combustion. A 331 is the temperature probe on that exchanger going open or shorted. That said, if hard-water scale coated the sensor enough to trip 331, the same scale is building on the exchanger, so treat it as a nudge to descale before scale does real damage.
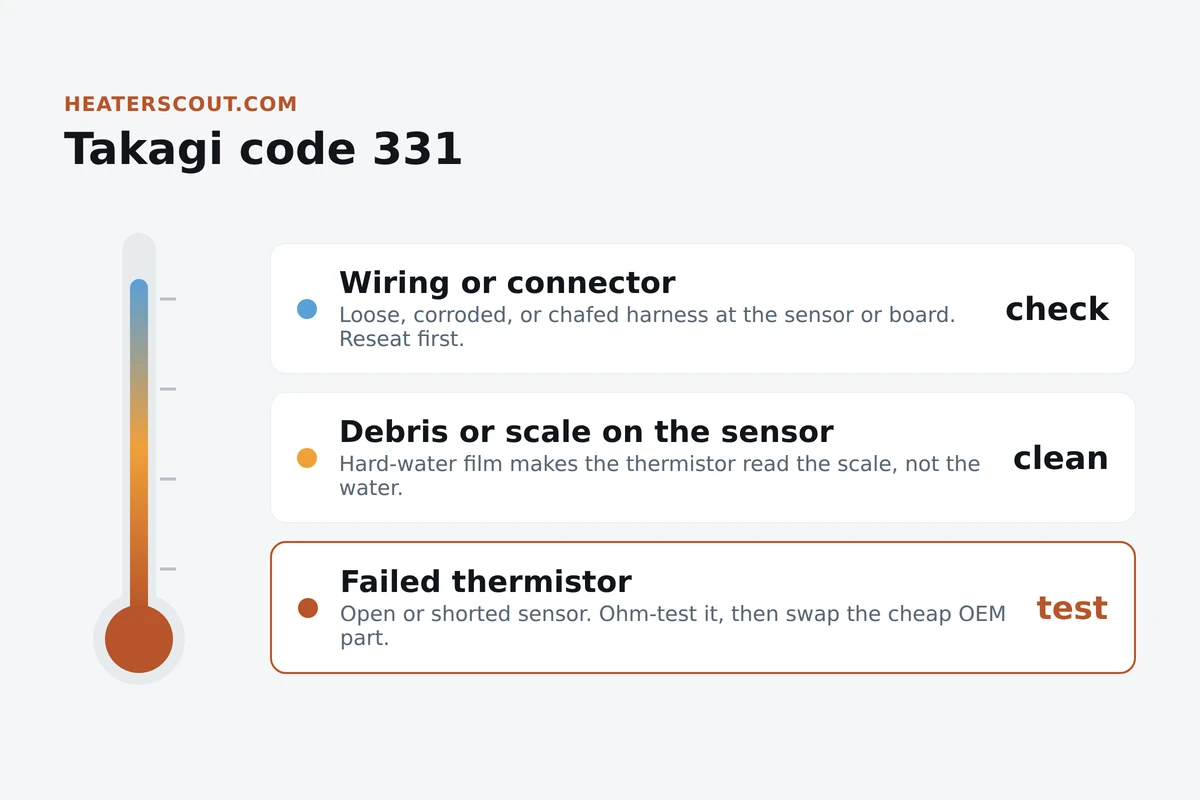
The fix, cheapest cause first
Work from free to expensive. The Takagi service handbook itself lists the steps in this order: check for disconnection or breakage of the wires and any debris on the thermistor, then check the thermistor resistance. Do not order a board because a code scared you.
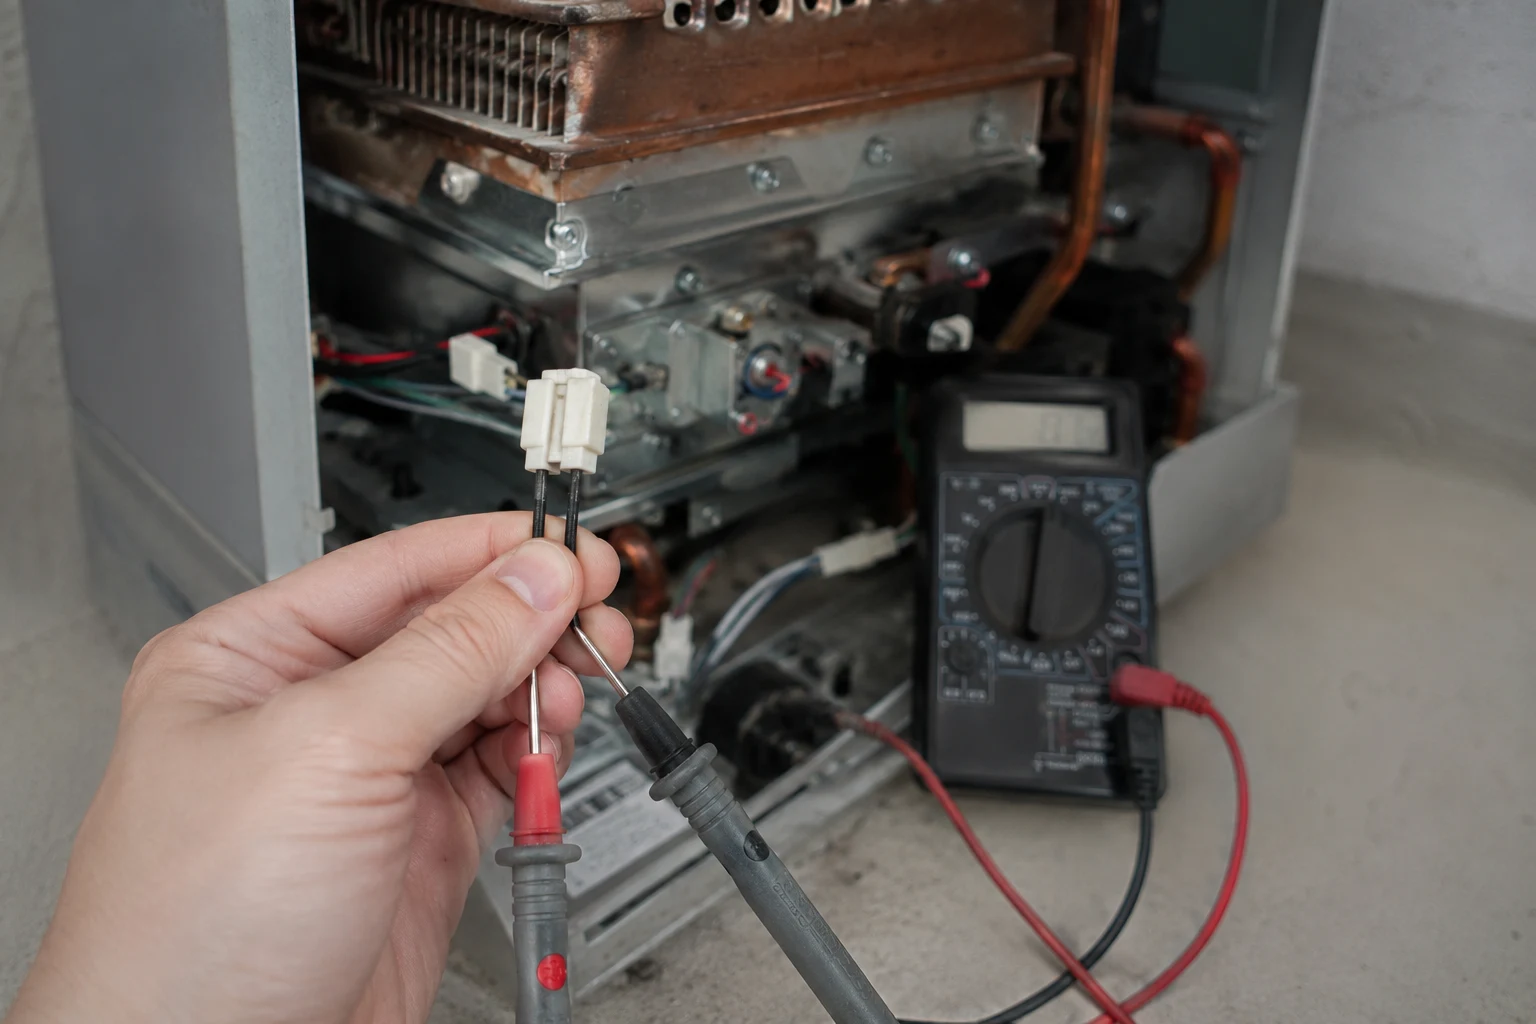
Before you open the cabinet
Kill power at the breaker and close the gas shutoff before you open the cabinet. You are reaching near a hot heat exchanger and a live control board. Let the unit cool, and never energize it with the cover off unless a service procedure specifically tells you to. If you are not comfortable ohm-testing or you smell gas at any point, stop and call a licensed tech.
Who should do which part
The homeowner line here is generous because there is no gas tuning involved. Reseating a connector, wiping scale off a sensor, and reading a thermistor with a meter are all fair game for a careful DIYer. Where it tips to a pro is a board-level fault, a sensor buried in an assembly you would rather not disturb, or a heater still under warranty you do not want to void.
Loose connector or scaled sensor
Reseat the harness, wipe the thermistor clean, ohm-test it. If the sensor reads in spec after a clean, you are done for the price of a screwdriver and thirty minutes. This is the most common 331.
Failed thermistor
The sensor is open, shorted, or off the curve. OEM thermistors are single-digit-dollar parts. Swapping one is a plug and two screws on most models, well within reach of a confident owner.
Board fault or repeat 331
Sensor and wiring check out but 331 keeps returning, or the input channel on the board is misreading a good sensor. A control board is the priciest part in the unit and the diagnosis is worth a tech's meter and experience.
Hard water and heavy scale
If scale keeps re-coating the sensor, the real job is a proper descale plus a water-hardness plan. A tech can flush the exchanger, verify the sensors, and advise on a softener or filter.
Keeping 331 from coming back
Most 331 codes trace back to one of two neglected habits: connectors that were never checked and scale that was never flushed. Both are cheap to stay ahead of. Descale the unit on schedule, once a year in soft water and more often in hard, so the heat exchanger and the sensor riding on it stay clean and the thermistor keeps reading water instead of crust. When a tech is in the cabinet for annual service, have them reseat the sensor connectors and confirm the harness is not chafing against hot metal, because vibration and heat cycling are what loosen and fray those wires over time. If your water is hard enough to scale a sensor in a year, a softener or a scale-control filter pays for itself in codes you never see. And note that Takagi as a brand was discontinued at the end of 2025, so while OEM sensors remain available as supplies last, it is worth stocking a spare heat-exchanger thermistor if you plan to keep the unit running for years.
Frequently asked
Can I reset Takagi code 331 myself?
You can clear it, and it is worth doing once to confirm the fault is real and not a one-time glitch. On a Takagi tankless there is no dedicated reset button. Turn the unit off at the remote controller or the power switch, then cut power at the breaker for about thirty seconds and restore it. That power cycle drops the latched 331 and lets the board re-read the heat-exchanger thermistor on the next demand for hot water. If the sensor circuit is genuinely open or shorted, the code comes right back the moment you draw hot water, because the board checks the thermistor before and during every burn. A reset that holds means the fault was transient, likely a marginal connector. A reset that returns instantly means the sensor or its wiring is bad and you have work to do.
Is code 331 the same as 311, 321, and 341?
Same fault class, different sensor. Takagi groups all four together in the service handbook under "thermistor failure." A thermistor is a temperature sensor whose resistance changes with heat, and each Takagi has several of them watching different points. Code 311 is the outlet thermistor on the hot water leaving the unit. Code 321 is the inlet thermistor on the cold water coming in. Code 331 is the heat exchanger thermistor, reading the temperature of the exchanger itself. Code 341 is the exhaust thermistor in the flue on indoor T-H3 and 540 models. The board throws the matching number when that specific sensor reads open or shorted. The diagnosis is identical for all four: check the wiring, clear debris, ohm-test the sensor, replace it if it is out of spec.
What resistance should the thermistor read?
Takagi publishes a resistance-versus-temperature curve for its thermistors, and that chart is the honest test. These are negative-temperature-coefficient sensors, so resistance falls as temperature rises. Field guides for Takagi commonly cite a value in the neighborhood of 9,000 ohms at a normal room or cool-water temperature as a healthy reading, dropping into the low thousands as the sensor heats. What you are ruling out are the two failure extremes: a reading of infinite resistance or open circuit means a broken sensor or a cut wire, and a reading near zero ohms means a shorted sensor. Any sane number that changes smoothly when you warm the sensor with your hand tells you the thermistor is alive. A dead-flat reading, or one wildly off the published curve for that temperature, tells you to replace it. Always check against your exact model's chart, because values differ slightly across the line.
How much does it cost to fix Takagi code 331?
The sensor itself is one of the cheapest parts in the whole heater. Takagi OEM thermistors run in the single digits to low tens of dollars at plumbing-parts suppliers, an inlet thermistor lists around eight dollars, and heat-exchanger and other sensors are in the same rough range. If a connector was simply loose or dirty, the fix is free. A plumber's visit to diagnose and swap the sensor usually lands somewhere around one hundred fifty to three hundred fifty dollars once you count the trip and labor, more in high-cost cities. The expensive path is a control board, which can run several hundred dollars for the part alone, which is exactly why you ohm-test the cheap sensor before anyone orders a board. A dead thermistor is far more common than a dead board.
Will descaling clear code 331?
Sometimes, and it is smart to rule it in early if you have hard water. Code 331 watches the heat exchanger, and in hard-water regions mineral scale builds a crust on the exchanger and can coat the sensor that sits on it. When that happens the thermistor ends up reading the temperature of the scale instead of the water, so it drifts, lags, or reads out of range and trips the code. Flushing the unit with a descaling solution strips that mineral film and can restore a sensor that was only fooled by scale, not actually broken. Descaling will not fix a sensor with a cut wire or a genuinely failed element, but on a neglected heater in hard water it is a reasonable first move alongside the wiring check. If scale contributed to a 331, treat it as a warning that the heat exchanger is next on scale's list, and get on an annual flush schedule.
Why does Takagi code 331 keep coming back?
A 331 that returns after a clean or a reset is pointing at something you have not fixed yet. The usual repeat offenders: the connector was reseated but the wire is chafed or corroded inside the insulation, so the signal drops intermittently as the unit vibrates and heats. Or the sensor was cleaned but is genuinely on its way out, reading fine cold and drifting out of range hot, which only a resistance check at temperature catches. Or hard water keeps re-coating the sensor faster than you clean it, which means the real job is a descale and a water-hardness fix, not another wipe of the sensor. Or, rarely, the board input for that channel is failing and misreading a good sensor. Measure the thermistor resistance both cold and warm before you decide, because an intermittent 331 almost always leaves a fingerprint on the meter.
Is Takagi code 331 dangerous?
The code itself is a protection, not a hazard. The heat-exchanger thermistor is one of the sensors that lets the board know how hot the exchanger is getting, which feeds overheat and burn-control logic. When the board loses a trustworthy reading from that sensor, it shuts the unit down rather than run blind and risk overheating, so a 331 lockout is the safety system doing its job. The real risk is defeating it. Never jumper, bypass, or fake a thermistor to force the heater to run, because you would be blinding the exact protection that keeps the exchanger from overheating. If the sensor and wiring check out and 331 still returns, or if you see any sign of overheating, scorching, or smell anything burning, shut the unit down and get a licensed tech on it. The code is cheap to fix and expensive to ignore.