Your Rinnai has gone cold and the display is flashing 79. That number is not a mystery to the control board; it means a sensor at the very bottom of the unit just felt water on the baseplate and shut the burner off on purpose. What the board cannot tell you is where the water came from. It might be a few drops of condensate from a humid closet, or it might be a heat exchanger that cracked over the winter and is now dripping onto live electrical parts. Both throw the same code. The whole job with a 79 is figuring out which one you have before you touch the reset button.
Never bypass the leak sensor
Do not defeat the leak sensor to get hot water back. The single most damaging thing owners do with code 79 is unplug the leak-detection sensor so the unit will run again. If there is a genuine leak, you have just told a safety device to ignore water pooling around a gas valve and a circuit board. Dry the base, find the source, and only reset once you have confirmed the unit is not actively leaking. A code that keeps returning on a dry unit is not a glitch, it is a warning.
Rinnai code 79 (water leakage detected)
The leak-detection sensor mounted at the base of the combustion chamber, a small white plastic piece with a wire, has detected moisture on the baseplate and signaled the control board to stop the burner. It is a safety shutdown, not a self-clearing fault. Rinnai's service literature has you check the sensor wiring for loose or damaged connections, then inspect the heat exchanger and all internal piping for leaks. The exact reset (on/off button five times in five seconds, or holding the priority button) varies a little by controller. The meaning is the same across the line, water where it should not be.
Work out which kind of 79 you have
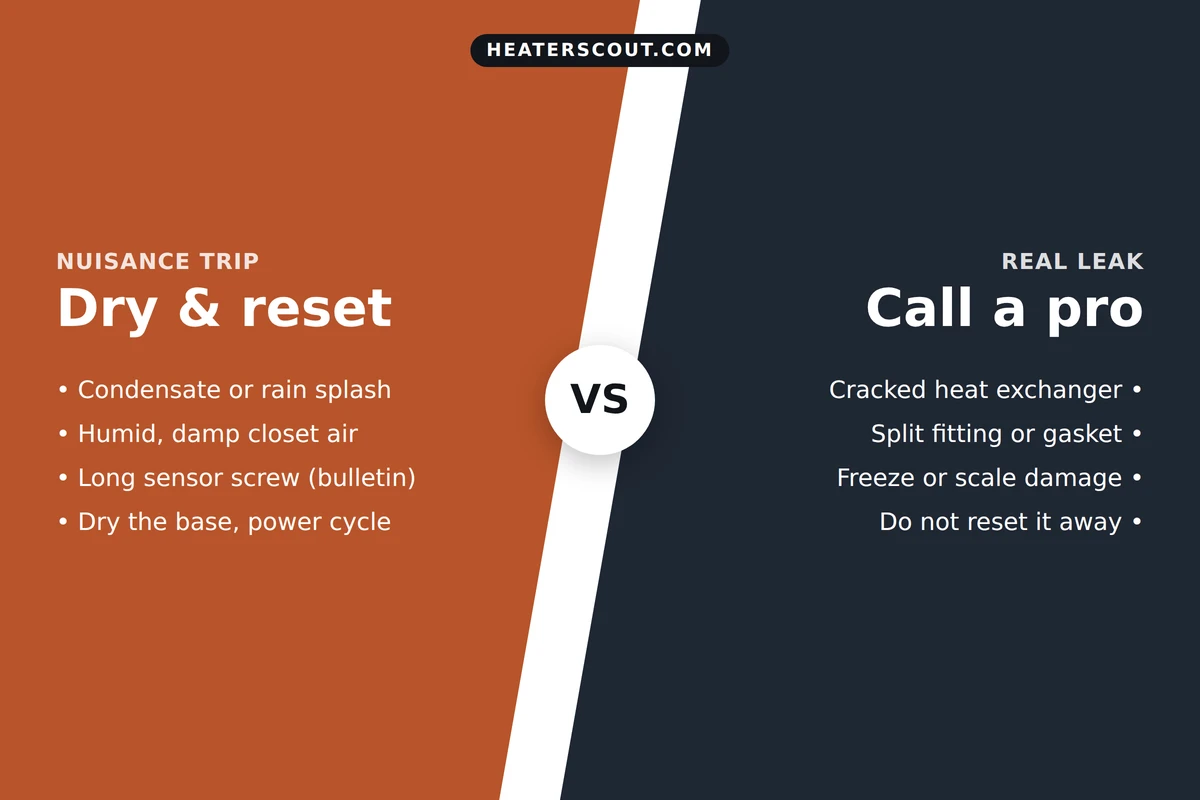
Every 79 starts the same way. Kill the gas and the power, pull the front panel, and look. What you see on the baseplate decides everything that follows. A base with a trace of condensation on a humid day is a different problem from a base with a puddle and a drip you can watch. Go through the checks in order and let the water tell you where it came from before you decide to reset or to call someone.
1. Cut power and gas, then open the unit
Turn the gas control off and kill power at the outlet or breaker before you take the front cover off. You are about to work around water, gas, and 120-volt electronics, so remove the panel with the unit dead. Once it is open, find the leak sensor low in the unit, the small white plastic surface-mounted piece with a white wire. That is what tripped the code.
2. Read the baseplate
Look at the metal base under the heat exchanger and the burner. A few beads of condensation on a humid or rainy day point toward a nuisance trip. A standing puddle, a steady drip, or mineral crust and corrosion streaks point toward a real leak from a component above. Note where the water sits, because it usually collects directly under whatever is leaking.
3. Trace the water upward
Follow the wettest spot up. Look at the heat exchanger body and its brazed joints, the water inlet and outlet fittings, the flow sensor, and any gaskets or O-rings. A cracked heat exchanger often shows a white scale trail or a green copper stain where hot water has been weeping. Check that no plumbing above the unit is dripping onto the top of the cabinet and running down inside.
4. Check the condensate path on condensing models
If you have a condensing Rinnai, it makes acidic condensate that must drain. A clogged or kinked condensate line, a full trap, or a disconnected drain hose can back water up onto the base and trip 79 with no component actually failing. Confirm the condensate drain runs clear to a proper drain before you blame the heat exchanger.
5. Inspect the sensor and its wiring
Rinnai's own procedure has you check the leak-detector wiring harness for loose, broken, or damaged connections. A pinched or corroded wire can trip the code on its own. If the base is dry, the wiring is sound, and 79 still fires, the sensor itself may be faulty or mounted too close to normal condensation, the nuisance-screw case Rinnai covers in a tech bulletin.
6. Decide: dry and reset, or stop
Dry base with only light condensation and no source above it: dry it fully, air it out, and reset. Wet base with an active drip or a clear source at the heat exchanger, a fitting, or a gasket: do not reset. You have a real leak, and clearing the code just restarts a heater that is soaking its own controls.
What a homeowner can safely do
Plenty of 79 events are nuisance trips you can clear yourself, as long as you have done the inspection above and the base is genuinely dry. The line you do not cross is component work. Drying, resetting, clearing a condensate drain, and checking a vent for blown-in rain are homeowner tasks. Opening the water manifold, replacing a heat exchanger or gas valve, or swapping the control board are licensed-tech tasks, because they involve gas pressure, sealed water joints, and warranty terms you do not want to void. Work through this list before you either reset or make the call.
- Confirm the unit is off at the gas and the power before you remove the front panel or touch anything inside.
- Dry the entire baseplate and the area around the leak sensor with a cloth or a shop vac, then let it air out for a while.
- Look for an outside water source: rain blowing down an outdoor vent, a clogged condensate drain on a condensing model, or plumbing dripping onto the top of the cabinet.
- On a condensing unit, verify the condensate line and trap are clear and draining to a proper drain, not backing up onto the base.
- Check the leak-sensor wire for loose, pinched, corroded, or broken connections without pulling components apart.
- Reset only after the base is dry: on/off button five times within five seconds, or hold the priority button, per your controller.
- If 79 returns quickly on a dried unit, stop resetting. That is a real leak, and repeated resets just silence the safety trip.
- Look up your model's warranty and registration status before authorizing any part replacement; the heat exchanger is often covered.
- In freezing weather, keep the unit powered so freeze protection stays active, and insulate exposed water lines to prevent a cracked heat exchanger.
When 79 means real money
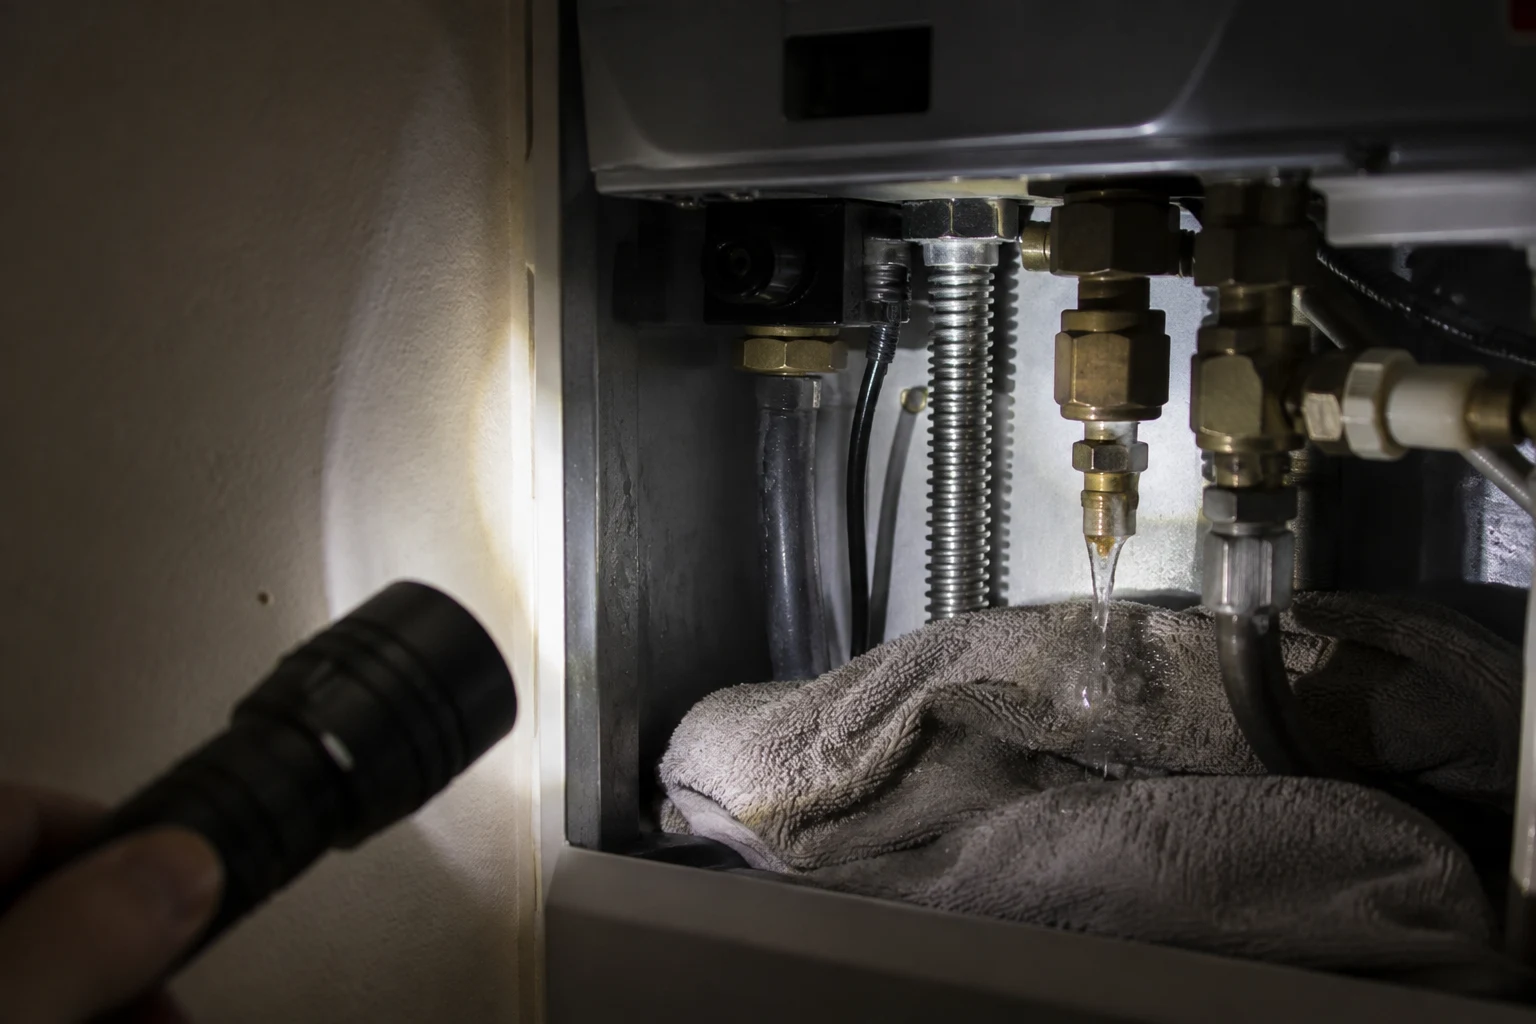
The expensive version of code 79 is a genuine internal leak, and the heat exchanger is the part that makes it costly. It can crack from a hard freeze after a power loss, or be eaten through over years by scale and acidic condensate if the unit was never descaled. When it goes, hot water weeps onto the base, the sensor trips, and no amount of drying fixes it. The part alone often runs several hundred dollars, and labor adds several hundred more, which is why a freeze-cracked or scaled-out heat exchanger frequently makes replacing the whole heater the smarter buy. The saving grace is the warranty: Rinnai residential heat exchangers typically carry a long term, commonly around 12 years, so a registered unit may cover the part and leave you paying mostly labor.
Not every real leak is the heat exchanger. A loosened or split water fitting, a failed gasket or O-ring at the manifold, or a cracked flow sensor housing can all drip onto the base and trip 79 for far less money than an exchanger, and a tech can often reseal or replace a fitting in one visit. Where sources and models disagree is on the sensor itself: some Rinnai lines are more prone to nuisance trips from condensation, and Rinnai's screw bulletin addresses exactly that, so if your base stays dry and 79 still nags, raise the bulletin with the technician rather than paying for a leak you do not have.
Keeping 79 from coming back
Prevention on this code splits along the same two lines as the fault. To keep freeze cracks from ever reaching the sensor, leave the unit powered through cold snaps so its freeze-protection heaters run, insulate any exposed water lines, and drain the unit if power will be off for a long cold stretch in an unheated space. To keep scale from thinning the heat exchanger, descale on the schedule your water hardness demands, once a year for most homes and more often on hard water. Keep the condensate drain clear, make sure outdoor vents shed rain instead of channeling it inward, and glance at the base for moisture whenever you have the panel off for a filter clean. A unit that stays dry inside never trips 79.
Frequently asked
What does error code 79 mean on a Rinnai tankless water heater?
Code 79 means the leak sensor at the bottom of the unit detected water on the baseplate, and the control board shut the heater down as a safety measure. Rinnai builds a small moisture or float sensor into the base of the combustion chamber on units that carry leak detection. When that sensor sees water it stops the burner so a leak cannot flood the closet or soak the electronics. The code does not tell you where the water came from. It could be a genuine internal leak from the heat exchanger or a fitting, or it could be a nuisance trip from condensate, rain blowing in a vent, or high humidity. Your job is to open the front panel and find out which one you have before you decide whether to reset it or call a tech.
Can I reset Rinnai code 79 myself?
You can clear it, but only after you have dried the base and confirmed there is no active leak. Turn off the gas and the power, pull the front panel, and look at the baseplate and the leak sensor, a small white plastic piece with a wire near the bottom of the unit. If it is wet, dry the whole base thoroughly with a cloth or a shop vac and let it air out. Then restore power and reset by pressing the on/off button five times within five seconds; on some controllers you hold the priority button until it clears. If the code stays gone and the base stays dry, it was a nuisance trip. If 79 comes back on a unit you just dried, you have a real leak and resetting it again only silences a safety device that is doing its job.
Is a Rinnai 79 error dangerous?
The trip itself is a safety feature, so the code appearing is not the danger; the water that caused it can be. A slow internal leak dripping onto a hot heat exchanger, gas valve, or the control board can corrode metal, short electronics, and over time damage the unit past economical repair. If the leak is at the heat exchanger and the unit keeps running, you also risk combustion problems. The one thing you should not do is defeat the sensor to keep hot water flowing. People unplug the leak sensor to get the heater working again, and if there is a genuine leak they are letting water pool around live gas and electrical parts. Find the source first. A wet unit that keeps tripping is telling you something is failing inside.
How much does it cost to fix Rinnai code 79?
It depends entirely on what the sensor found. A nuisance trip costs nothing beyond your time to dry the base and reset, or the price of a shorter sensor screw if your unit is covered by the Rinnai tech bulletin on that. A failed leak-detection sensor is an inexpensive part, roughly $30 to $80 plus a service call in the $150 to $300 range. A real internal leak is the expensive end. A heat exchanger is one of the priciest parts in the unit, often $400 to $900 for the part alone and several hundred more in labor, which is why a cracked one frequently pushes owners toward replacing the whole heater. The good news is that Rinnai heat exchangers carry a long residential warranty, commonly around 12 years, so if the unit is registered the part may be covered and you pay mostly labor.
Why does Rinnai error 79 keep coming back after I dried it?
A code that returns on a unit you dried and reset means water is still getting to the sensor, and there are three usual reasons. First, a real internal leak: a cracked heat exchanger, a split or loosened water fitting, or a failed gasket is dripping onto the base faster than you can dry it. Second, an outside water source you have not fixed, like rain blowing down an outdoor vent, a clogged condensate drain backing up on a condensing model, or a leak from plumbing above the unit landing on top of it. Third, the sensor or its wiring itself has failed or is mounted too close to normal condensation, which is exactly the nuisance-screw problem Rinnai addressed in a service bulletin. Dry the unit once. If 79 returns quickly, stop resetting and trace the water to its source or get a tech to do it.
Does the leak-sensor screw bulletin really fix code 79?
For a specific set of nuisance trips, yes. Rinnai issued a tech bulletin describing a case where the screw mounting the leak-detection sensor sits too long or too close, so normal condensation in the base contacts the sensor and trips 79 even though nothing is actually leaking. The fix in that bulletin is to swap the screw for a shorter one so the sensor tolerates the small amount of moisture that is normal inside a running condensing unit. That only applies when the base is not actually flooding and the sensor is reacting to ordinary condensate. It will not help and should not be attempted as a way to silence a genuine leak. If you have confirmed the base stays dry except for light condensation and 79 still nags you, this bulletin is worth raising with a Rinnai technician.
Can freezing weather cause a Rinnai 79 code?
Yes, and it is one of the more expensive causes. If the unit loses power during a hard freeze, its built-in freeze protection heaters stop working, water inside the heat exchanger and lines can freeze, expand, and crack the copper or the fittings. When it thaws, the crack leaks onto the base and the sensor trips 79. This is common on outdoor and garage installs after a winter power outage. Keep the unit powered through cold snaps so freeze protection stays active, insulate exposed water lines, and drain units in unheated spaces if power will be off for a long cold stretch. A freeze-cracked heat exchanger is a warranty item on a registered unit but still means downtime and labor.