A Rinnai tankless heater throwing code 71 has already made a decision for you: it has shut the gas burner down and it will not relight until the fault clears. The code points at the solenoid valve circuit, the electrical path that opens and closes the valves feeding gas to the burner. The board saw something wrong in that circuit and locked out. A power cycle sometimes clears it. When it does not, you are into gas-valve and control-board territory, which is where a licensed tech takes over. Here is what 71 actually reports, what tends to cause it, and where the line sits between what you can safely do and what you should not touch.
First moves before you call anyone
Do the reset first. It is free, it takes two minutes, and a real fraction of 71 codes are a one-time hiccup that a clean board restart wipes out. If the code holds after the reset, stop and note what you saw, because the pattern tells the technician a lot. A code that clears and stays gone points at a transient. A code that returns the instant the burner tries to fire points at a live hardware fault in the solenoid circuit.
Does a Rinnai reset the code on its own after the fault goes away?
On many models the burner will attempt to relight on the next hot-water call, and if the circuit reads clean the code drops off the active display. But the event stays in the stored history. That history is useful, because a 71 that self-cleared three times last week is a different problem from a 71 that just appeared once. Do not assume a self-clear means the fault is gone for good.
What the code is actually reporting
Read the name literally and it stops being mysterious. Solenoid valve circuit fault. Not the valve, the circuit. The board sends a control signal to a solenoid coil to open or close a gas valve, and it reads the current flowing back to confirm the coil responded the way it should. When that feedback is out of range, too much resistance, an open circuit, a short, the board cannot trust that it controls the gas, so it refuses to fire. That is a safety design, and it is why 71 is a hard lockout rather than a warning you can run through.
Solenoid valve circuit (SV0 to SV3)
The set of electrically operated gas valves inside a Rinnai tankless heater, driven by the control board. Each valve, labeled SV0, SV1, SV2, and SV3 (some larger units add SV4), opens in stages so the burner can modulate its output. Code 71 fires when the board detects that the electrical circuit to one of these valves does not match its commanded state. The fault can sit in the wiring, a connector, a solenoid coil, the gas control valve assembly that holds the coils, or the control board itself.
Causes, most likely first
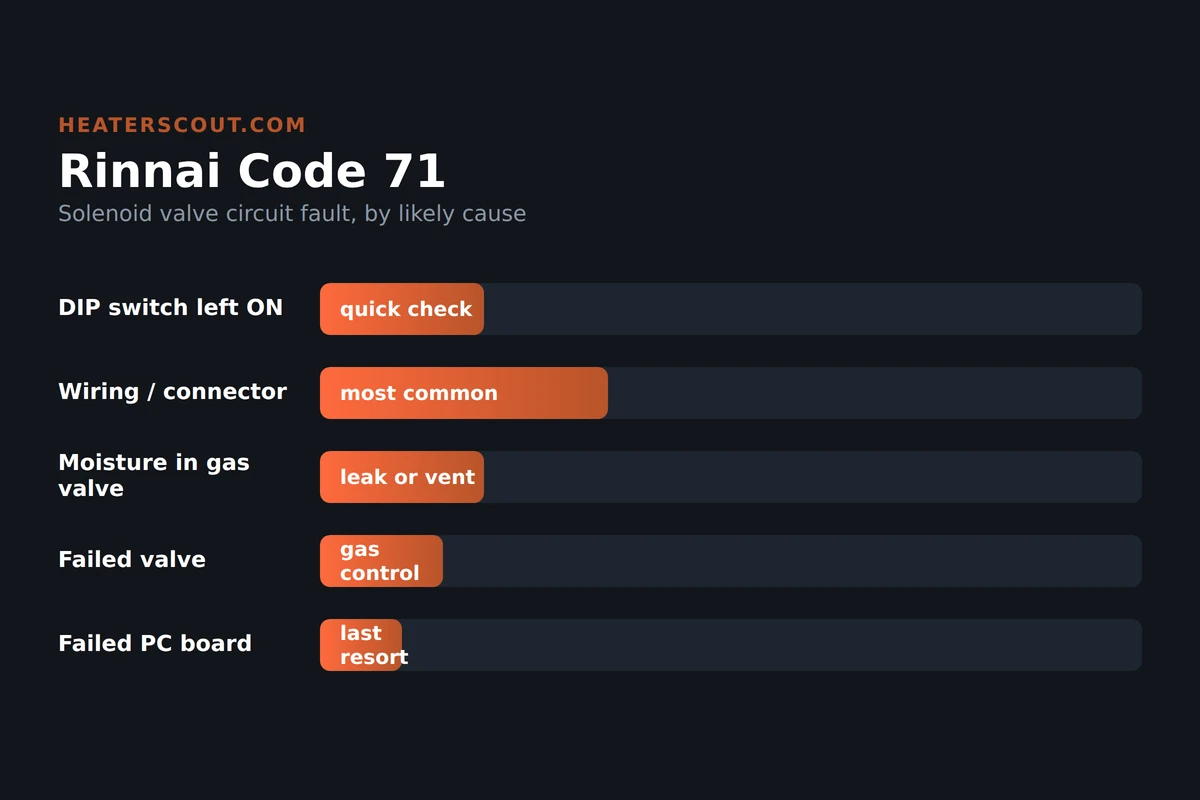
The order matters because it maps to cost. The cheap, common causes sit at the top, and a good technician works down the list rather than jumping to the expensive parts. Rinnai's own troubleshooting for 71 starts with the DIP switch and the wiring for exactly this reason: those cost nothing to correct and get mistaken for a dead valve all the time.
| DIP switch set to ON | The single DIP switch on the PC board must sit OFF for normal running. Bumped to ON, whether in a past repair or from the factory, it reads as 71. Costs nothing to correct once found. This is why a tech checks it before condemning any part. |
| Solenoid wiring or connector | The most common real fault. A connector backed off its pins by vibration, or a harness rubbed through against a metal edge. Reseating or repairing the harness runs a service-call fee, roughly $100 to $200, and no part cost if the wire is intact. |
| Moisture in the gas valve | Water inside the valve, often from a cracked heat exchanger or vent condensate running back into the combustion box. Drying it out only masks the problem. The moisture source has to be found and fixed, and the valve is usually replaced. |
| Failed solenoid coil or gas valve | A coil that reads out of spec, or a gas control valve assembly that has failed. The part runs roughly $200 to $400, plus $150 to $350 labor because it sits deep in the unit and must reassemble gas-tight. |
| Failed PC board | Last on the list, not first. When the wiring, valve, and DIP switch all check out and 71 persists, the control board itself is the culprit. Board part cost is in the same $200 to $400 range. Diagnose by elimination, not by guessing. |
Where the DIY line sits
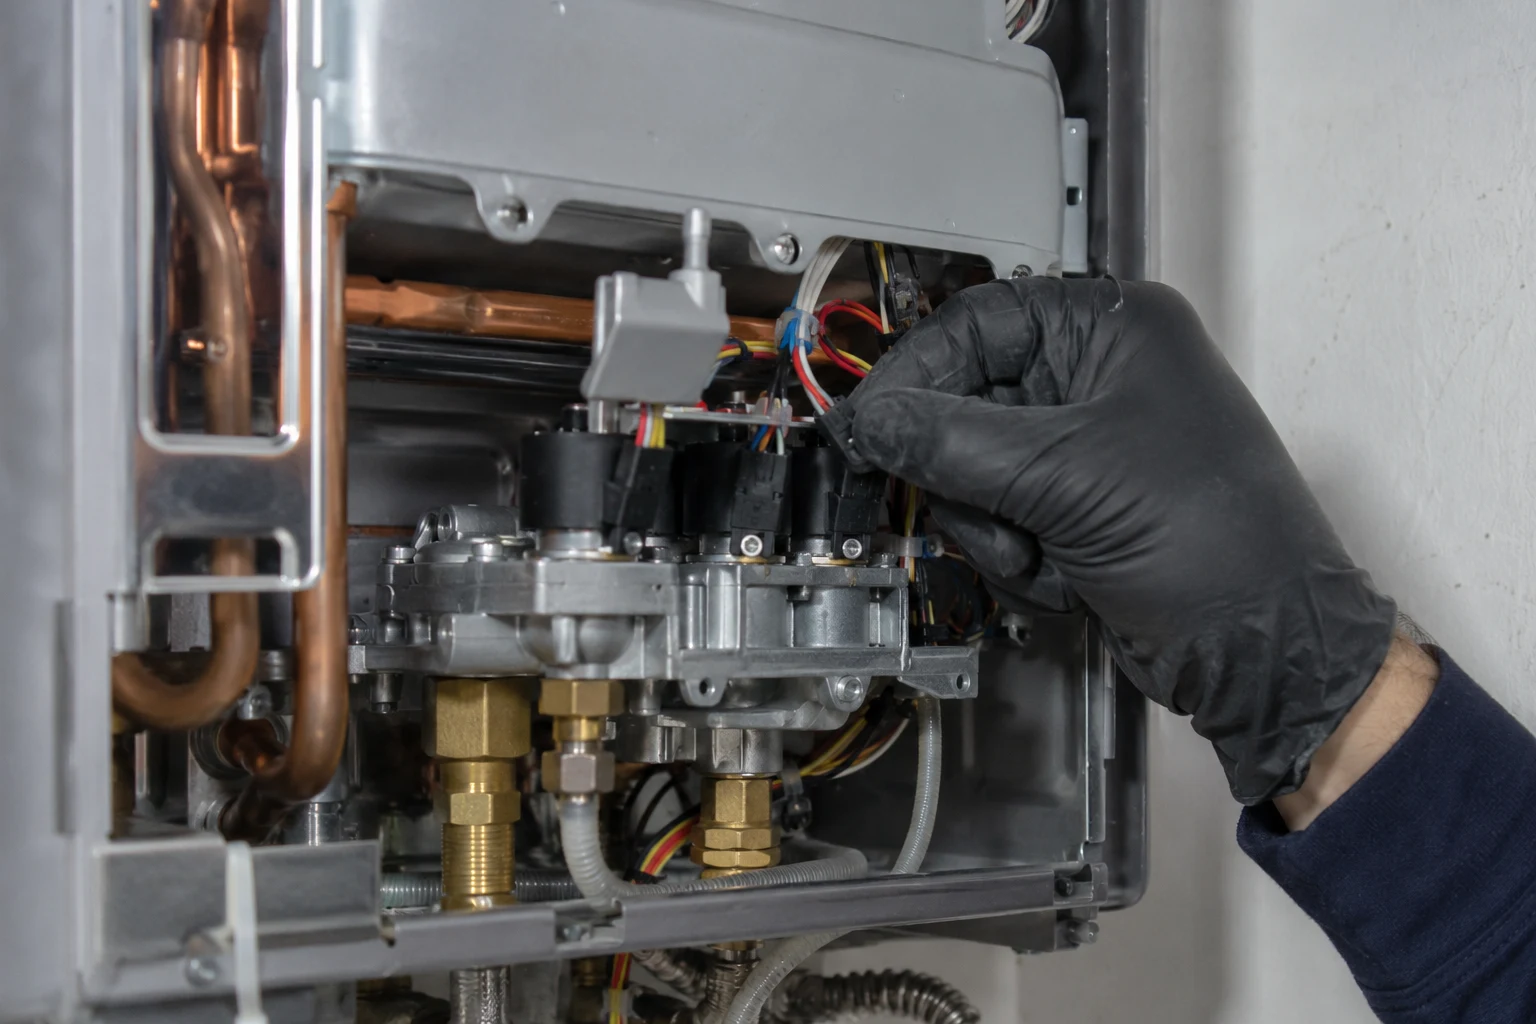
The homeowner's job on a 71 is short and honest: cycle the power, do a visual check for water and loose connections you can reach without opening the sealed unit, and log the code history. That is the whole safe list. Everything past it involves live gas valves, current measurements on solenoid coils, and reassembling a gas-tight combustion unit. Get any of that wrong and you have a gas leak or a carbon-monoxide risk, not just a failed repair.
A licensed technician diagnosing 71 works a specific sequence. Confirm the DIP switch is OFF. Check that the gas control wire is not loose or damaged and that the heater circuit is not grounded. Inspect the modulating solenoid wiring harness for loose or damaged terminals. Measure the resistance of each valve coil against the spec in the service manual for that model. On internal units, check the plastic tubing from the bottom of the combustion box to the gas valve for moisture, and if water is present, replace the valve and find where the water came from. Only after all of that comes back clean does the board get replaced. That order is deliberate. It moves from the free fixes to the expensive ones so nobody pays for a $400 board to solve a bumped switch.
Keeping 71 from coming back
Prevention on a 71 is mostly about keeping water out of the gas train and vibration off the wiring. Annual service matters here, not for descaling reasons but because a tech doing yearly maintenance catches a chafing harness or a damp gas valve before it trips a lockout in the middle of a cold shower. If your unit sits somewhere it takes vibration, from a nearby compressor or a mounting wall that carries machinery noise, that is a candidate for the loose-connector version of 71.
Watch the venting and the condensate path too. A condensing Rinnai makes acidic condensate by design, and it has to drain the right way. If the vent slope is wrong or the condensate trap is blocked, water can find the combustion box and eventually the gas valve, which puts you right back at a moisture-driven 71. The code that keeps returning after every reset is the unit telling you the underlying fault never left. Stop resetting it and get a meter on the solenoid circuit.
Frequently asked
Can I reset Rinnai code 71 myself?
You can try the power cycle, and it is worth doing first. Turn the water heater off at the wall switch or the breaker, wait a full 60 seconds so the control board fully powers down, then turn it back on and run hot water to make the unit fire. That hard reset re-runs the board's startup diagnostics. If the solenoid circuit reads clean now, the code clears and stays gone. What you should not do is start pulling the gas valve apart or jumping wires. Code 71 lives on the gas-control side of the heater, and once the reset fails to hold, the next steps are resistance measurements on live solenoid coils inside a sealed combustion unit. That is a licensed technician's job, not a homeowner's.
What does error code 71 mean on a Rinnai tankless?
It is the solenoid valve circuit fault. Rinnai's control board watches the electrical circuit that drives the gas solenoid valves, labeled SV0, SV1, SV2, and SV3, sometimes SV4 on larger units. Those valves are what admit gas to the burner in stages as the unit modulates. When the board sends a signal to open or close a valve and the current it reads back does not match what it expects, it flags 71 and shuts the burner down. So 71 is not telling you the valve itself is mechanically stuck. It is telling you the electrical circuit to that valve is wrong, which could be a wire, a connector, a coil, or the board.
How much does it cost to fix Rinnai code 71?
It depends entirely on which part is actually bad. A loose connector or a chafed wire in the harness is close to free once a tech finds it, maybe a service-call fee of $100 to $200. A failed gas control valve assembly, the part that holds the solenoids, runs roughly $200 to $400 for the part alone, plus $150 to $350 in labor because it sits deep in the unit and has to be gas-tight when reassembled. A main PC board is in a similar $200 to $400 range for the part. If both the valve and the board are suspect, the repair can approach the cost of a new entry-level unit, which is the point where some owners choose replacement instead.
Is Rinnai code 71 dangerous?
The heater protects you by refusing to run, so you are not going to have raw gas pouring out because of the code itself. The board locks out the burner the moment it distrusts the solenoid circuit. The risk is in what causes the code. If the trigger is moisture inside the gas valve, that moisture often comes from a cracked heat exchanger or a vent that is dumping condensate back into the combustion chamber. Both of those are real problems that a technician needs to find and fix, not just clear. Treat a persistent 71 as a reason to get the gas train inspected, not as a nuisance code to keep resetting.
Why does code 71 keep coming back?
A 71 that returns after every reset is telling you the fault is still physically present. The most common reason is a wiring problem that a quick look missed, a connector backed off its pins by vibration, or a harness rubbed through against a metal edge. The second common reason is moisture. If water is getting into the gas valve from a leaking heat exchanger or from vent condensation running the wrong way, drying it out clears the code for a day and then it trips again as the moisture returns. And sometimes it is simply a solenoid coil or the board on its way out, reading fine cold and failing once warm. A recurring 71 needs a meter, not another power cycle.
Will descaling clear code 71?
No. Descaling flushes scale out of the water side, the heat exchanger and the plumbing. Code 71 is entirely on the gas and electrical side, the solenoid valves and their wiring. There is no path by which vinegar or a descale solution touches the solenoid circuit. Descaling is worth doing on schedule for the health of the unit, and it prevents plenty of other codes tied to flow and overheating, but it will not do a thing for 71. If a shop tells you a descale fixed a 71, what actually happened is a coincidental reset during the service.
Is the DIP switch really a cause of code 71?
Yes, and it is the one thing worth checking before you spend money. Rinnai PC boards have a single DIP switch that is supposed to sit in the OFF position for normal operation. If it gets bumped to ON, whether during a prior repair or from the factory, the unit reads a 71. The board and the panel have to come off to see it, so this is not a homeowner check on most units, but any technician diagnosing a 71 should confirm the DIP switch is OFF before condemning the valve or the board. A wrong switch position looks exactly like a hardware fault and costs nothing to correct.