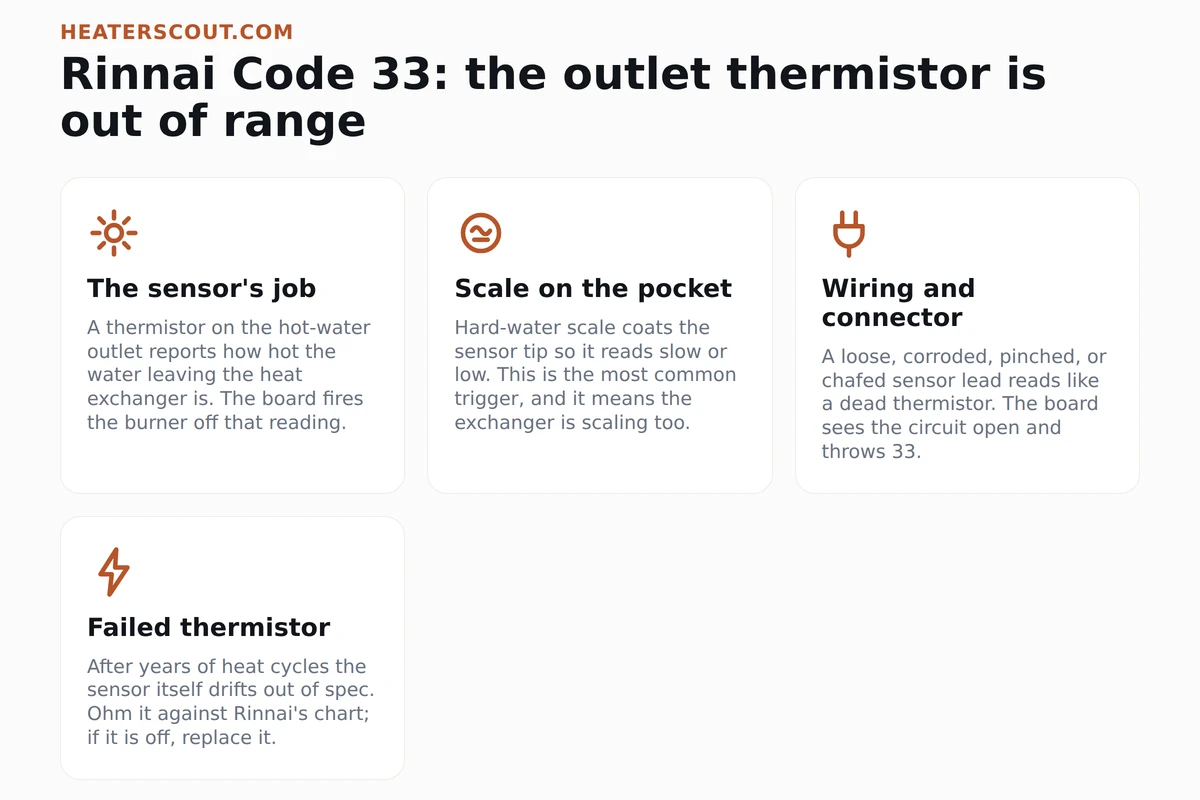
Rinnai code 33 is a sensor problem wearing a scary badge. The unit shuts down and flashes 33 because the thermistor on the hot-water outlet, the one that tells the board how hot the water leaving the heat exchanger is, is reading a value the control board will not trust. No trustworthy temperature, no safe way to run the burner, so it locks out. That is different from an overheat or an ignition code. The gas and the flame may be perfectly fine. The board just lost its eyes on the outlet.
Code 33 vs. code 32: know which sensor
Before you order a part, get the location right. Rinnai puts two temperature thermistors on the water path, and the codes for them sit next to each other. Code 33 is the outgoing, or outlet, sensor on the hot side. Code 32 is the incoming, or inlet, sensor on the cold side. They are the same family of part in different spots, and it is easy to buy or test the wrong one if you skim past the number. If your display reads 33, you are chasing the outlet.
Code 33: outgoing thermistor
- Sensor on the hot-water outlet, reading the temperature of water leaving the heat exchanger.
- Drives how the board modulates the burner to hold your set point.
- Out-of-range here means the board can no longer trust the outlet reading and shuts down.
- Fix path: clean scale off the sensor, inspect wiring, ohm it against Rinnai's chart, replace if out of spec.
Code 32: incoming thermistor
- Sensor on the cold inlet, reading the temperature of water entering the unit.
- Same style of thermistor, different position, different resistance target on some models.
- A 32 is a different sensor's circuit; do not swap the outlet part for an inlet code.
- Same diagnostic method, but confirm the code number so you test and order the correct one.
Work code 33 from most likely to least
The outgoing sensor fails in a predictable order, so chase it that way. Scale first, because it is the most common trigger and the cheapest thing to rule out. Then the wiring and connector, because a bad connection reads exactly like a dead sensor. Then the thermistor itself. The control board is last, and it is rare. Do not buy a sensor before you have ohmed the one that is in there.
1. Confirm the code and power-cycle once
Read the display and confirm it is 33, the outgoing sensor, not 32. Turn the unit off and back on, or pull power for a minute. If 33 comes right back, the fault is live in the sensor circuit and you keep going. If it clears and stays gone, watch for it to return under load before you assume it was nothing.
2. Descale to clear the sensor pocket
Scale coating the outgoing sensor is the most common cause of a 33. Shut off gas and water, close the isolation valves, and circulate white vinegar or a Rinnai-approved descaler through the service ports for about 45 minutes, then flush clean. This strips the mineral film off the sensor so it reads true, and it clears the same scale out of the heat exchanger while you are in there.
3. Inspect the sensor wiring and connector
Pull the front cover and find the outgoing thermistor lead. Look for a connector that has backed loose, corroded from condensation, or a wire that is pinched, melted, or chafed, often from a past service call. Reseat the connector firmly. A flaky connection makes the board see an open circuit and throw 33 intermittently, which is why the code seems to come and go.
4. Ohm the thermistor against Rinnai's chart
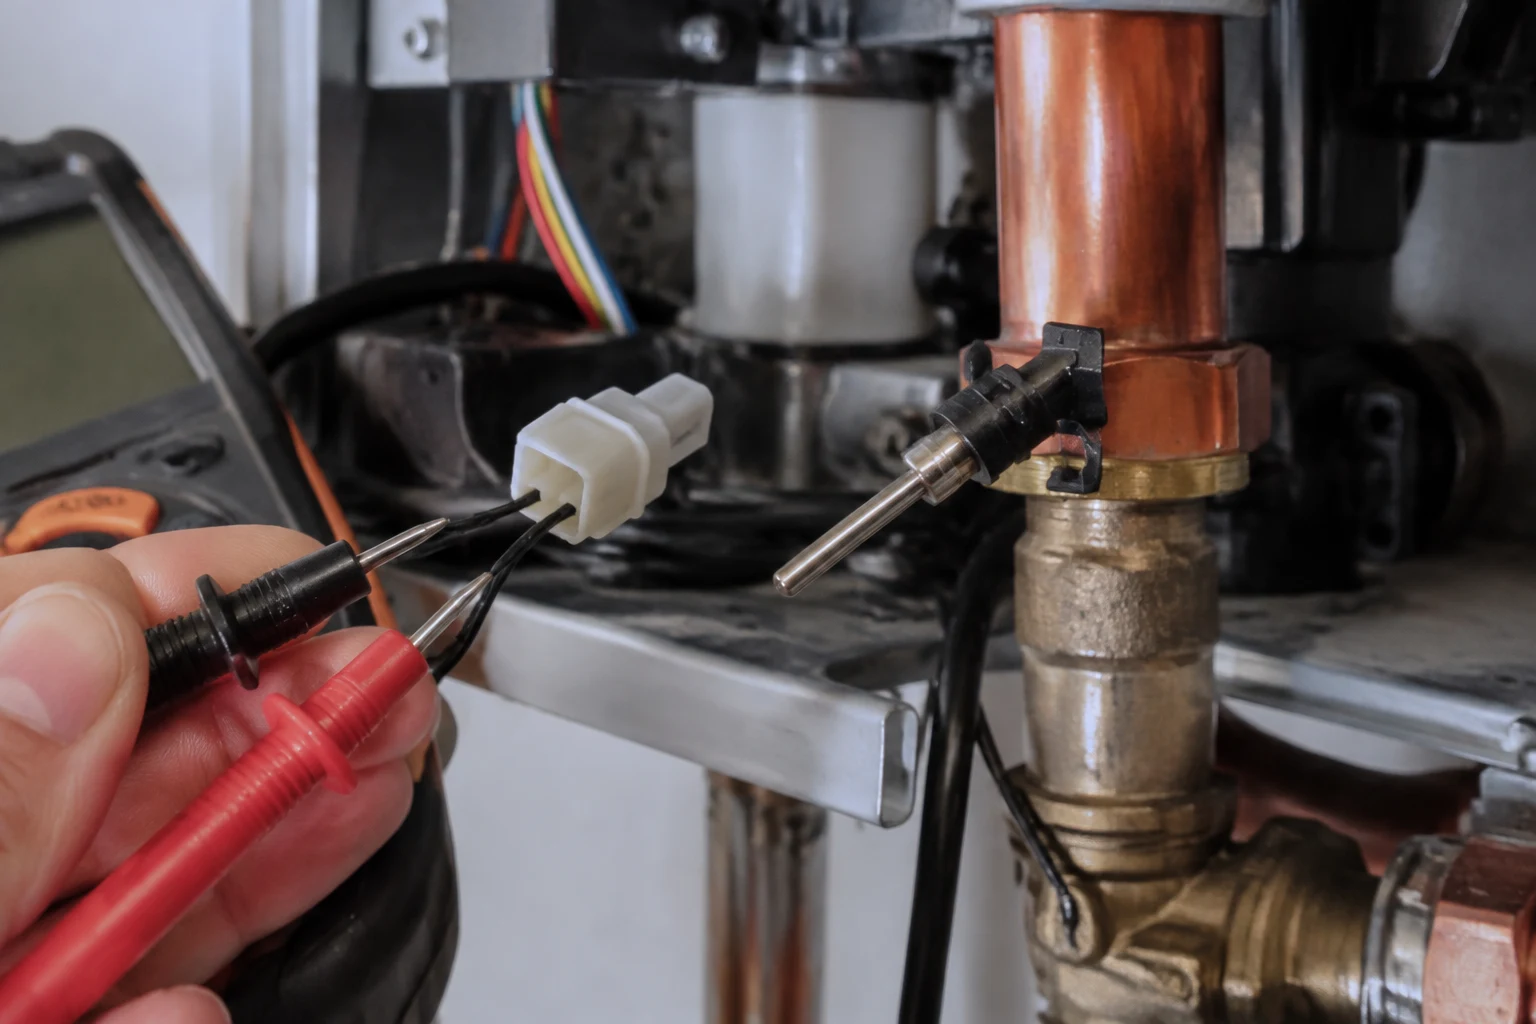
With power off, unplug the outgoing sensor and put a meter on its leads. On the R-series diagnostic sheets the heat-exchanger piping thermistor reads roughly 139 to 161 ohms, and the outlet-valve thermistor reads roughly 335 to 385 ohms, so check your model's sheet for the exact target. An open, a dead short, or a reading well outside the band means the sensor has failed.
5. Replace the outgoing thermistor
If the sensor ohms out of spec and the wiring is sound, swap it for the correct outgoing part for your model. It is a small, low-cost sensor. Route the new lead so it is not pinched by the cover, seat the connector fully, restore power, and run the unit to confirm 33 stays gone under a real hot-water draw.
6. Suspect the board only after the rest checks out
If the sensor ohms in spec, the wiring is clean, and the connector is tight, but 33 still locks the unit out, the temperature input on the control board may have failed. This is rare and is a technician call. Do not jump here first; a good sensor reading in and a bad code out is the only thing that points at the board.
Which situation are you in
A 33 lands differently depending on the unit's age, water quality, and whether anyone has been inside the cabinet recently. These are the patterns that show up most, and what each one usually means for the repair.
Hard water, never descaled
A unit a few years old in a hard-water area that has never had a flush. Scale has crept over the outgoing sensor and it is reading slow. Descale it, and 33 clears in a large share of these cases. Then put the unit on an annual descale so the sensor and the exchanger both stay clean.
Intermittent 33
The code drops off, hot water works for a while, then it locks out again with no pattern. That is the signature of a loose or corroded connector, or a chafed wire making and breaking contact. Reseat and inspect the sensor lead before you condemn the thermistor.
Aged-out sensor
A heater eight to twelve years in that throws a hard, steady 33. The thermistor may simply have drifted out of spec from years of heat cycling. Ohm it against Rinnai's chart; if it is outside the band with clean wiring, replace the sensor.
Started right after work
The 33 appeared just after someone had the cover off. Look for a sensor connector left unseated or a wire pinched under the panel. A fresh pinch or a half-clicked connector is a common cause of a code that begins the day the unit was serviced.
Never bypass the outgoing thermistor
Do not defeat the sensor to get a shower. Jumpering the outgoing thermistor or forcing the unit past a 33 tells the board to fire the burner without knowing the outlet temperature, which risks scalding water at the tap. If scale caused the fault, that same scale is building inside the heat exchanger, so treat a 33 as a cue to descale and fix the sensor, not to bypass it.
Code 33 at a glance
The quick facts, so you know whether this is a clean-and-reseat afternoon or a call to a tech with a meter.
| What it means | The heat exchanger outgoing (outlet) temperature thermistor is reading a value the control board cannot trust, so the unit locks out. |
| Which sensor | The outgoing or outlet thermistor on the hot side. Code 32 is the incoming or inlet sensor; confirm the number before testing or ordering. |
| Clears on a power cycle? | The display may clear, but 33 returns as soon as the board rechecks the sensor. The circuit has to be corrected, not just reset. |
| Most likely cause | Scale coating the sensor pocket so it reads slow or low, which also means the heat exchanger is scaling. |
| Other causes | A loose or corroded connector, a pinched or chafed sensor wire, a thermistor aged out of spec, and rarely a failed board input. |
| Resistance check | On R-series sheets the HX piping thermistor reads about 139 to 161 ohms and the outlet-valve thermistor about 335 to 385 ohms; verify your model's chart. |
| DIY-safe steps | Power-cycle to confirm, descale through the isolation valves, reseat and inspect the sensor connector and wire. |
| Call-a-pro steps | Ohming the sensor against the chart, deciding between harness repair and sensor swap, and any control-board diagnosis. |
| Prevention | Descale yearly, more often on hard water, and keep the sensor connector seated and its wire clear of the cover. |
Frequently asked
Can I reset Rinnai code 33 myself?
You can clear the display, but that is not the same as fixing it. Turn the unit off at the remote or pull power for a minute and restore it, and 33 may drop off long enough to get hot water. It comes back, though, because 33 is a sensor circuit fault and cycling power does nothing to the sensor. The board reads the outgoing thermistor every time it fires, so the moment it sees the same open, shorted, or out-of-range value, it locks out again. What actually resets the code for good is correcting the circuit: cleaning scale off the sensor, reseating or repairing a loose connector, or replacing a thermistor that ohms out of spec. So yes, you can attempt a reset, but treat a code that returns as your answer that the sensor still needs attention.
What does Rinnai error code 33 mean?
It means the heat exchanger outgoing thermistor, the temperature sensor on the hot-water outlet, is reading a value the control board cannot trust. That sensor tells the board how hot the water leaving the exchanger is, and the board uses it to modulate the burner. When the sensor reads open, shorted, or wildly out of range, the board cannot safely control the flame off a bad number, so it shuts down and displays 33. It is worth knowing 33 is the outgoing or outlet sensor, while its neighbor code 32 is the incoming or inlet sensor. Same kind of part, different spot on the unit, so make sure you are chasing the right one before you order anything.
Why does Rinnai code 33 keep coming back?
Because something in the sensor circuit is still wrong. The board rechecks that outgoing thermistor on every burn, so a code that returns after a power cycle is telling you the fault never left. The usual reason is scale: hard water lays a mineral film over the sensor pocket, the thermistor reads slow and low, and the board keeps flagging it. A loose or corroded connector does the same thing intermittently, dropping the code on you when the unit vibrates or the connection heats up. And a thermistor that has aged out of spec will fail its resistance check every time. Clean the sensor, reseat and inspect the connector and its wire, then ohm the sensor against Rinnai's chart. One of those three is almost always the recurring culprit.
Will descaling clear Rinnai code 33?
Sometimes, and it is worth doing either way. If scale has coated the outgoing sensor's pocket, a proper flush can strip that film so the thermistor reads correctly again and the code clears. Circulate white vinegar or a Rinnai-approved descaler through the isolation valves for about 45 minutes, then flush with clean water. Here is the important part: if scale was heavy enough to blind the sensor, it is also caked inside the heat exchanger, so the descale is protecting the most expensive part in the unit, not just chasing a code. That said, descaling will not fix a broken wire, a corroded connector, or a thermistor that has physically failed. If 33 survives a good flush, move on to inspecting the wiring and ohming the sensor.
How much does it cost to fix Rinnai code 33?
It depends on whether the sensor is dirty, disconnected, or dead. If the fix is cleaning scale off the sensor or reseating a loose connector, a handy owner spends nothing but time, and a plumber's diagnostic visit runs roughly $100 to $200. The thermistor itself is a cheap part, commonly $20 to $60 depending on model. With labor to pull the front cover, ohm the leads, and swap the sensor, a professional repair usually lands in the $150 to $350 range. A chafed or pinched harness that needs a splice or a new pigtail is similar. The rare and pricier outcome is a control board input that has failed, which pushes the bill toward $400 to $700 with the board, but that is the last thing to suspect, not the first.
Is Rinnai code 33 dangerous?
The code is the safe response, not the hazard. Losing the outgoing temperature reading means the board cannot tell how hot the water leaving the exchanger really is, and running a gas burner without that feedback risks overshooting into scalding water. So Rinnai has the unit lock out rather than fire blind. The failure is inconvenient because you lose hot water, but the shutdown is protecting you. What you should not do is jumper the sensor, defeat the fault, or keep forcing the unit past the code to get a shower. If the sensor is lying because of scale, that same scale is cooking the heat exchanger, so a 33 is also a nudge to look at descaling before a real overheat problem shows up.
Should I call a pro or fix code 33 myself?
Split it by how far in you have to go. A homeowner can safely handle the outer layer: power-cycle the unit to confirm the code returns, check that the water and gas are on, and, if comfortable behind the front cover, look for an obviously loose thermistor connector or a wire that has been pinched or chafed. Descaling through the isolation valves is also owner-friendly. Past that, ohming the sensor against Rinnai's resistance chart, deciding between a harness repair and a sensor swap, and ruling in or out a board fault is meter-and-manual work. If you do not have a multimeter and the model's diagnostic sheet, or you are not sure you are testing the outgoing sensor and not the inlet, hand it to a licensed tech. It is a small job for someone who does it weekly.