A replacement water heater thermostat runs about $10 to $25 at any hardware store, and the swap takes half an hour with a screwdriver and a voltage tester. The part that trips people up is not the wiring; it is that an electric tank has two thermostats that do two different jobs, and wiring the wrong one back wrong leaves you with no hot water or a scald risk. Get the upper-versus-lower distinction straight and the rest is four screws and a snap-fit.
The swap at a glance
- Cut power at the 240V breakerDouble-pole off, not the dial
- Confirm 0 volts with a meterMust read 0V at the terminals
- Remove panel and fold back insulationUpper unit shows the red ECO reset
- Photograph and label the wiringUpper has more wires than lower
- Swap the thermostat, dial to 120°FPress flush against the tank wall
- Restore power and test for hot waterReset the ECO, check a tap in an hour
Upper or lower: pick before you unscrew anything
An electric tank stacks two thermostat-and-element pairs, and they are not interchangeable. The upper thermostat is the boss: it carries the red ECO high-limit reset, and it decides whether power goes to the top element or gets handed down to the lower thermostat. The lower thermostat is simpler; it does one thing, which is switch the lower element on and off to hold the bottom of the tank warm. Because the wiring differs, flip the toggle below to the one you are replacing and read the steps and wire notes tuned to that thermostat. Then follow the shared master steps under the photo.
Upper vs. lower thermostat
Slide the switch to the thermostat you are replacing. The steps, terminal count, and wiring notes change between the two, because only the upper carries the ECO and feeds the lower.
Replacing the upper thermostat
The ECO reset is usually part of this same bracket. Many replacement parts sell the ECO and upper thermostat together as one assembly.
- Kill the 240V breaker and prove zero voltsSwitch off the double-pole breaker, pull the upper access panel and insulation, and touch a voltage tester or multimeter to the thermostat terminals. Confirm it reads zero before anything else.
- Photograph and label every wireThe upper unit has the most terminals, including the incoming line and the pair that feeds the lower thermostat. Snap a phone photo, then tape a numbered label on each wire so it goes back exactly where it came from.
- Release the bracket clip and slide it outSqueeze the retaining tabs at the top of the mounting bracket and lift the thermostat up and out. It is only held by the spring clip pressing it against the tank wall.
- Match the new upper thermostat terminal for terminalLine supply to line, element leads to the element terminals, and the pair that runs down to the lower thermostat to the marked terminals. Set the new thermostat dial to the same temperature as the old one.
- Snap it flat against the tank and reset the ECOPress the thermostat firmly so its back plate sits flush against the steel; a gap gives a false low reading. Push the red ECO reset button in, replace insulation and panel, then restore power.
Replacing the lower thermostat
If only the bottom of your tank runs cold and you burn through hot water fast, the lower thermostat or lower element is the usual suspect, not the upper.
- Kill the same 240V breaker and prove zero voltsThe lower thermostat is fed through the upper, but you still cut power at the one double-pole breaker. Pull the lower access panel and insulation, and meter the terminals to confirm zero.
- Note the two wire positionsThe lower thermostat carries fewer connections than the upper: typically the feed coming down from the upper thermostat and the lead out to the lower element. Photograph and label them anyway.
- Pop the clip and remove itSame spring-bracket as the upper. Squeeze the tabs, slide the thermostat up and out. No ECO button to worry about on this one.
- Fit the new lower thermostatTransfer each labeled wire to the matching terminal. The lower thermostat sets the temperature for the bottom of the tank, so dial it to match the upper, around 120°F.
- Press it flush and close upSnap the new thermostat tight against the tank wall so it senses true tank temperature, refit the insulation and panel, and switch the breaker back on.
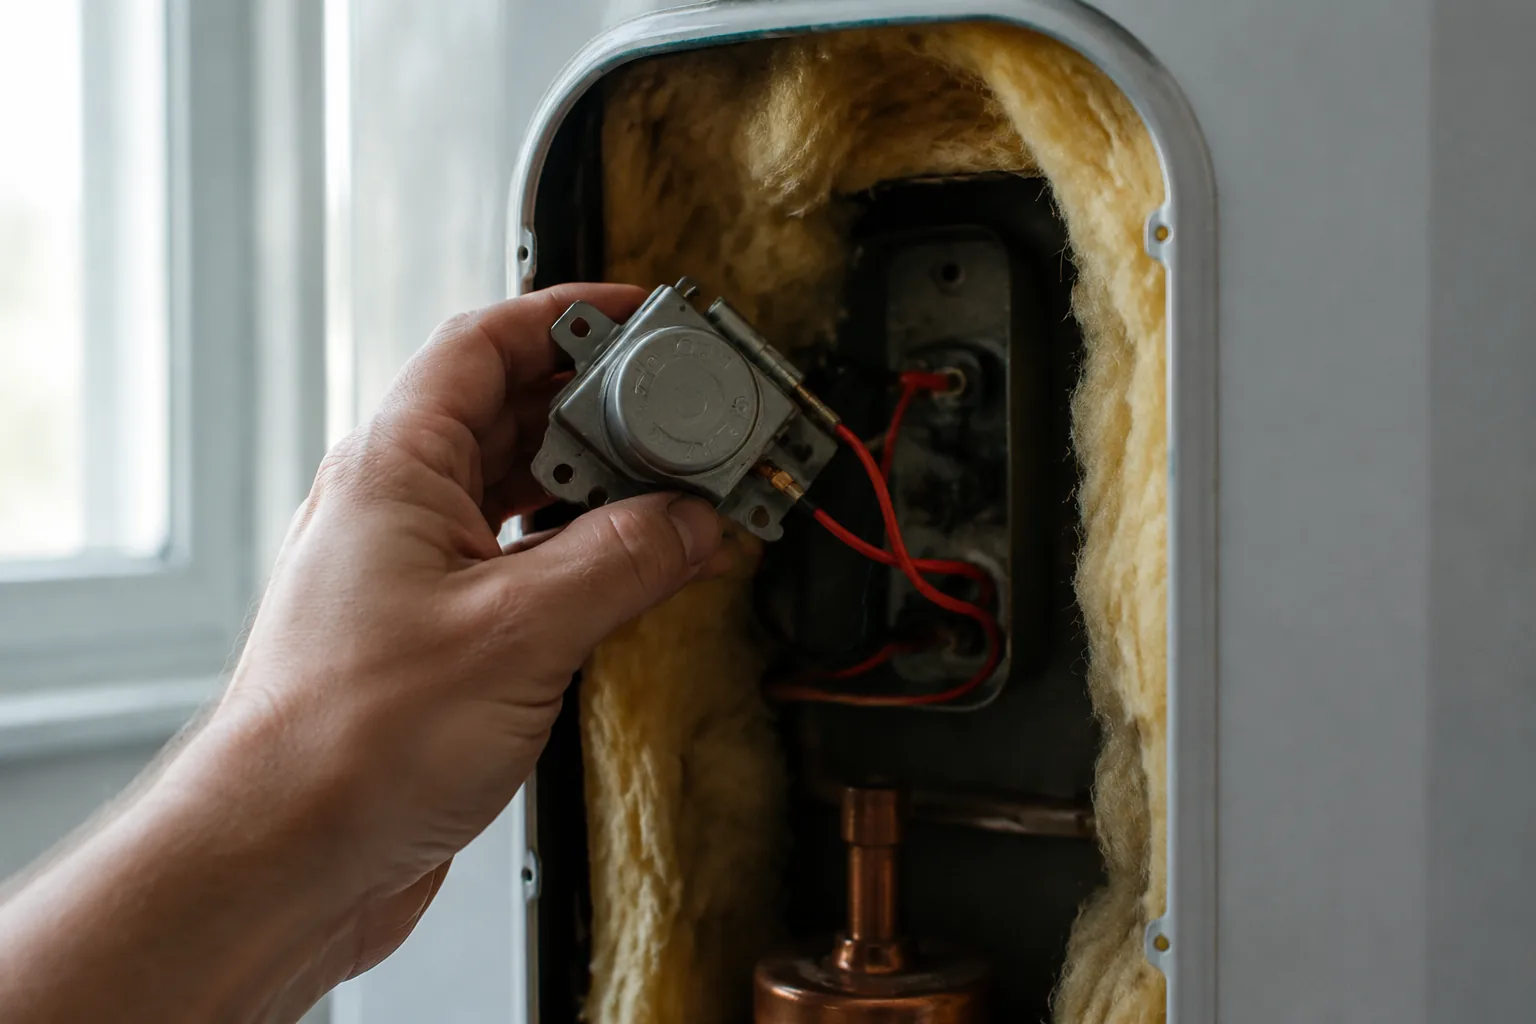
Why the upper thermostat drives everything
Understanding the sequence saves you from a bad diagnosis. When you draw hot water, the upper thermostat looks at the top of the tank first. If the top is cold, it energizes the upper element and ignores the bottom entirely. Only after the top reaches the setpoint does the upper thermostat flip its internal switch and hand 240V down to the lower thermostat, which then runs the lower element to heat the rest. Both elements never fire at once on a standard residential tank; the upper always wins the fight for power.
That design explains the two classic symptoms. No hot water at all usually means the upper thermostat, the upper element, or the ECO, because the top never heats and the bottom never gets its turn. Hot water that runs out fast or comes lukewarm points at the lower thermostat or lower element, since the top heats fine but the bottom sits cold. Match the symptom to the right thermostat before you buy a part, and use the toggle above to load the correct steps.
What you need before you start
- A replacement thermostat that matches your tank. Upper and lower parts differ; take a photo of the old one or its part number to the store.
- A non-contact voltage tester and a multimeter. The tester confirms the wires are dead; the meter reads zero volts at the terminals and tests element continuity.
- A flathead and a Phillips screwdriver. Panels are usually Phillips; terminal screws are often slotted.
- Your phone. The single best tool here is a clear photo of the existing wiring before you disturb it.
You do not need to drain the tank to change a thermostat. The thermostat clips to the outside of the tank wall behind the insulation and never touches the water, unlike an element swap.
Replace a water heater thermostat, step by step
These master steps apply to either thermostat. The wire count and terminal layout change between upper and lower, which is what the toggle above handles, but the safe sequence is the same. The two steps in red are the ones that keep you from a shock or a scald.
Turn off the 240V breaker
An electric water heater runs on a dedicated double-pole breaker, two switches ganged together. Switch it fully off at the panel. Turning the thermostat dial down does nothing; the wires stay live until the breaker is off. If the panel is unlabeled, kill the main.
Let the water cool if the tank is hot
You are not draining the tank, but the metal near the elements can be warm and the steel behind the panel holds heat. There is no rush. Working on a cool tank is simply more comfortable and removes any scald worry if you bump an element later.
Remove the access panel and fold back the insulation
Unscrew the metal cover over the thermostat, peel back the fiberglass insulation, and lift off the plastic safety shield underneath. On the upper unit you will see the red ECO reset button above the thermostat.
Confirm zero volts at the terminals
Touch a non-contact tester to the wires, then set a multimeter to AC volts and read directly across the thermostat terminals. It must read 0 volts. Do not trust the breaker label alone; verify with the meter every time before your fingers go near a terminal.
Photograph, then label each wire
Take a sharp phone photo of the wiring as it sits. Then wrap a piece of tape numbered on each wire, or match your labels to the diagram printed on the tank. The upper thermostat has more wires than the lower, so this step matters most up top.
Loosen the terminal screws and free the wires
Back out each terminal screw and slip the wires off. Keep the screws in a cup. Note whether wires land under screw heads or push into spade connectors, since some thermostats use each.
Release the bracket and pull the old thermostat
Squeeze the plastic retaining tabs at the top of the mounting bracket and slide the thermostat straight up and out. It is held only by the spring clip that presses its back against the tank; nothing is bolted.
Snap in the new thermostat flat against the tank
Seat the new thermostat under the bracket clip and press it firmly so its back plate sits flush against the steel. A thermostat that stands off the tank reads a false low temperature and overheats the water. Move each labeled wire to the matching terminal and tighten.
Set both thermostats to the same temperature
Dial the new thermostat to 120°F, and check the other one matches. Mismatched setpoints make the elements fight and waste energy. 120°F is the standard that balances scald safety against Legionella risk for most homes.
Reset the ECO, reassemble, and restore power
If you touched the upper unit, push the red ECO reset button in until it clicks. Refit the plastic shield, insulation, and metal panel, then switch the breaker back on. Give the tank an hour, then check for hot water at a tap.
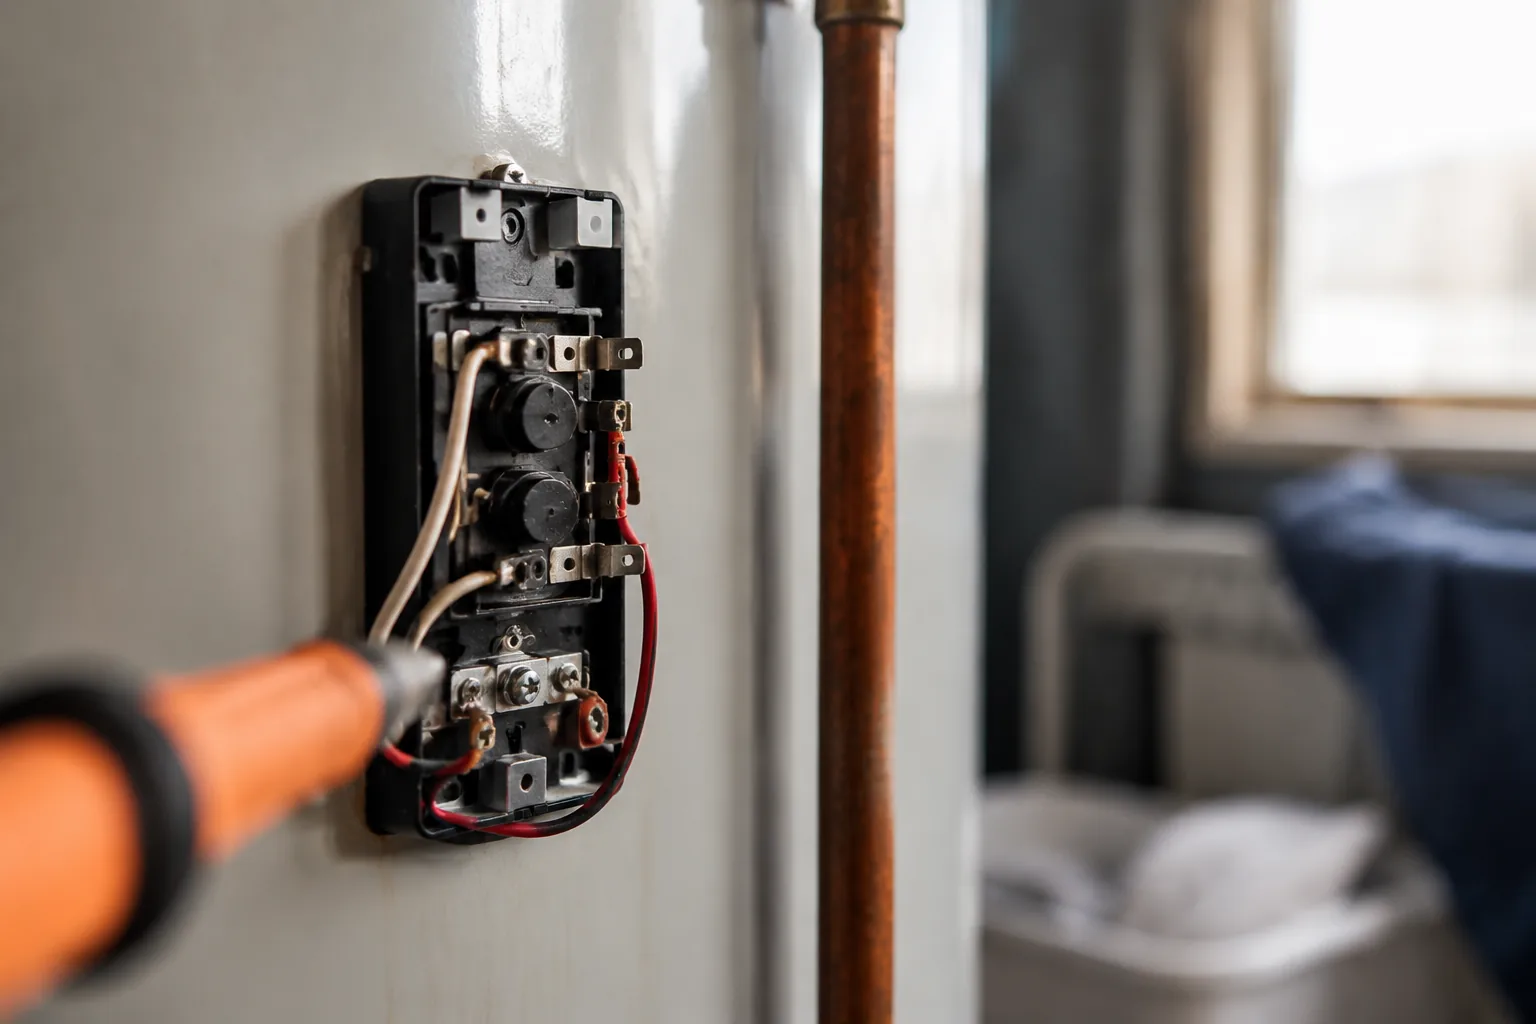
How to be sure the thermostat is actually the problem
Thermostats fail, but so do elements, and they cause overlapping symptoms. Before spending an afternoon on a swap, test with a multimeter. With the power off, pull the wires from the element terminals and read resistance across them; a good residential element usually reads somewhere around 10 to 16 ohms, and an open reading means a burned-out element, not a thermostat. To test the thermostat, check for continuity across its switch terminals when it should be calling for heat. A thermostat that never closes, or one that never opens, is bad.
The stuck-closed failure is the dangerous one. A thermostat welded shut keeps its element energized past the setpoint, driving the water hotter and hotter until the ECO trips and cuts all power. If your red reset button keeps popping, do not just keep pressing it. A repeatedly tripping ECO almost always means a thermostat is stuck on, and pressing the button over and over only delays the fix while the tank keeps overheating. That is a replace-the-thermostat signal, and often the element too.
When to call a pro instead
Changing a thermostat is well within DIY range for anyone comfortable confirming zero volts with a meter and matching labeled wires to terminals. The line to hand it off is real, though. If the breaker trips the instant you restore power, an element is likely shorted to the tank and dumping current, which is a different job. If you cannot get a clean zero-volt reading, if the wiring does not match any diagram, or if 240V simply is not something you want to work around, a licensed electrician or plumber does this in under an hour. There is no shame in a short service call over a shock.
Frequently asked
What is the difference between the upper and lower water heater thermostat?
The upper thermostat is the master control. It carries the red ECO high-limit reset and a transfer switch that sends power to the upper element first, then hands it down to the lower thermostat once the top of the tank is hot. The lower thermostat is simpler and only switches the lower element on and off. Because the upper has more wires and terminals, wiring it back correctly matters most.
Do I need to drain the tank to replace a thermostat?
No. The thermostat clips to the outside of the tank wall behind the insulation and never contacts the water, so there is no need to drain it. That is different from replacing a heating element, which threads into the tank and does require draining. For a thermostat swap you only need the power off and the access panel open.
How do I know if it is the upper or lower thermostat that failed?
Match the symptom. No hot water at all usually points at the upper thermostat, upper element, or ECO, because the top of the tank heats first and the bottom never gets its turn. Hot water that runs out quickly or comes lukewarm points at the lower thermostat or lower element, since the top heats fine but the bottom stays cold. Confirm with a multimeter before buying a part.
What temperature should I set both thermostats to?
Set both to the same temperature, around 120°F for most homes. That setting balances scald safety against the growth of bacteria like Legionella that thrive in cooler water. Mismatched setpoints make the two elements work against each other and waste energy. After installing a new thermostat, always check that the other one matches it.
Why does my ECO reset button keep tripping after I replace parts?
A repeatedly tripping ECO almost always means a thermostat is stuck closed and keeps its element energized past the setpoint, overheating the water until the high-limit cuts all power. If it trips again soon after a reset, the fix is a new thermostat, and often the element too, not another press of the button. Pressing it over and over only delays the real repair.
How do I confirm the power is really off before I touch the wires?
Turn off the double-pole breaker, then verify at the thermostat itself. Touch a non-contact voltage tester to the wires, then set a multimeter to AC volts and read directly across the terminals. It must show 0 volts. The breaker label alone is not proof; a mislabeled panel or a shared circuit can leave wires live, so meter every time before your fingers go near a terminal.