You reset the breaker, pressed the red ECO button, and the water is still cold. On an electric tank that trail almost always ends at a heating element that has burned open or shorted to its metal sheath, and it is an $8 to $20 part that most people pay a $200 service call to swap.
Start here: pick the exact replacement element
Before you touch a wrench, know what you are buying. The part number on the shelf is not the point; the three things that matter are the body style, the voltage, and the wattage, and all three have to match your tank. Read them off the old element or the tank data plate, then set them in the dropdowns below. The picker returns the exact spec to buy and the socket it needs, and it flags the one combination people get wrong.
Element picker
Choose the three values off your old element and data plate. You get the replacement spec, the socket, and a warning if the numbers do not add up.
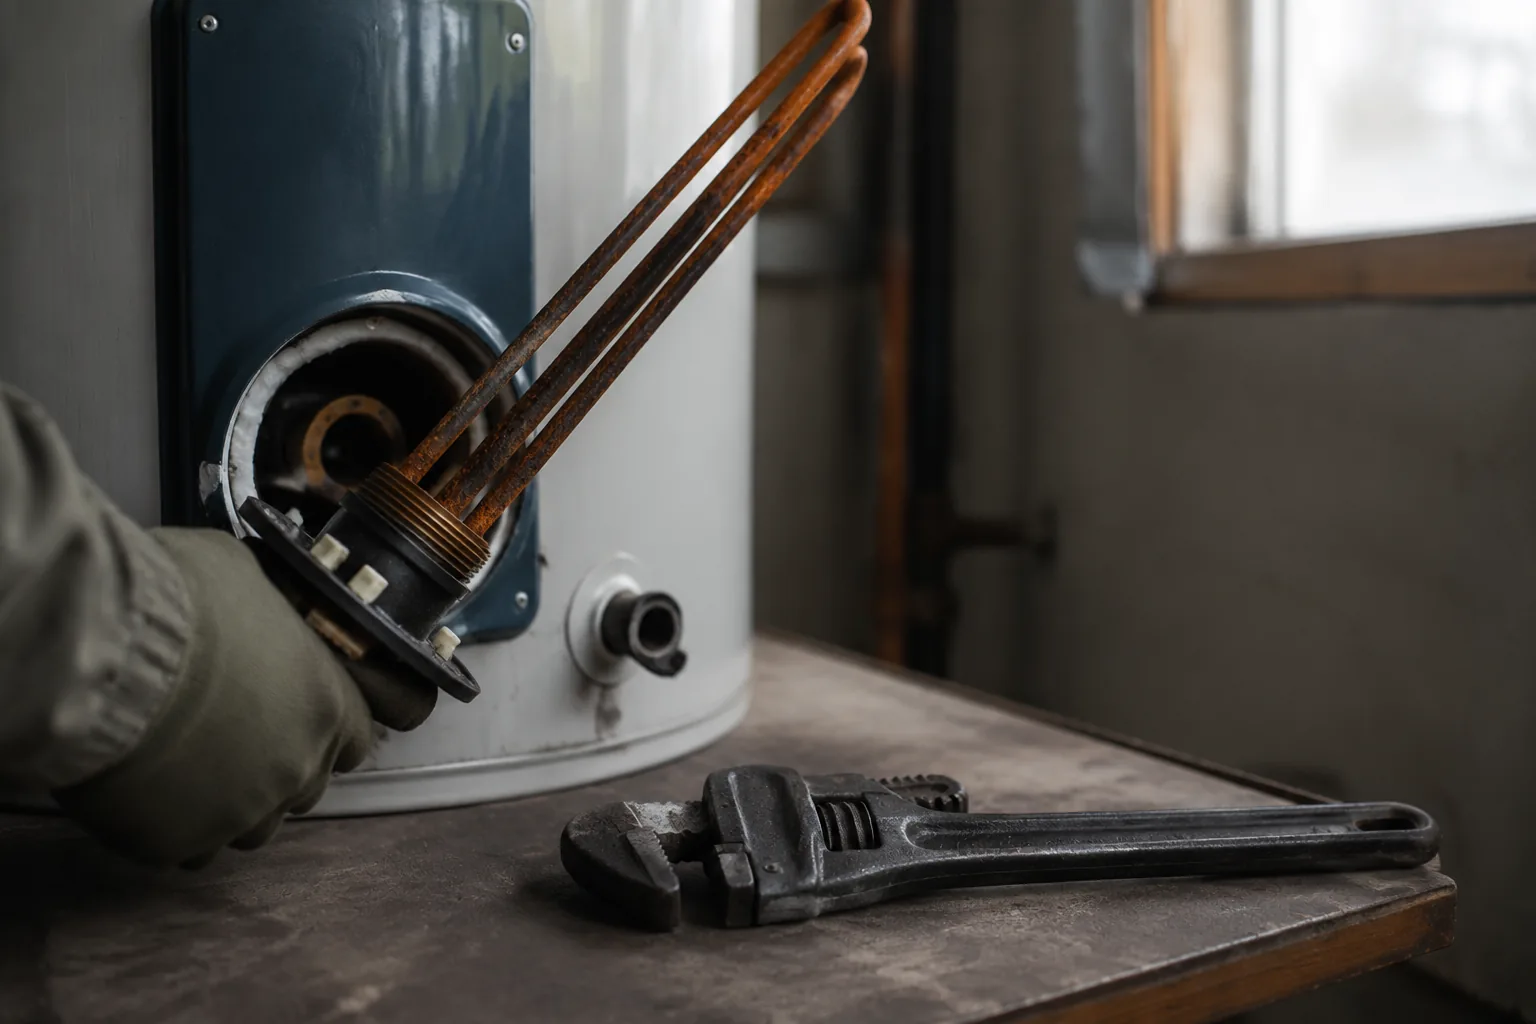
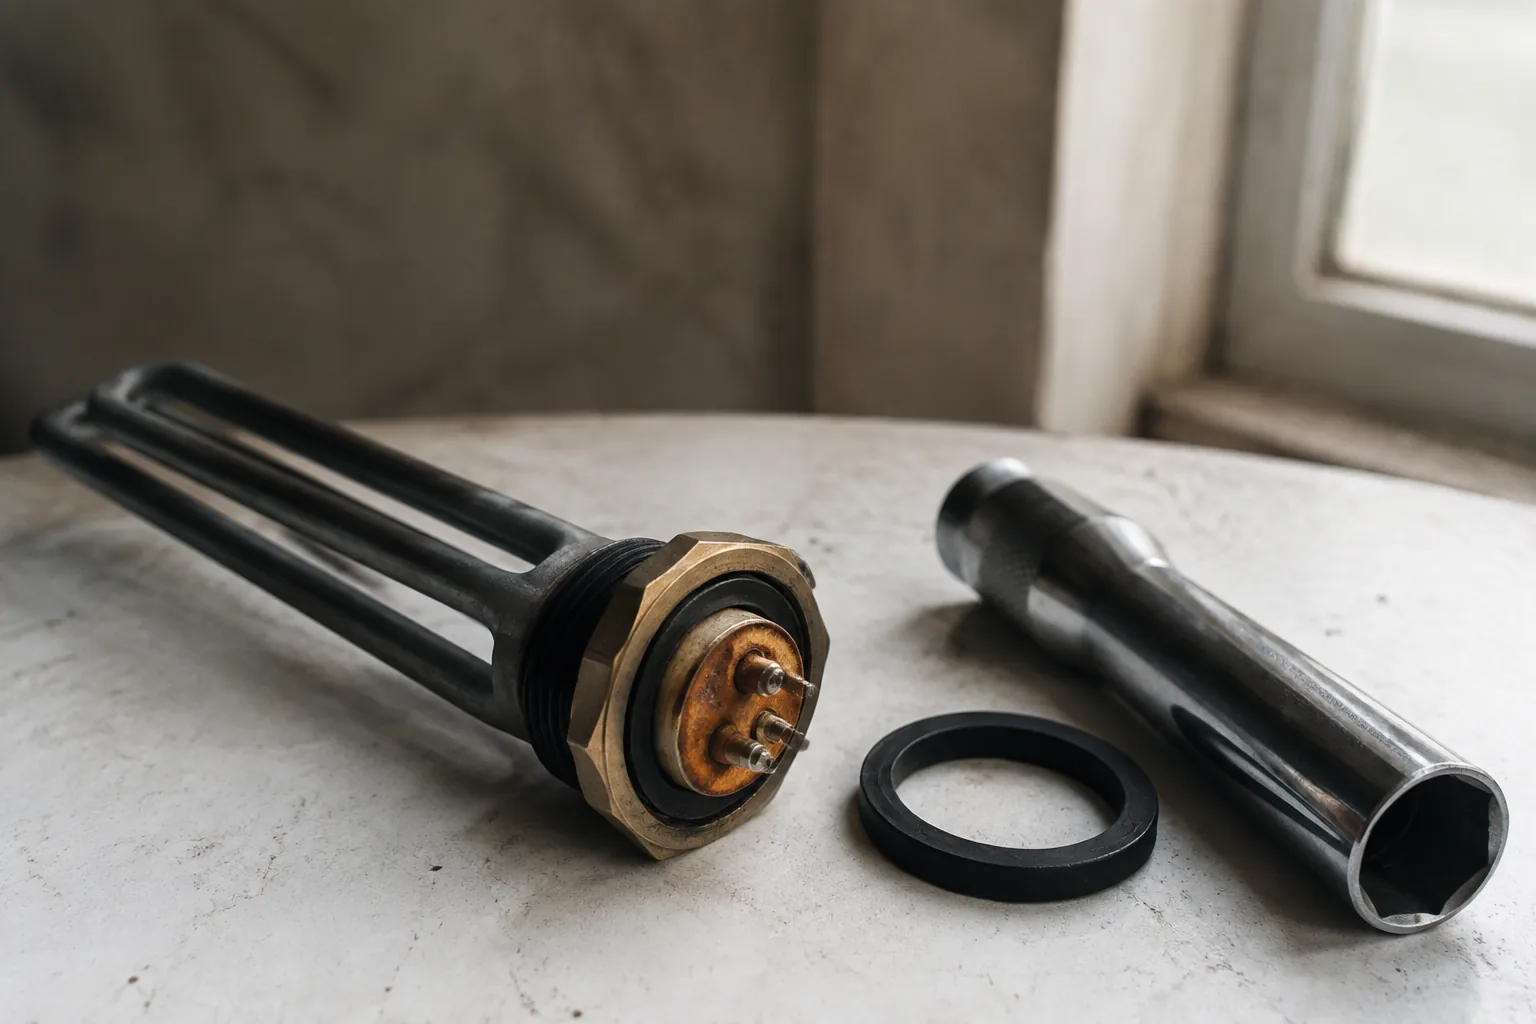
Two element bodies exist, and the wrong one will not fit your tank. A screw-in element threads into a 1-1/2″ port and seals against a rubber gasket; it comes out with an element wrench or a 1-1/2″ deep socket. A bolt-in flange element seats against a flat gasket and is held by four bolts on a plate. Most modern residential tanks use screw-in; older and some commercial tanks use the bolt-in flange, and bolt-in ports are rare enough now that many are converted with a screw-in adapter kit. Keep the volts identical to the old element and the watts the same or lower, but never higher.
Why an element dies, and how to know it is the culprit
An electric tank has two elements: an upper one near the top of the tank and a lower one about two-thirds of the way down. Each is a coil of resistance wire sealed inside a metal tube that sits in the water. They fail in two ways. The coil burns open, so no current flows and no heat is made, or the sheath corrodes and the coil shorts to it, which dumps current to ground and trips the breaker the instant power hits it.
The symptom tells you which element. A dead upper element usually means no hot water at all, because the top of the tank never heats. A dead lower element gives you a small slug of hot water that runs cold fast, since only the top few gallons ever warm up. You confirm it with a multimeter across the element terminals with the power off: a good element reads a low resistance, roughly 10 to 16 ohms, while an open one reads infinite. A reading between either terminal and the metal tank body means the element has shorted to ground and has to come out.
What you need before you drain a drop
The whole job hinges on one specialty tool and on buying the right replacement. Do not guess the element rating. Read it off the old element or the tank sticker and match it exactly.
Tools & supplies
- Element wrench, or a 1-1/2″ deep socket on a ratchet
- Non-contact voltage tester (prove the power is dead)
- Flat and Phillips screwdrivers
- Multimeter to confirm the failure first
- Replacement element that matches wattage and voltage
- New gasket for a bolt-in flange element
- Garden hose, bucket, towels
Time & difficulty
- Active work: 30–45 minutes, most of it draining
- Difficulty: DIY-friendly if you respect 240V
- Two styles: screw-in (threaded) or bolt-in (4-bolt flange)
- Cost: $8–20 for the element
- Know where your main water shutoff is first
How to replace the element, step by step
Go in order. The two danger points are live power at the terminals and dry-firing a new element in an empty tank, and both are handled by sequence, not force.
Shut off the breaker and prove it is dead
Flip the double-pole 240V breaker for the water heater to OFF. Then pop the access panel, fold back the insulation, and hold a non-contact voltage tester to the element terminals. Do not trust the breaker label alone. Confirm zero voltage before your fingers or a wrench go near those screws.
Turn off the cold water supply
Close the cold-inlet valve on top of the tank so it stops refilling while it drains.
Drain the tank
Screw a garden hose onto the drain valve at the bottom and run it to a floor drain or downhill outside. Open a hot faucet somewhere in the house to break the vacuum, then open the drain valve. For the lower element, drain the whole tank; for the upper element you only need the water level below that element.
Disconnect the two element wires
Loosen the two screws on the element face and slip both wires off. Note nothing about polarity - the two leads are interchangeable on a standard element. Bend them clear of the opening.
Unscrew or unbolt the old element
For a screw-in, fit the 1-1/2″ element socket and turn counterclockwise; it may take a firm pull to break the mineral bond. For a bolt-in flange, remove the four bolts. Have a towel ready for the trickle that follows.
Pull the element and its gasket
Draw the element straight out. On a badly scaled tank you may have to wiggle it past the crust. Peel off the old gasket or O-ring and wipe the sealing face clean so the new one seats flat.
Match and seat the new element
Confirm the replacement matches the wattage and voltage of the old one. Wrong wattage means overheating or weak heat. Set the new gasket, then start the element into the threads by hand to avoid cross-threading, and tighten it snug with the socket. For a flange, torque the four bolts evenly in a cross pattern.
Reconnect the two wires
Slide both leads back onto the terminals and tighten the screws down firmly. A loose element connection arcs and burns.
Refill and purge the air before power
Close the drain valve, reopen the cold supply, and leave that hot tap running. When water flows in a steady stream with no sputtering, all the air is out and the elements are submerged. Only now flip the breaker back on. Powering a dry element burns it out in seconds.
Restore power and check for leaks
Turn the breaker on, then go back and feel around the element seal for weeping. A small drip means the gasket needs another snug turn. Give the tank an hour and confirm hot water is back at the tap.
The mistakes that ruin a new element
Four errors account for nearly every botched swap, and all of them are avoidable:
- Wrong wattage. A 5500W element in place of a 4500W one draws more current than the wiring and thermostat expect; the reverse gives you weak, slow heat. Match the number on the old element, not the biggest one on the shelf.
- Dry-firing. Energizing an element that is not fully underwater is the top killer. The coil has no water to shed heat into, so it glows and burns open in seconds. Always purge the air and confirm a solid stream at a hot tap before power.
- Cross-threading. Forcing a screw-in element in crooked chews the threads in the tank port and guarantees a leak. Start every element by hand and let it turn easily for the first few rotations.
- Leaving air in the tank. Even if the element is technically submerged, a trapped air pocket at the top can uncover the upper element. Run the hot tap until the flow is smooth and quiet, not spitting.
Why the wattage has to match, and what mixing does
People assume a higher-wattage element just heats faster. It does not work that way. The element wattage is sized to the circuit wire gauge, the breaker, and the thermostat contacts. Drop a 5500W element onto a circuit built for 4500W and you pull more amps than the wiring is rated for, which cooks the thermostat and can nuisance-trip the breaker. Go the other way, and a 3500W element in a 4500W tank simply heats slowly and never quite keeps up with a family's demand.
There is a second trap on tanks with two elements. Both should carry the same wattage. If you replace only the lower one and grab a different wattage than the upper, the tank's staged heating gets lopsided and recovery suffers. When you swap one, note the other, and if they were mismatched by a previous owner, this is the moment to bring them into line. The picker's warning is aimed at the classic bad pairing: a 5500W element is a 240V part, and trying to run it on a 120V circuit gives you a fraction of its rated output and slow heat, so the voltage on the sticker has to match too.
When to hand it to a pro
Draining a tank and swapping an element is fair homeowner work if you are comfortable proving a 240V circuit dead and torquing a fitting. Hand it off when the breaker trips again the instant you restore power after a clean swap, since that points at wiring shorted somewhere other than the element you replaced. The same goes for a tank port with threads already stripped by a prior cross-thread, a flange that will not stop weeping after two gasket attempts, or any sign of scorching on the wiring itself. Those are small jobs for a pro and cheaper than a flooded floor or a burnt junction.
Frequently asked
How do I know which water heater element is bad, upper or lower?
The symptom points at it. A dead upper element usually means no hot water at all, because the top of the tank never heats. A dead lower element gives you a little hot water that runs cold fast, since only the top few gallons warm up. Confirm with a multimeter across the terminals with the power off: a good element reads about 10 to 16 ohms, and an open one reads infinite.
What size socket do I need to remove a water heater element?
A screw-in element needs a 1-1/2 inch element wrench or a 1-1/2 inch deep six-point socket on a ratchet. A bolt-in flange element does not thread out; instead you remove its four flange bolts with a socket or nut driver and replace the gasket behind it.
Do I have to drain the whole tank to change an element?
For the lower element, yes, drain it fully because that element sits low in the tank. For the upper element you only need to drain the water level below that element, which is faster. Either way, shut the cold supply and open a hot tap to break the vacuum before you open the drain valve.
Can I put a higher wattage element in my water heater?
No. The element wattage is matched to the circuit wire gauge, the breaker, and the thermostat. A higher-wattage element pulls more amps than the wiring is rated for, which overheats the thermostat and can trip the breaker. A lower-wattage element just heats slowly. Match the wattage and voltage stamped on the old element exactly.
What is dry-firing and how do I avoid it?
Dry-firing is energizing an element that is not fully underwater. With no water to absorb the heat, the coil glows and burns open in seconds, killing a brand-new element. Avoid it by refilling the tank and purging all the air first: reopen the cold supply and run a hot tap until the water flows in a smooth, quiet stream before you turn the breaker back on.
Why is my water heater still not heating after I replaced the element?
Check the obvious first. If the breaker trips the instant you restore power, the new element may be shorted, a wire may be loose, or there is a short elsewhere in the wiring. If there is no trip but still no heat, confirm the thermostat and the red ECO reset are not the actual fault, and make sure you did not leave an air pocket that uncovered the element. A wrong-wattage element also heats weakly.