A gas water heater pilot that lights while you hold the knob but dies the second you let go is a bad thermocouple almost every time. This page names the failure, sizes the right part off one measurement, and walks the swap step by step.
Thermocouple length selector
Measure the run from the pilot bracket back to the gas valve, following the path the lead actually takes. Type that number in inches. It snaps to the nearest stock thermocouple length and gives you the tighten spec.
Control type
Lead path
Enter the burner-to-valve run in inches and pick your control type. It snaps to the nearest stock thermocouple length.
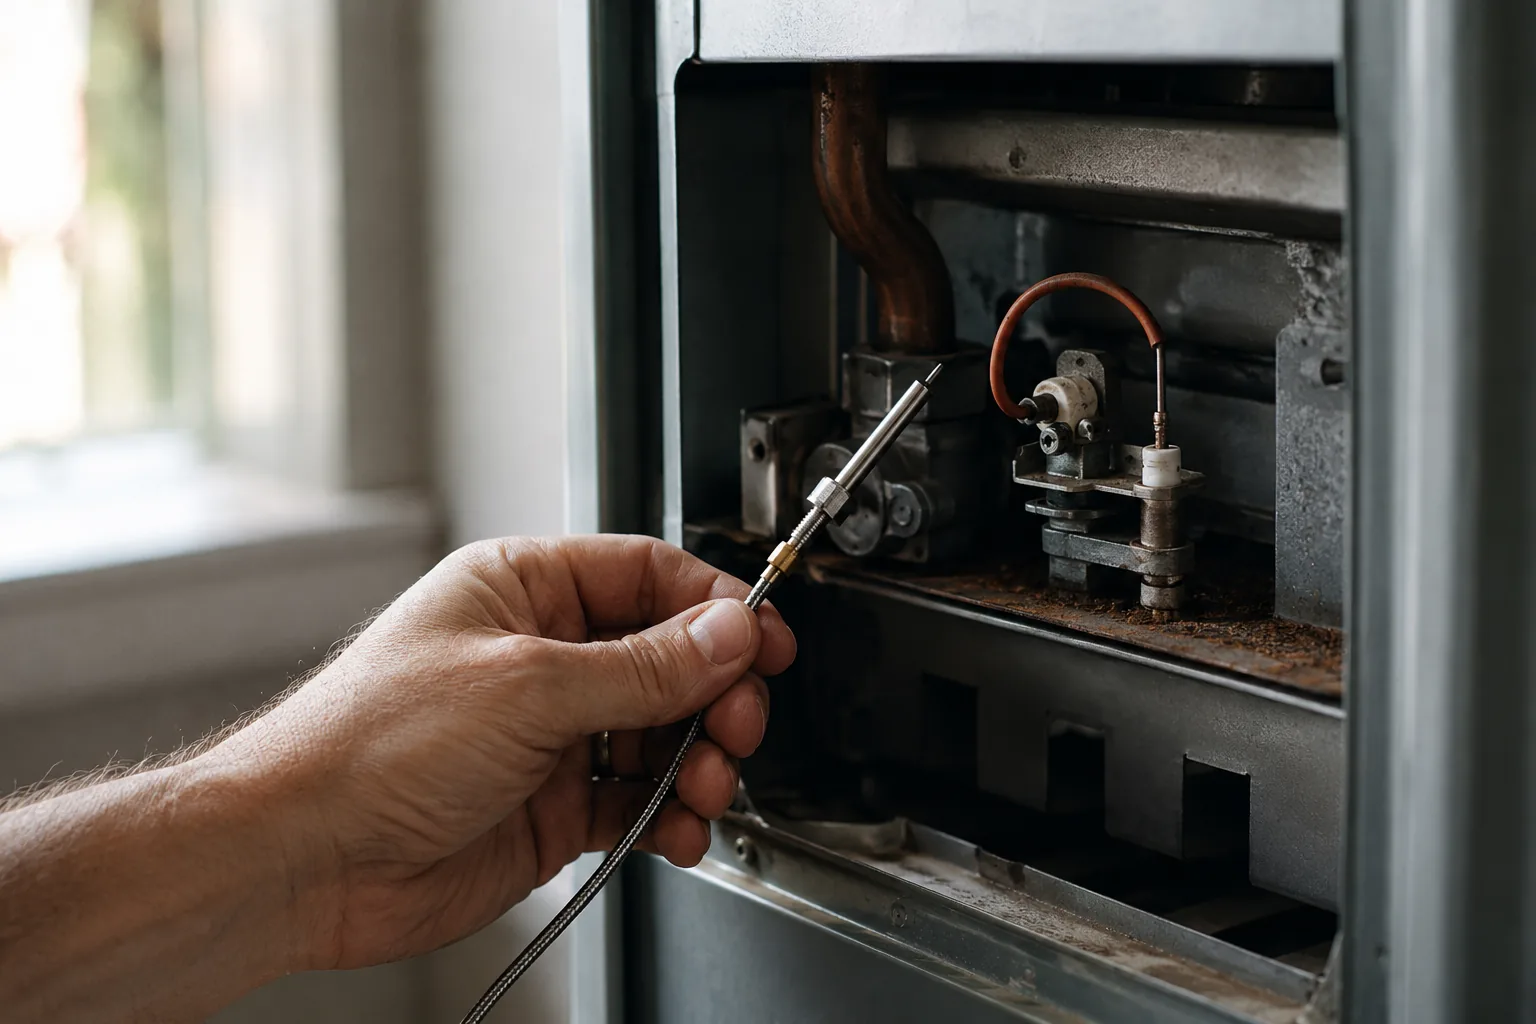
Here is the exact test that names the problem. Hold the pilot knob down, light the pilot, and keep holding for a full 30 to 60 seconds. Let go. If the pilot stays lit, your thermocouple is fine and the issue is elsewhere. If it snuffs out within a few seconds every single time, the thermocouple is not generating enough voltage to hold the valve open. That is the failure this whole page fixes, and it is one of the cheapest repairs on the entire appliance.
What a thermocouple actually does
A thermocouple is two dissimilar metals joined at a tip. Heat that junction with the pilot flame and it produces a small DC voltage, roughly 25 to 30 millivolts. That voltage runs down the copper lead to an electromagnet inside the gas valve. While the magnet is powered, it holds a safety port open so gas can reach the pilot and the main burner. Blow the pilot out and the tip cools, the voltage collapses, the magnet drops, and the gas shuts off. That is the entire safety logic: no flame proven, no gas allowed.
So a thermocouple fails in a way that always looks the same. The pilot will light because you are manually holding the valve open with the knob. The moment you release, the valve depends on the thermocouple alone, and a weak one cannot hold the magnet. Down goes the pilot. People chase gas leaks and bad valves for this, but the humble sensor is the usual answer.
Thermocouple or thermopile? Check before you buy
This is the mistake that sends people back to the store. Two different sensors live in gas water heaters and they are not interchangeable. A thermocouple is a single-wire sensor on a standing-pilot valve, and it only has to hold one small safety magnet, so 25-30 mV is plenty. A thermopile (also called a powerpile or millivolt generator) is a fatter, two-wire device used on millivolt control systems, where the sensor voltage runs the entire gas valve with no external power at all. A thermopile makes far more, roughly 250 to 750 mV.
You can tell them apart fast. If the sensor is a thin single copper tube with one connection at the valve, it is a thermocouple. If it is thicker, has two wires or a two-lead plug, and your control has no batteries or wall power yet still runs an electronic display or a piezo igniter off the flame, it is a millivolt system that needs a thermopile. Drop a thermocouple into a millivolt valve and nothing works, because a single-wire sensor cannot power the whole valve. Set the length selector at the top of the page to Millivolt and it flags this for you.
Match the part before you touch a wrench
Universal thermocouples come in a handful of stock lengths, 15, 18, 24, 30, and 36 inches, measured along the copper lead, not the probe. The lead has to reach from the pilot bracket back to the gas valve with a little slack to coil. Too short and the nut will not reach the valve; too long just coils harmlessly. That is why the selector rounds your measured run up to the next stock length instead of down. Taller tanks push the lead longer, which is why an extra-tall 75-gallon unit often wants a 30 or 36 inch part while a short lowboy takes 15 or 18.
Length is a guide, not a law. When in doubt, pull the old thermocouple first, measure it end to end, and buy that length or the next size up. A universal kit that includes multiple adapter fittings covers most standing-pilot valves, though a few brands like Whirlpool or AO Smith use left-hand threads or an odd bracket, so lay the old part next to the new one before you install it. Just confirm you are buying a thermocouple, not a thermopile, if your valve reads a single-wire sensor.
Step by step: replacing the thermocouple
Work slowly and confirm the gas is off before anything else. The whole job takes about 20 to 40 minutes and needs an open-end wrench, a nut driver or socket, and steady hands. Do not overtighten anything.
- Turn the gas control to OFF and shut the gas supplyRotate the knob on the gas control valve to OFF, then close the manual shutoff on the gas line feeding the heater. The handle should sit crosswise to the pipe when closed. This kills gas at two points before you open any fitting.
- Let the burner assembly coolIf the pilot or burner was running, give the parts several minutes to cool. Metal near the pilot stays hot enough to burn a hand right after shutdown.
- Disconnect the three tubes at the gas valveThree lines thread into the control valve: the thermocouple nut, the pilot supply tube, and the main burner tube. Loosen all three with an open-end wrench, turning counterclockwise. Note their positions; a photo on your phone saves guessing later.
- Pull the burner assembly outOn most modern sealed-combustion tanks the cleanest route is to slide the whole burner and pilot assembly out through the access opening once the three tubes are free. On older units you may be able to reach the pilot bracket in place instead.
- Remove the old thermocouple from the pilot bracketThe probe tip is held at the pilot bracket by a push-in clip or a small screw. Unclip or unscrew it and slide the old thermocouple free of the bracket and out of the assembly. Keep it to match length and fitting.
- Install the new thermocouple matched by lengthSeat the new probe tip into the same clip or bracket hole so the tip will sit directly in the pilot flame. Confirm the length reaches back to the valve. Route the lead along the same path as the old one so it does not cross the burner or kink.
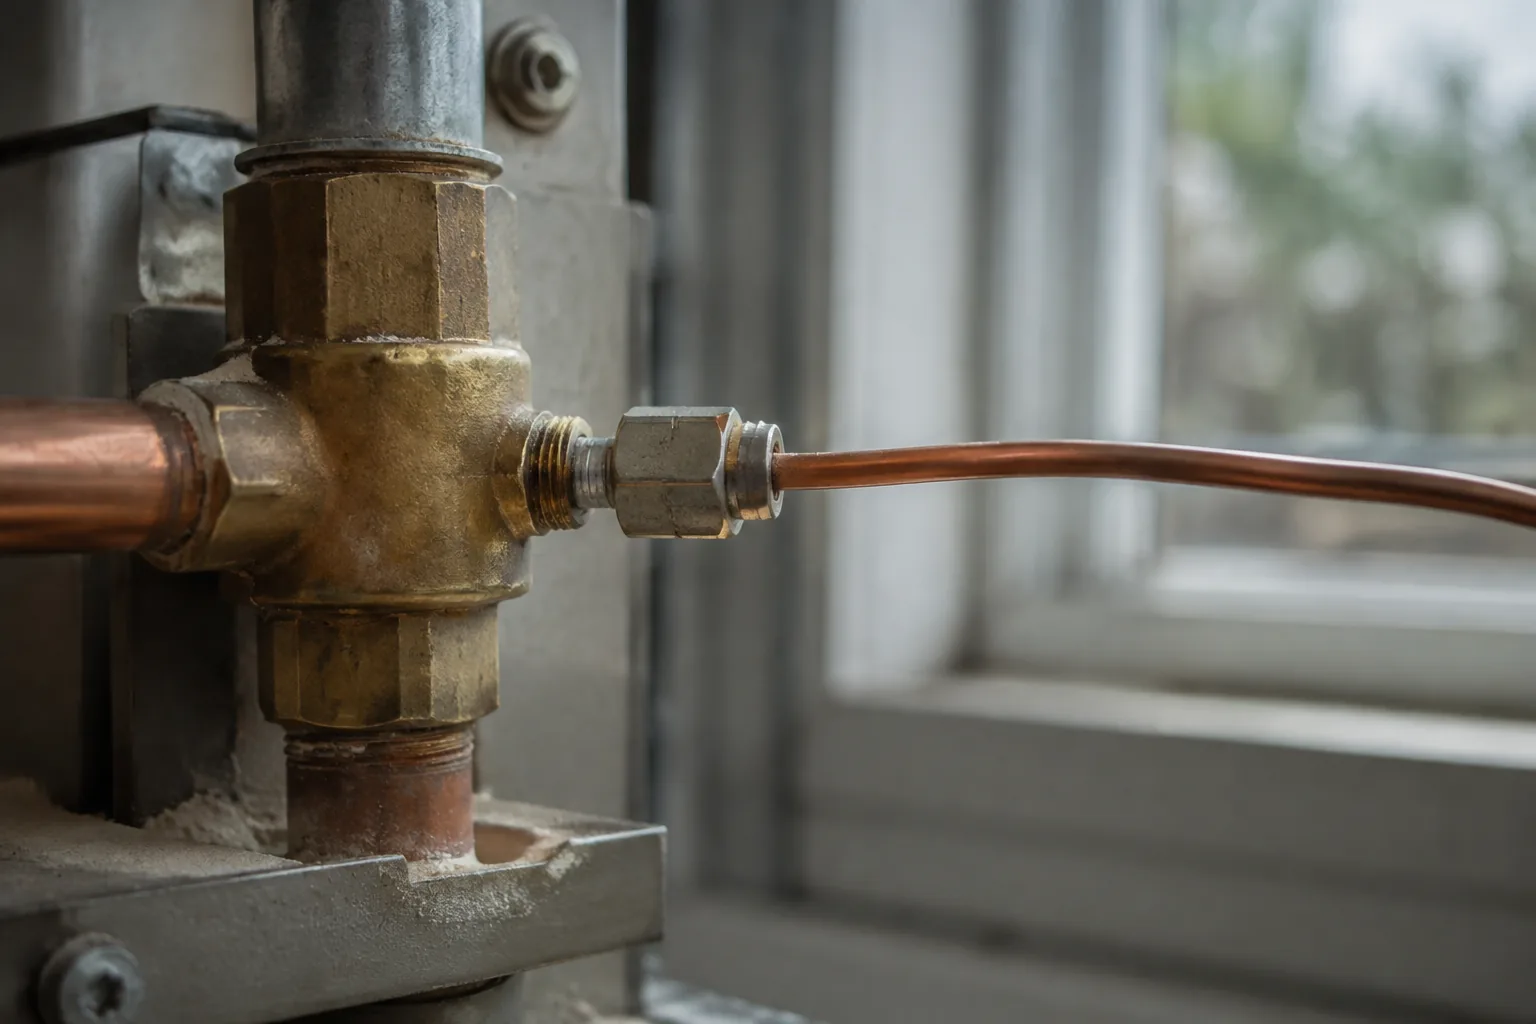
- Reconnect the nut finger-tight plus a quarter turnThread the thermocouple nut into the valve by hand until it stops, then snug it with a wrench just a quarter turn more. This connection is a metal-to-metal contact, not a seal. Overtightening crushes the contact and kills the signal, so stop at a quarter turn past finger-tight.
- Reinstall the burner and reconnect the other two tubesSlide the burner assembly back into place and reconnect the pilot supply tube and the main burner tube. Snug both, but again do not gorilla them. Make sure the pilot tube points its flame right at the new thermocouple tip.
- Restore gas and relight the pilot per the labelOpen the manual gas shutoff, then follow the lighting instructions printed on the tank exactly. Hold the pilot knob down for the stated time, usually 30 to 60 seconds, so the new thermocouple heats up and takes over. Release. It should hold.
The mistakes that waste an afternoon
Three errors account for most failed thermocouple jobs, and all three are avoidable.
Overtightening the thermocouple nut. This is the big one. That nut carries the millivolt signal through a bare metal-to-metal contact. Reef on it and you deform the contact face, and the fresh part reads low or dead, so the new pilot dies exactly like the old one and you assume the part was defective. Finger-tight plus a quarter turn. That is it.
Buying the wrong length. Grab a 36 inch part for a short tank and you fight a coil of excess lead; grab an 18 inch part for a tall tank and it will not reach the valve. Measure the old one or use the selector above. Length is measured along the lead, not the probe.
Blaming the thermocouple when the real fault is a dirty pilot. A thermocouple only works if the pilot flame actually wraps its tip. A pilot orifice clogged with lint, dust, or spider webbing burns a weak, lazy, orange or yellow flame that misses the probe, so a perfectly good thermocouple never gets hot enough. Before you condemn the sensor, look at the pilot flame: it should be a crisp blue cone enveloping the top of the probe. If it is small, yellow, or blowing sideways, clean the pilot orifice and tube first. Many "bad thermocouple" calls are just a dirty pilot.
When it still will not hold
You swapped the thermocouple, tightened it right, and the pilot still dies. Now work outward. Confirm the pilot flame is strong and blue and actually touches the new tip; reposition the probe if it sits off to the side. Reseat the thermocouple nut, because a hair too loose reads dead just like too tight. If the flame is good and the connection is clean and the pilot still drops, the gas control valve itself may have a failed magnet, and that is a valve replacement, which on most homeowners' tanks means calling a licensed tech. On a millivolt system, remember the thermopile makes hundreds of millivolts and a real reading needs a meter; a weak thermopile mimics a bad thermocouple but takes a different part.
Keep the numbers in your head. A standing-pilot thermocouple should read about 25 to 30 mV in the flame, open circuit; under load, holding the valve, more like 12 to 20 mV. Much below that and it will not hold. A thermopile should read hundreds of millivolts. A multimeter set to DC millivolts turns "I think it is the thermocouple" into a fact, and it is the one tool that separates a sensor problem from a valve problem for good.
Frequently asked
How do I know if my thermocouple is bad?
Run the hold test. Light the pilot, hold the knob down 30 to 60 seconds, then release. If the pilot goes out within a few seconds every time, the thermocouple is not making enough voltage to hold the gas valve open. A healthy one reads about 25 to 30 mV in the flame on a multimeter set to DC millivolts. Below roughly 12 to 20 mV under load it will not hold.
What is the difference between a thermocouple and a thermopile?
A thermocouple is a single-wire sensor on a standing-pilot valve that makes about 25 to 30 mV, just enough to hold one safety magnet open. A thermopile, or powerpile, is a thicker two-wire device on a millivolt control system that generates roughly 500 to 750 mV and powers the entire gas valve with no outside power. They are not interchangeable; a thermocouple cannot run a millivolt valve.
What length thermocouple do I need?
Match the length to the old one and the tank height. Common sizes are 18, 24, 30, and 36 inches, measured along the lead, not the probe. Short lowboy tanks usually take 18 inches, standard tanks 24, and tall or extra-tall tanks 30 to 36. When unsure, buy one at least as long as the original; extra lead coils harmlessly, but a short one will not reach the valve.
How tight should the thermocouple nut be?
Finger-tight plus about a quarter turn with a wrench, and no more. The nut is a metal-to-metal electrical contact carrying a tiny signal, not a gas seal. Overtightening deforms the contact and drops the voltage, so the new part reads dead and the pilot keeps going out. If a fresh thermocouple will not hold, back the nut off and reseat it to a quarter turn past hand-tight.
Can a dirty pilot look like a bad thermocouple?
Yes, and it fools people constantly. The thermocouple tip has to sit inside a strong blue pilot flame to heat up. A pilot orifice clogged with dust or spider webbing burns a small, lazy, yellow flame that misses the tip, so a good thermocouple never gets hot enough to hold the valve. Before replacing the sensor, check that the pilot flame is a crisp blue cone wrapping the probe, and clean the orifice if it is not.
How much does it cost to replace a thermocouple?
The part itself is cheap, usually about $10 to $15 for a universal thermocouple, or a bit more for a kit with adapter fittings. A thermopile for a millivolt system costs more. Doing it yourself means only the part plus 20 to 40 minutes. A service call to have a pro do it typically runs $100 to $250 depending on your area, which is mostly labor and the trip.